Best Audio Settings For The Insta360 X5 & How To Capture Your Voice Clearly
Nov 21, 2025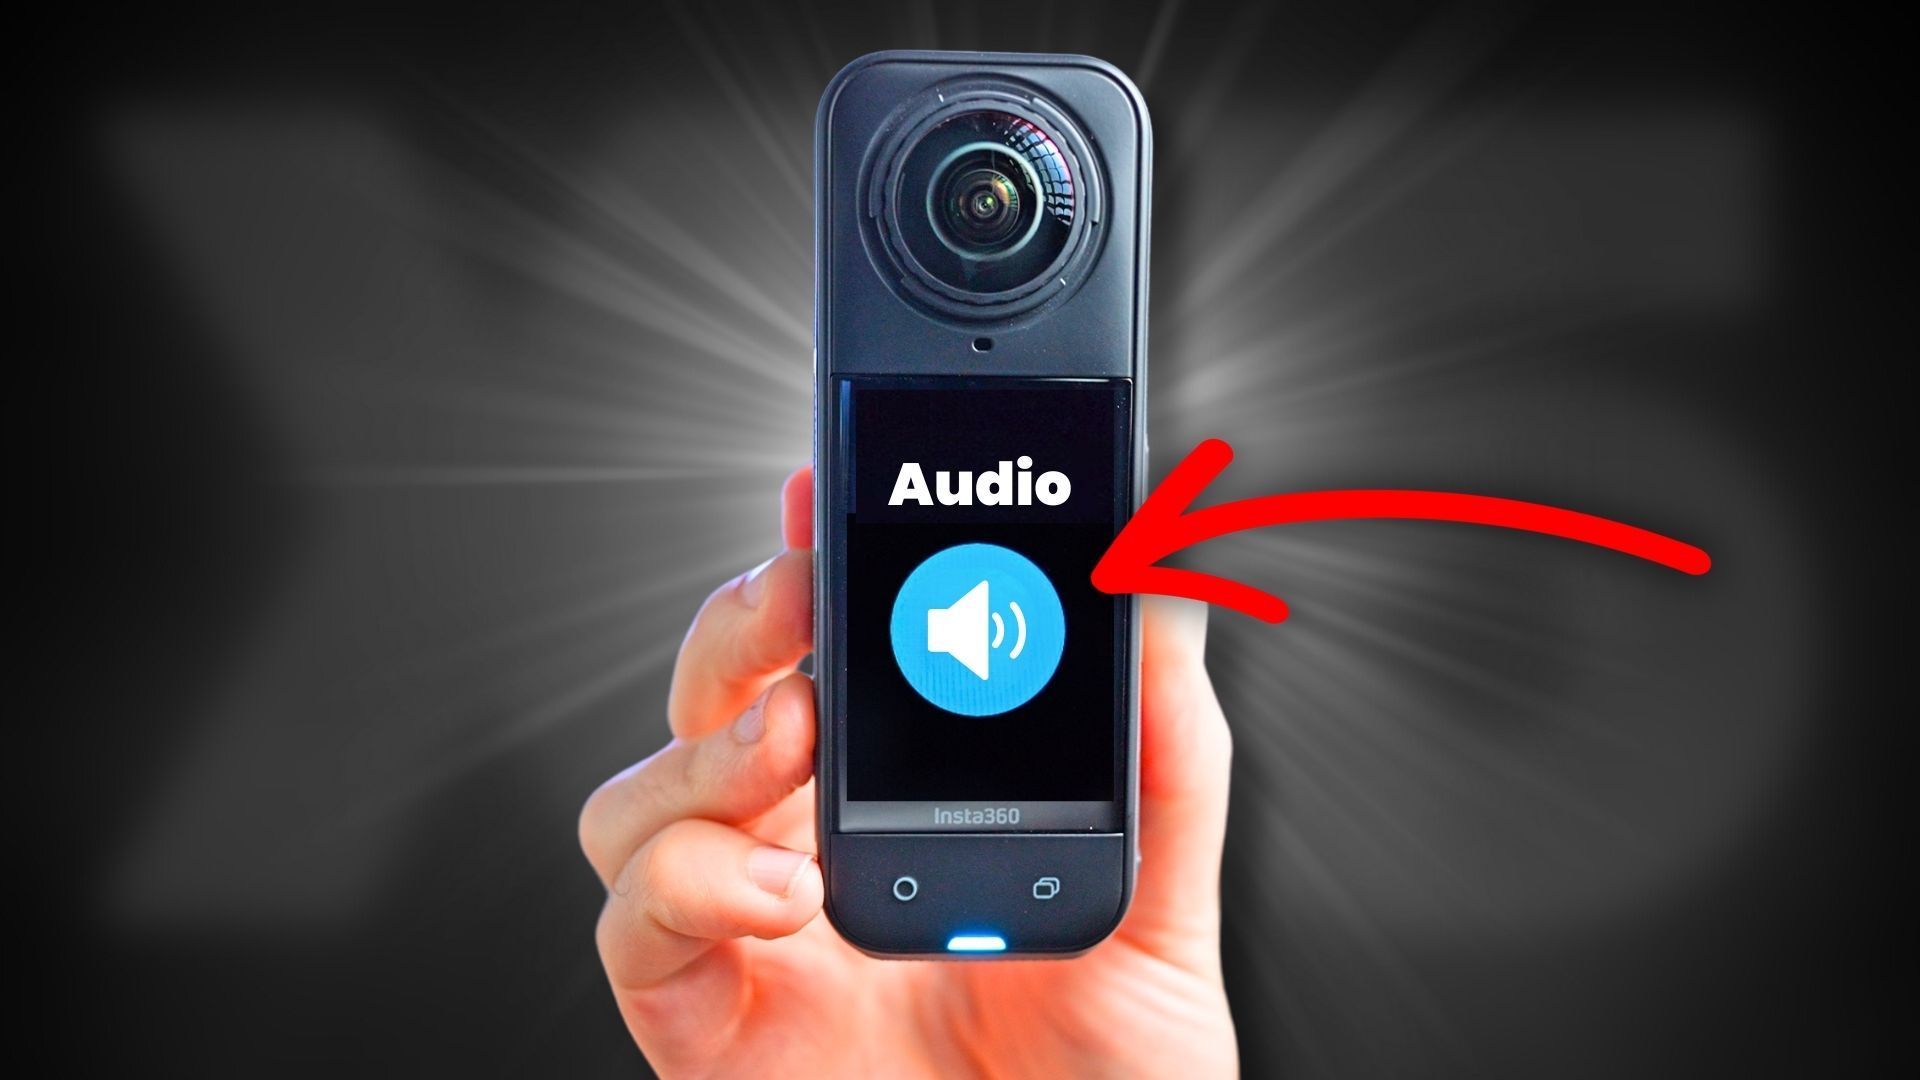
Bad sound can ruin an otherwise great video — especially if you're filming with a 360 camera like the Insta360 X5 and want to capture your own voice. If you head out without understanding a few basic audio settings, there’s a good chance your dialogue won’t turn out the way you hoped.
Whether you’re a total beginner or someone who’s been using Insta360 cameras for a while, this guide will show you exactly how to get clean, clear audio using the X5’s in-built mics or two external mic options.
I've also linked the Insta360 X5 and the two mics mentioned throughout this post in case you want to pick up any of these yourself.
1. Start With the Insta360 X5 In-Built Audio Settings
Before buying any external mic, you can dramatically improve your audio just by adjusting the X5’s settings.
How to Access Audio Settings
1. Swipe down from the top of the screen.
2. Swipe across twice.
3. Tap Audio Settings.
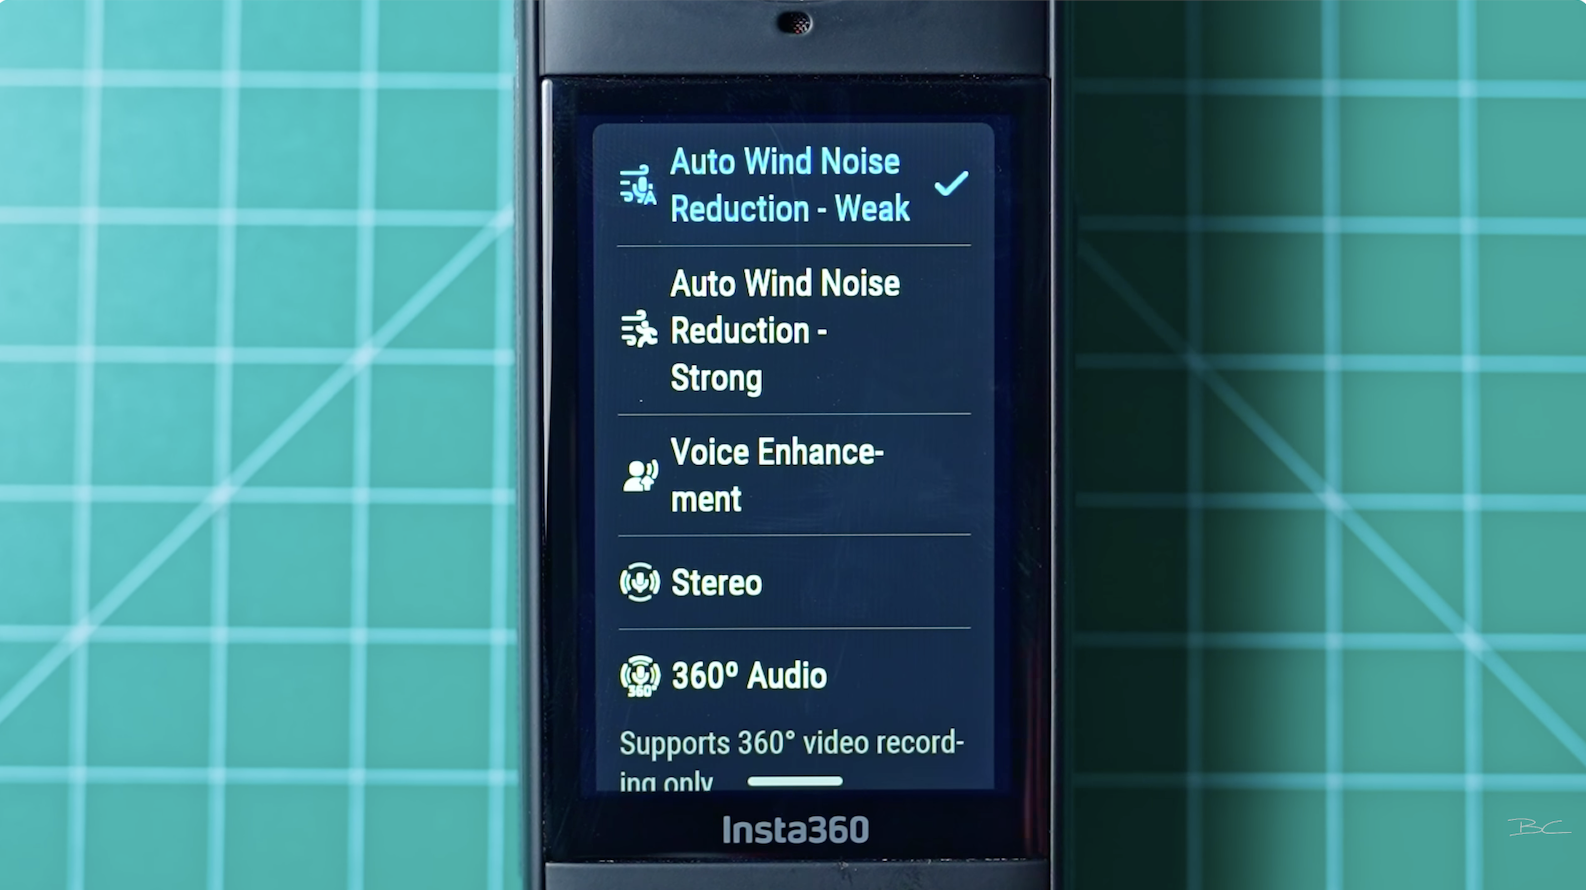
You’ll see five audio presets:
-
Wind Noise Reduction (Weak)
-
Wind Noise Reduction (Strong)
-
Voice Enhancement
-
Stereo
-
360 Audio
Which Audio Mode Should You Use?
Voice Enhancement is the standout choice for talking-to-camera when you’re in a reasonably quiet environment. It boosts clarity and isolates your voice more than the other modes.
However, the other modes do have their place:
-
Wind Noise Reduction (Weak/Strong) – Ideal for extremely windy environments (motorbike riding, fast-moving sports).
-
Stereo – Best for capturing general ambience, since it uses the X5’s multiple microphones around the camera.
-
360 Audio – Great for VR recording in controlled environments, but not ideal for dialogue.
2. Hold the Camera Closer for Better In-Built Mic Results
My next tip is simple: keep the X5 as close to your mouth as feels natural.
The further away you hold it, the softer your voice will be and the more background echo it’ll pick up. Bringing it closer helps the mic isolate your voice because it’s nearer to all the microphones on the camera.
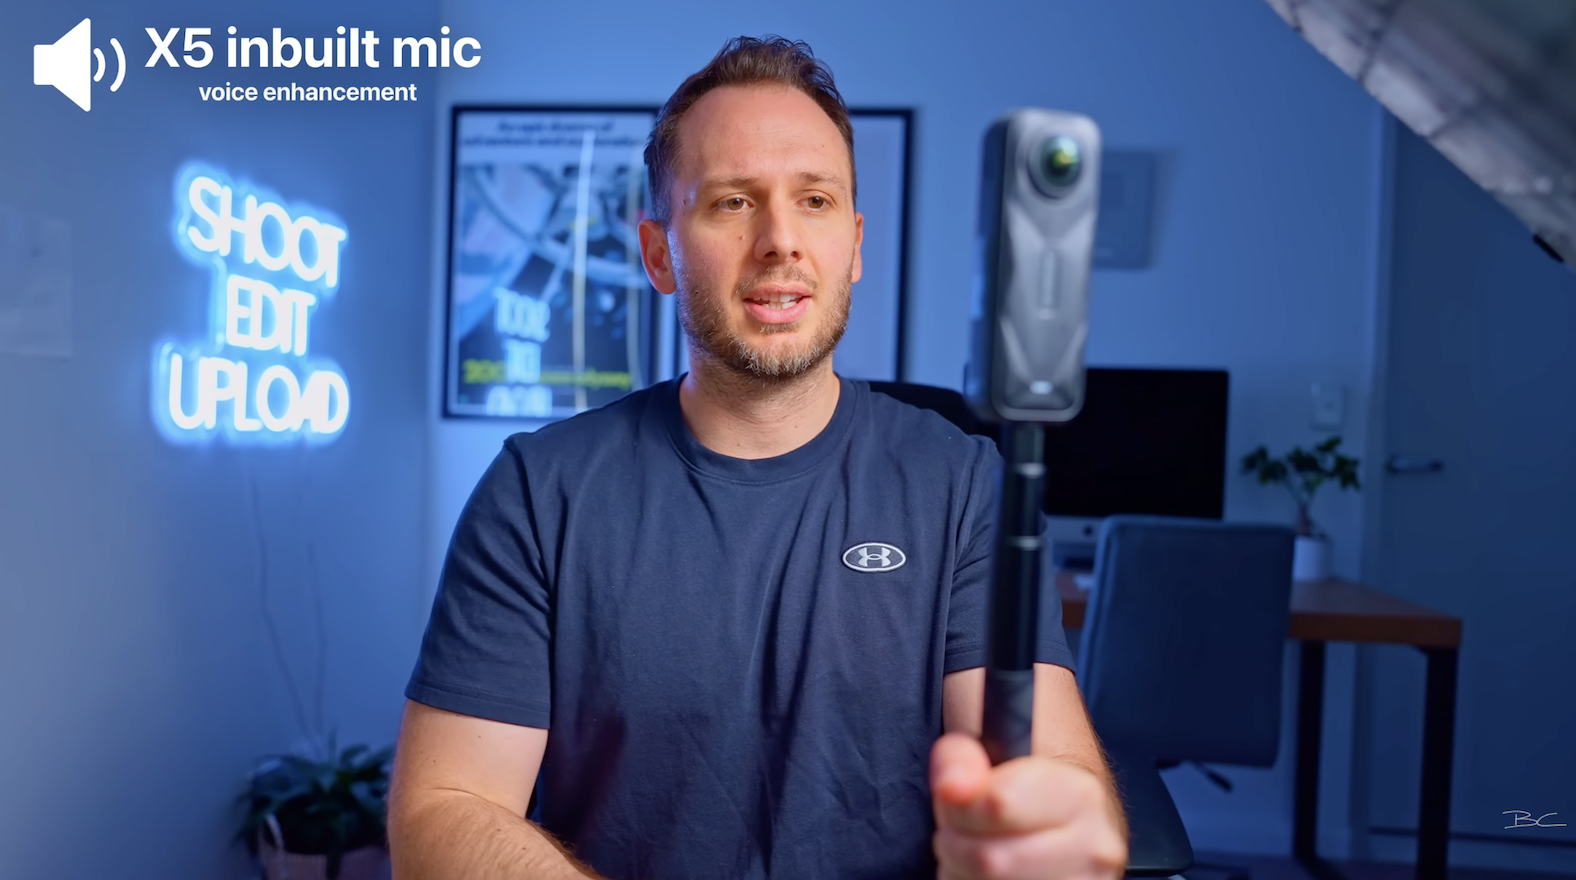
Of course, you don’t want the camera uncomfortably close all day, but bringing it slightly closer makes a big difference.
3. How Good Is the X5’s Wind Guard?
The X5 has multiple mics, including one on the back with a built-in wind guard. In real-world testing (e.g., at Maroubra Beach in Sydney), the quality difference between the front mic and the wind-guard mic isn’t dramatic.
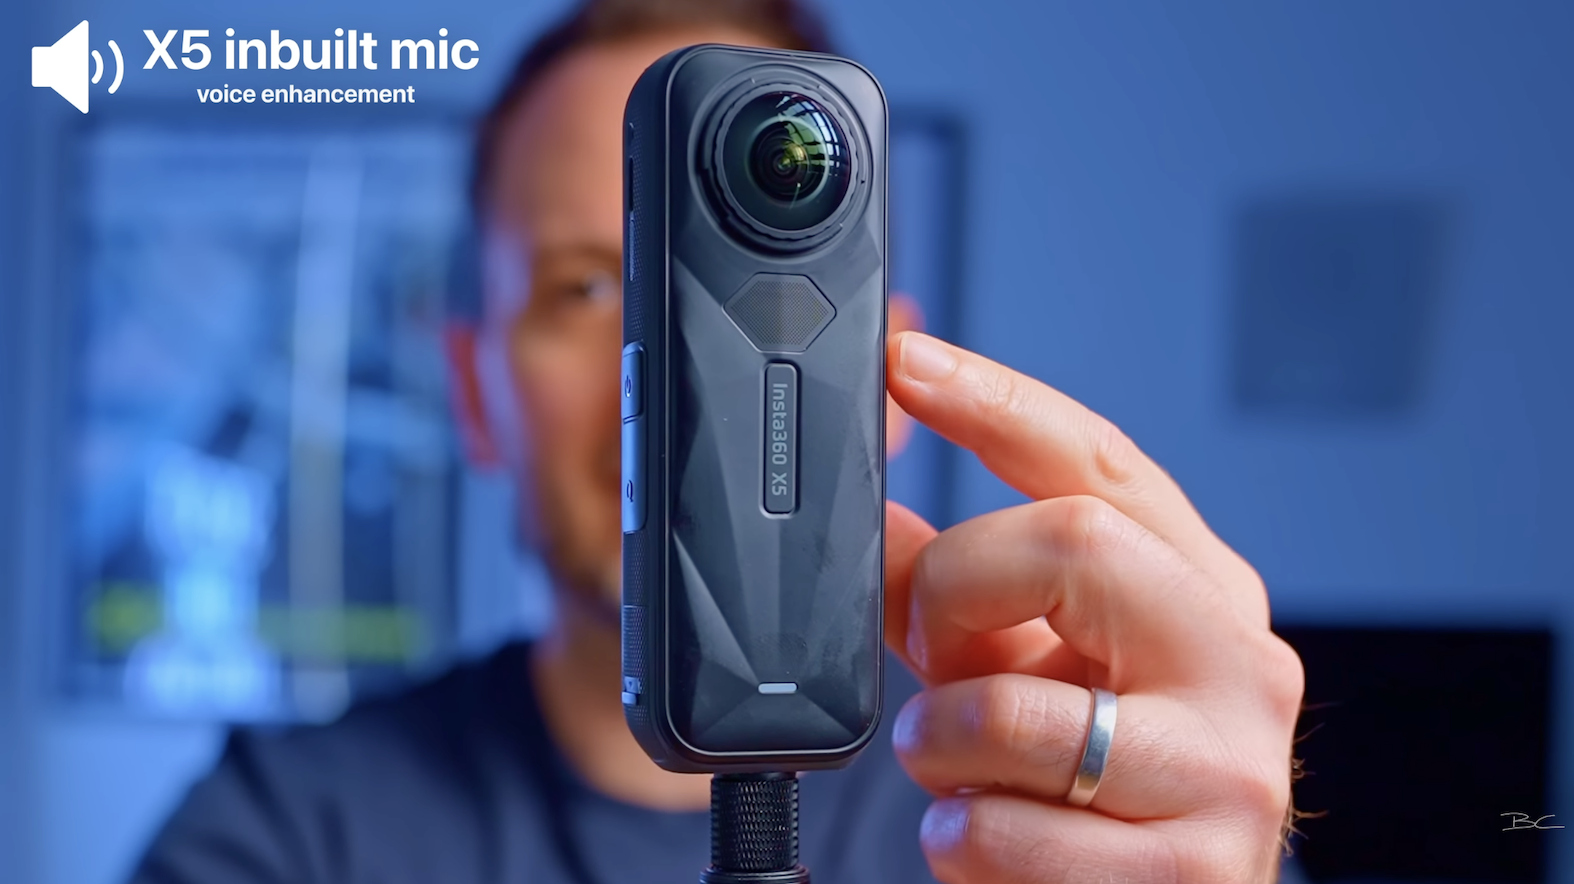
The wind guard may help a little in extremely windy situations, like:
-
Mounting the camera to a motorbike
-
Mounting it on a car
-
Filming in high wind where you only need basic ambient sound
But for everyday talking-to-camera, it doesn’t make a huge difference which direction is facing you — internal mics can only do so much. That’s where external mics come in.
4. Using External Mics: Mic Air vs GPS Preview Remote
External mics dramatically improve clarity, especially in loud or windy environments. Here are the two options I tested:
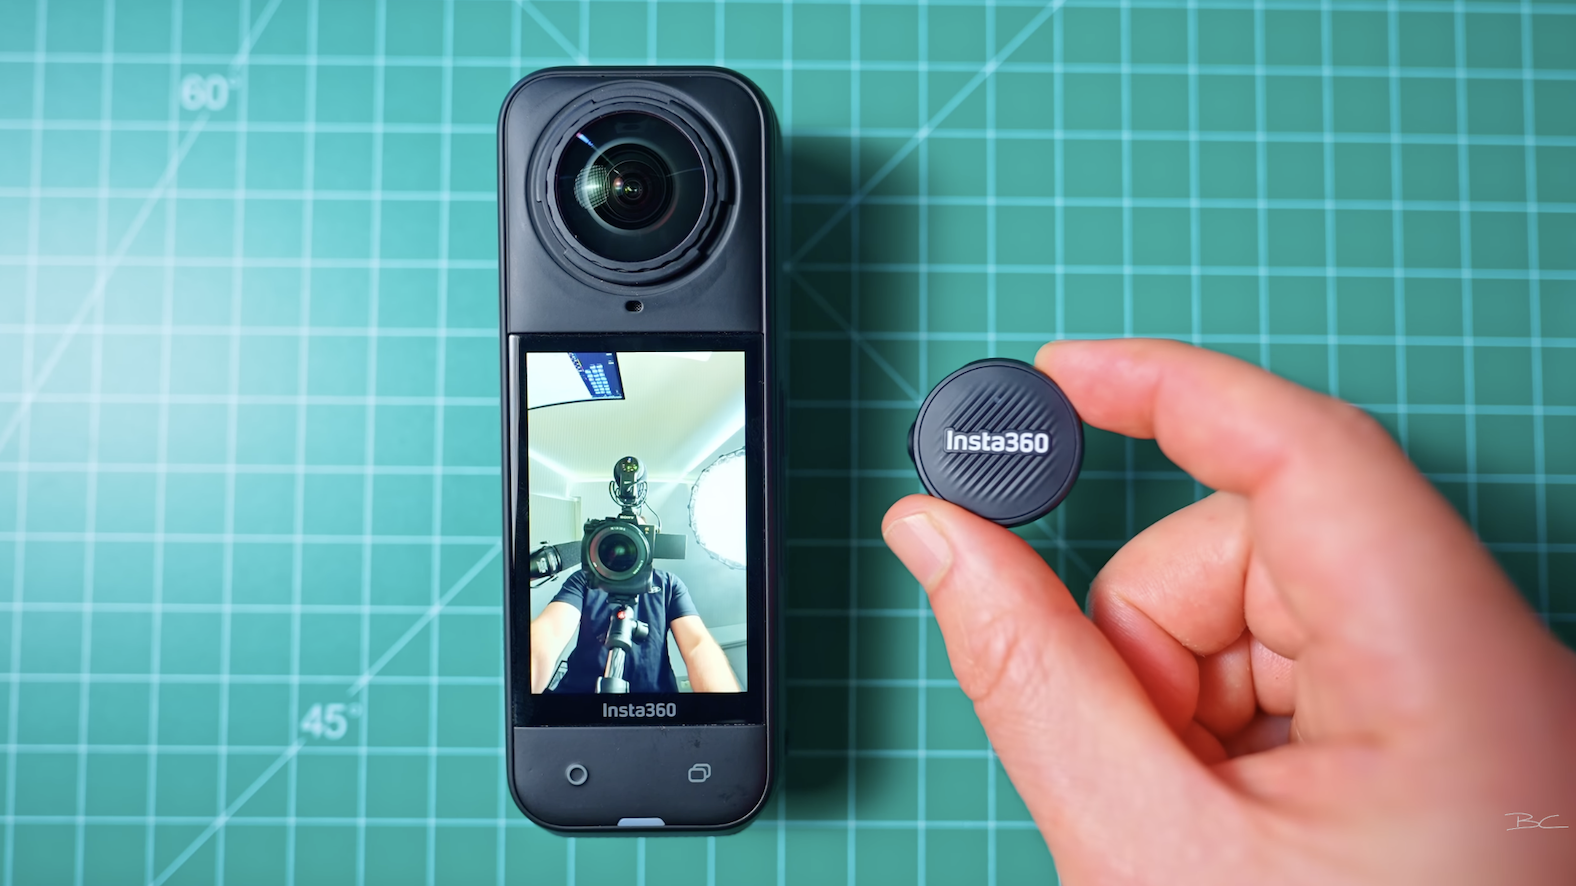
Mic Option 1: Insta360 Mic Air (Budget-Friendly)
This tiny mic clips onto your shirt and pairs directly to the camera.
Pros
-
Very quick to pair
-
Under $50 USD
-
Great close-range audio
-
Comes with a magnetic pendant for clothing
-
Includes a small furry wind muff
Cons
-
Distance issues: Even though Insta360 claims 300 m range, real-world tests show the mic can cut out when you turn away from the camera.
-
Not reliable if you walk too far from the camera
-
Not ideal if you rotate or face another direction
Best For
Talking to camera within a few metres, while facing the camera.
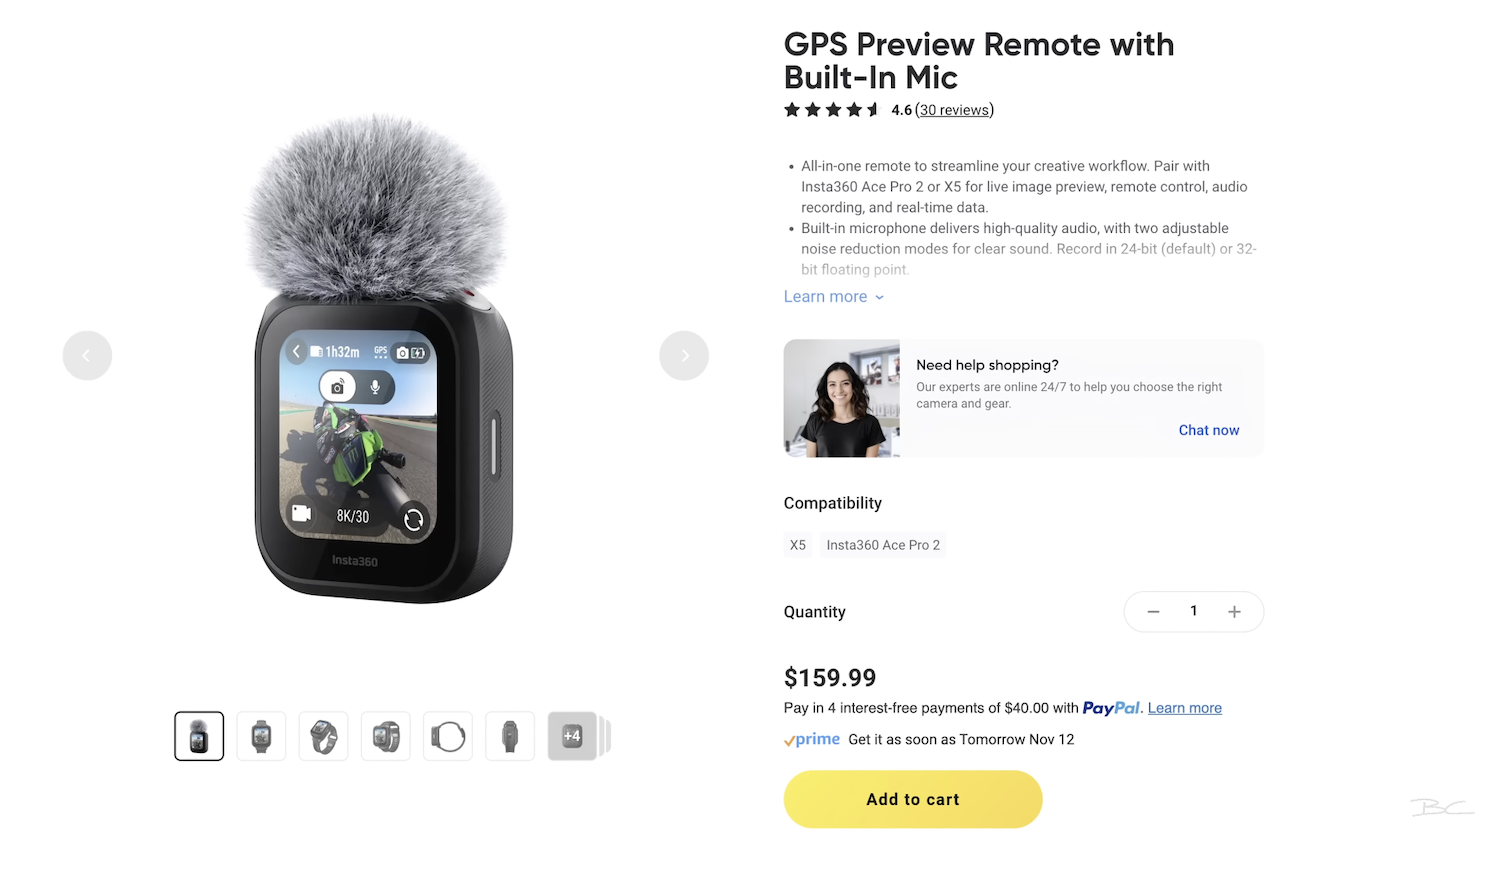
Mic Option 2: Insta360 GPS Preview Remote (Higher-End)
This device acts as a wireless mic, a remote control, a GPS tracker, and a 32-bit float audio recorder (which gives you a ton of flexibility later in editing)
Pros
-
More reliable connection
-
Higher-quality audio
-
32-bit float means you can fix loud peaks and boost quiet audio easily in post
-
Can trigger recording from the remote
-
Includes wind muff and clip
-
Can also be worn as a watch
Cons
-
Bigger and more visible on clothing
-
More expensive than the Mic Air
Best For
Creators who want excellent audio, better reliability, and plan to record dialogue often.
5. How to Sync External Audio in Insta360 Studio
Importing and mixing audio is super easy in Insta360 Studio.
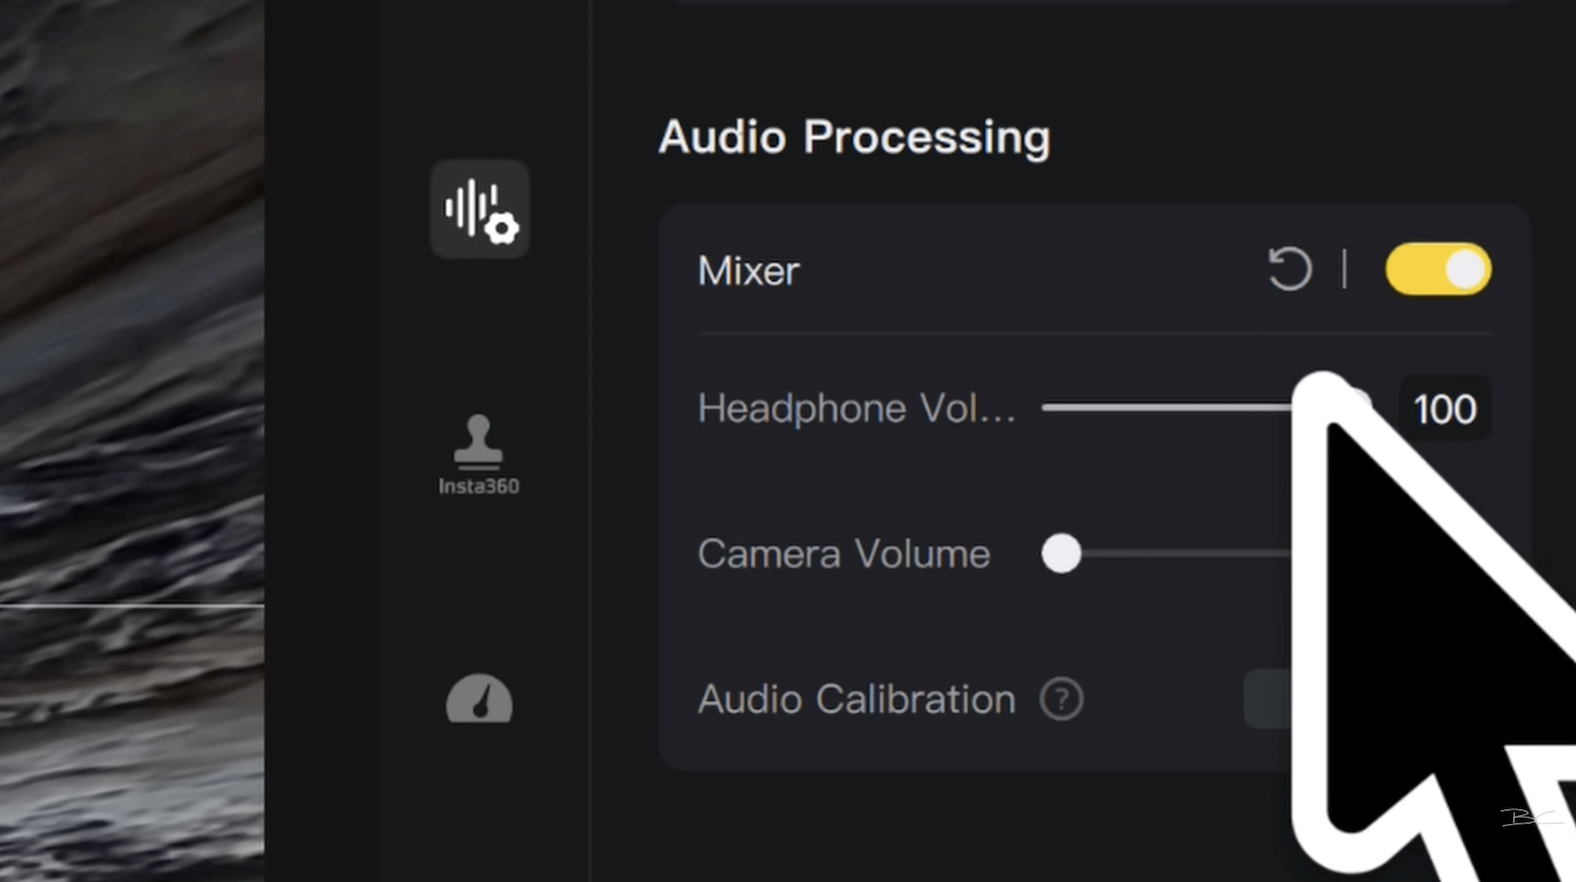
Using the Audio Mixer
1. Select your clip.
2. Open the Audio Tab.
3. Use the Mixer to adjust:
- Headphone Volume (external mic)
- Camera Volume (in-built mic)
Setting Headphone Volume to 100% (and therefore camera volume lower) ensures you’re using only the external mic audio — usually the best option.
If you want a little ambience from the X5 mics, try an 80/20 Mix.
What About Audio Mode Filters?
The post-processing filters under “Audio Mode” aren’t drastically helpful. The earlier steps make the biggest difference.
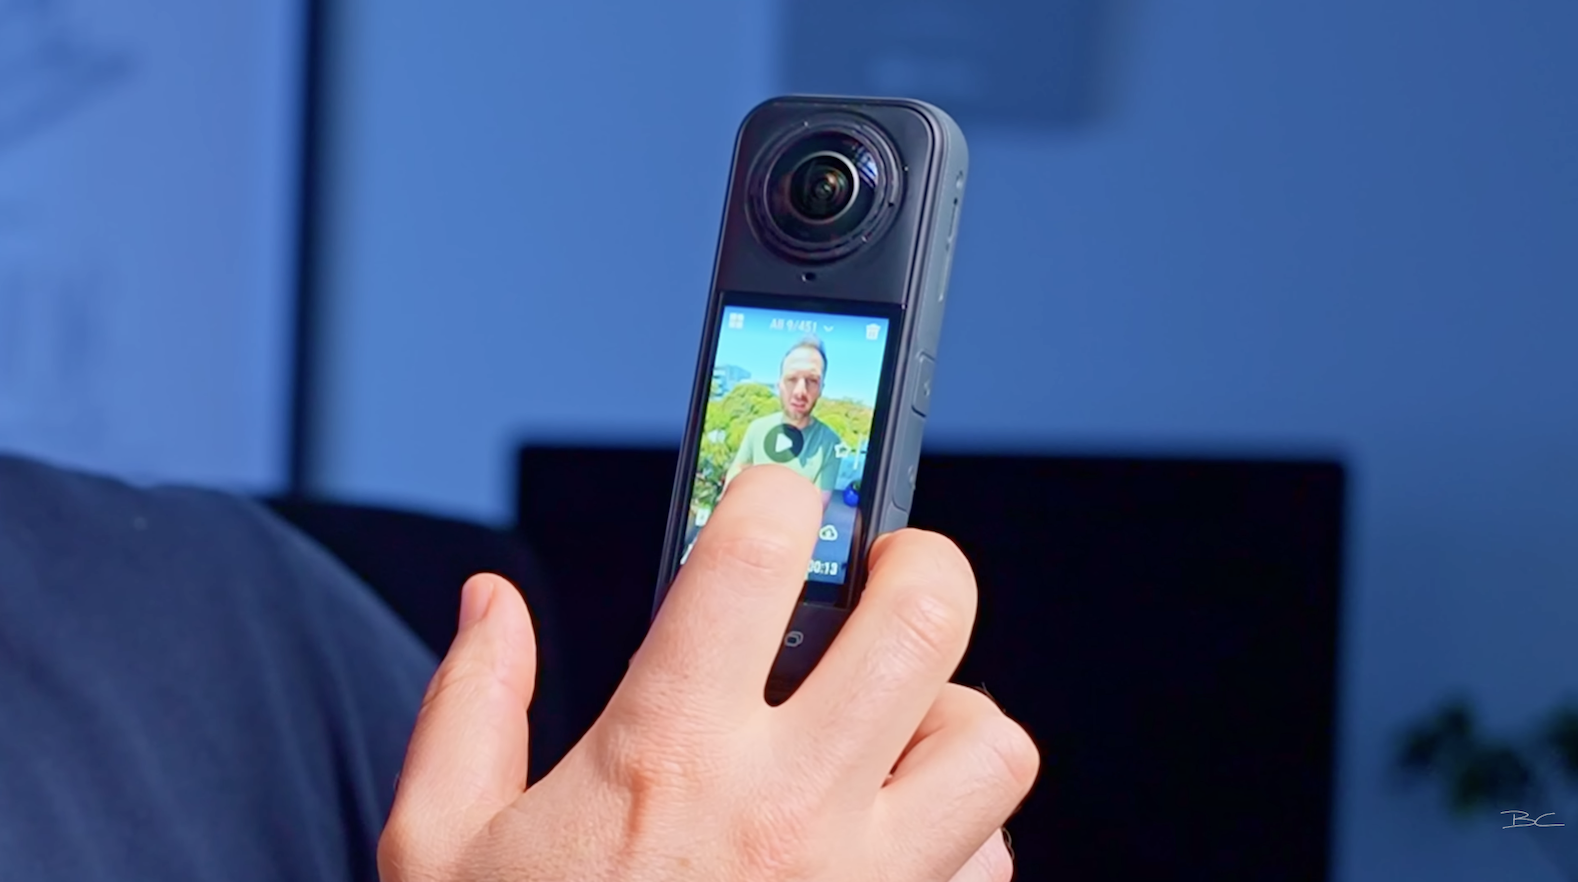
6. Always Play back Your Clip on Location
My final tip is simple: play your clips back on location so you can hear right away whether your audio worked.
In the preview menu, swipe through your shots, switch to Wind Noise Reduction, and you’ll hear in real time if it’s actually better than the in-built mic or the other profiles you tried earlier.
Final Thoughts
Clear audio is important, but it’s only half of the video-making process. If you want to learn how I capture high-quality, high dynamic-range shots with the X5, I cover hundreds more tips inside my 360 Video 101 course — you can check it out here.
Blog Author