How To Shoot & Edit Insta360 Travel Videos FAST (Step-by-Step Workflow)
Feb 09, 2026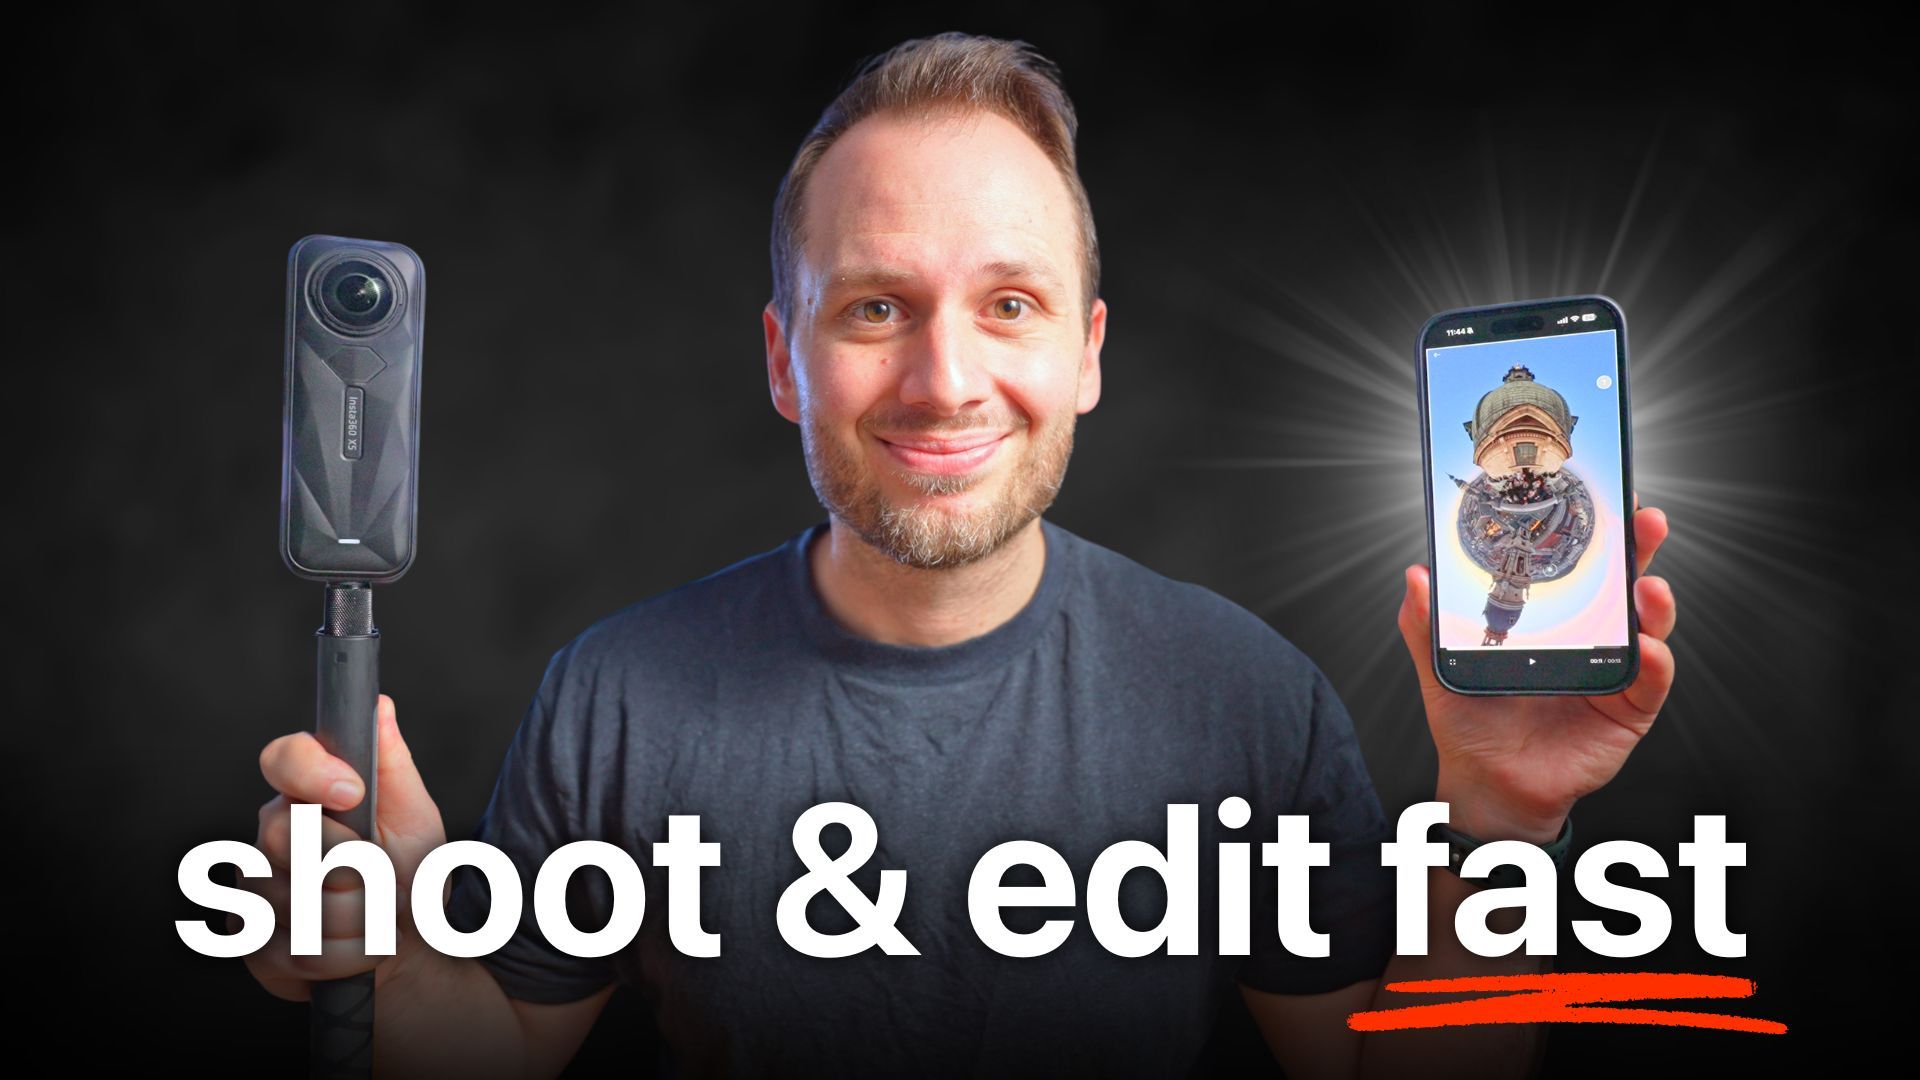
Have you ever gone on holiday with a 360 camera and shot so much footage that you never actually sat down to edit it because it felt like too much work?
This is one of the most common mistakes beginners make when using a 360 camera like the Insta360 X5 as a travel camera. It often leads to precious holiday memories being trapped forever on an SD card.
After getting home from one of the most epic Europe trips ever, I realised something. While I was travelling, I’d actually discovered a workflow that helped me shoot, edit, and upload awesome 360 videos daily, while still having most of my day free to actually enjoy my trip.
In this post, I’m sharing the most important shooting and editing tips you need to know for creating Insta360 content on your next vacation. These tips also apply to day-to-day shooting, wherever you are.
All shots shown were filmed on the Insta360 X5, but you can still follow along if you’re using an older Insta360 camera or a newer one in the future.
Don’t Record for Hours on End
This might sound obvious, but you’d be surprised how many people leave their 360 camera recording for hours, thinking it will magically create great shots for them.
Here’s the truth: the best shots are intentional, and more importantly, short.
I recommend sticking to a maximum of 30 seconds per clip. Even better, aim for 5–15 seconds on average. Put yourself in the shoes of someone watching your clip on Instagram and ask yourself, will this hold my attention? In most cases, the answer is no.

Shorter clips mean:
-
Higher retention
-
Faster editing
-
Easier reframing later
The exception is when you’re intentionally shooting something like a hyperlapse. In that case, you may need to record for over five minutes and speed it up to 5–30 seconds. Just remember: the longer the clip, the harder it is to edit later.
Use Loop Recording for Time-Specific Moments
If you’re waiting for something specific to happen — like a dolphin jumping at sunset — recording for hours isn’t the best approach.
Instead, try Loop recording (available on the Insta360 X5). This mode continuously records over the same section of the SD card, deleting the previous footage. You can set the loop duration anywhere from one minute up to 30 minutes.
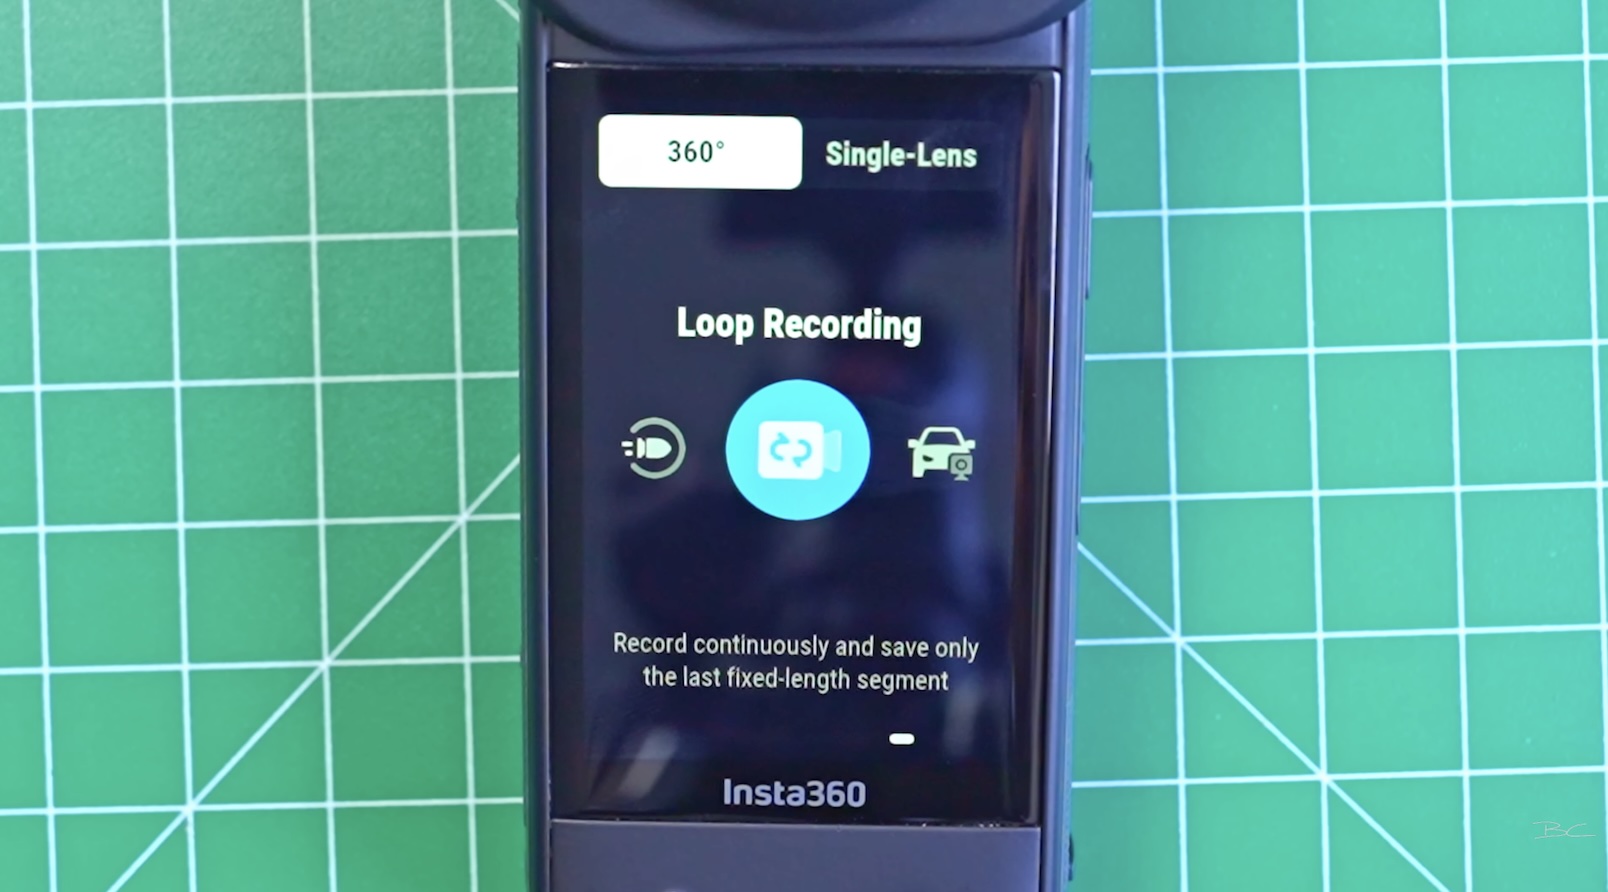
This means:
-
You don’t have to dig through hours of footage later
-
Your SD card doesn’t fill up
-
You still capture the exact moment you’re waiting for
The Three Shot Rule
One rule that practically guarantees you’ll get a good shot is capturing three different shots per location.
When shooting 360 video, you often won’t know if a shot worked until later. Even with live preview on your phone, there’s still a decent chance the shot ends up feeling a bit meh.
If you try three different shot ideas in the same location, chances are at least one of them will work.
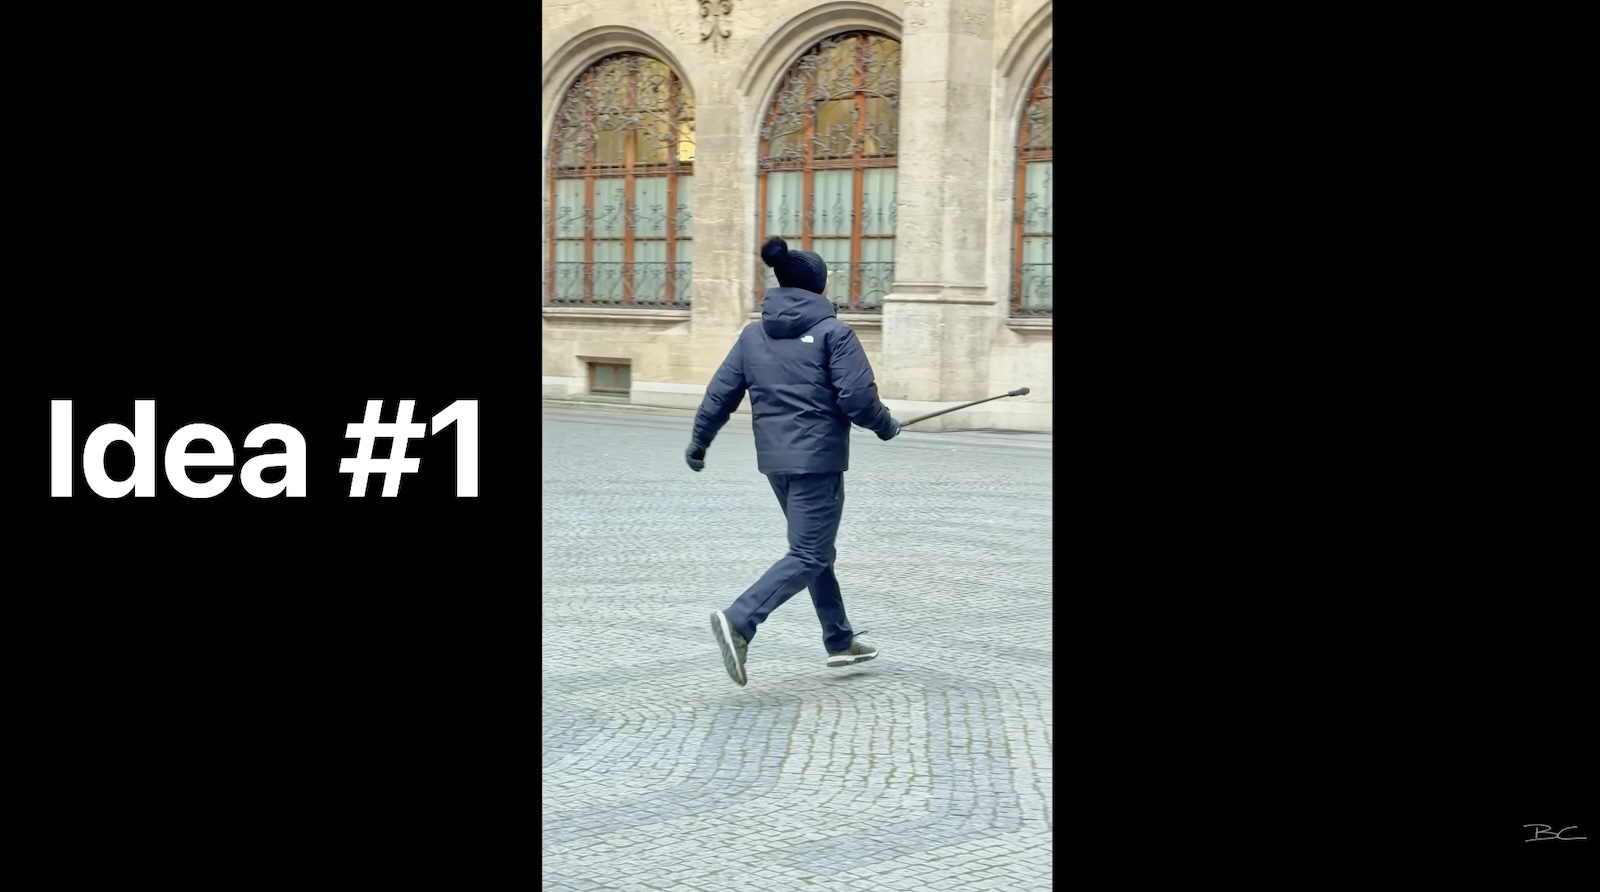
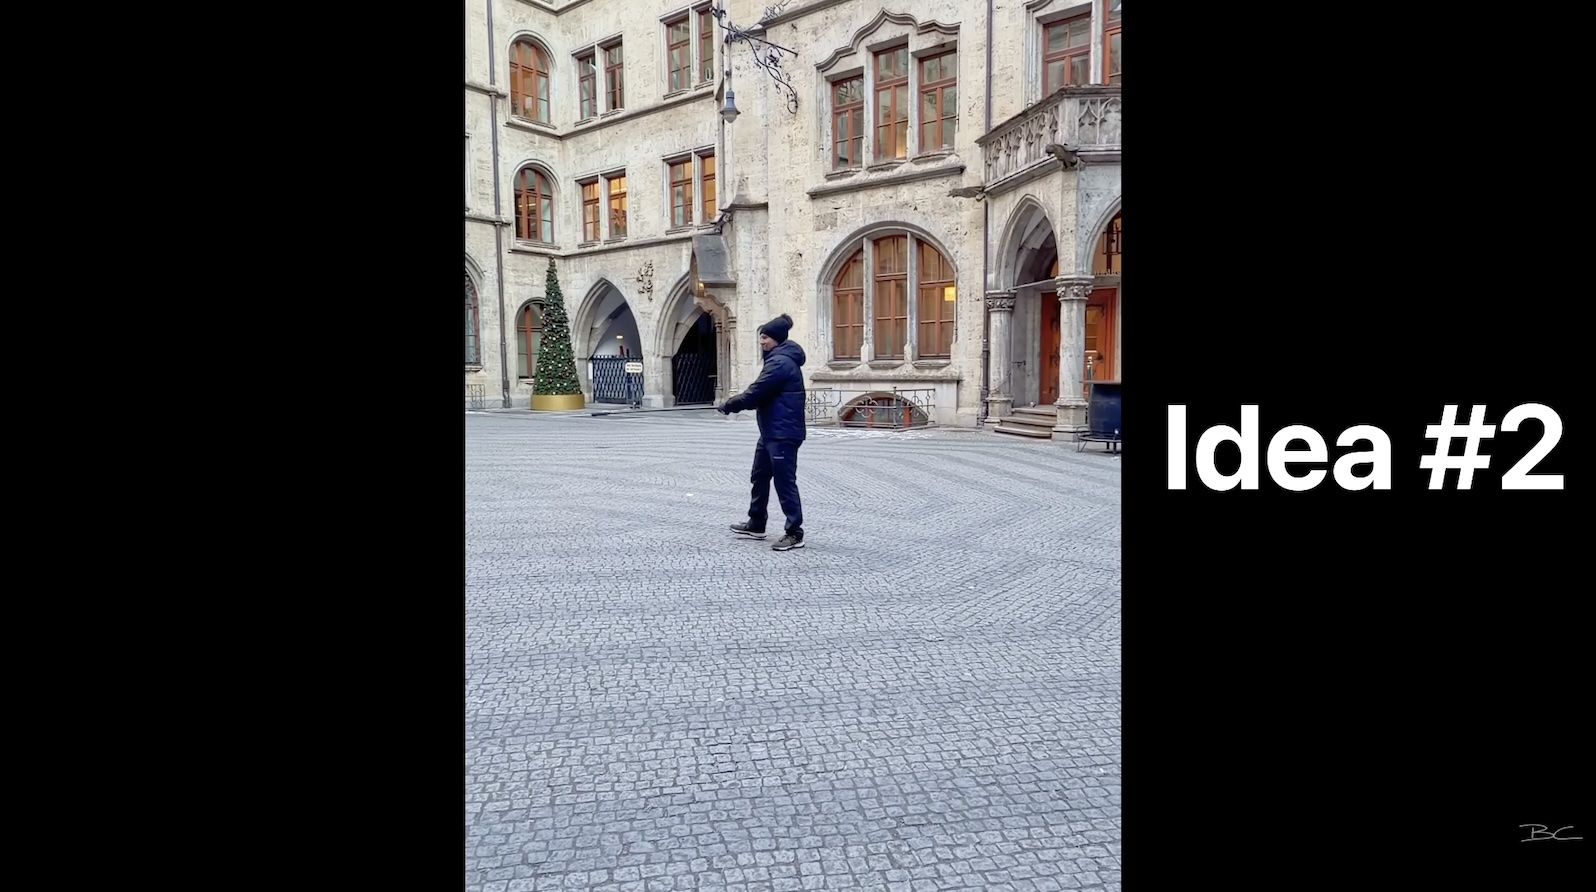
Example: Munich City Hall
Inside Munich’s city hall, I wasn’t sure what the best shot would be, so I tried a few different ideas.
- Idea #1: First, I ran with the camera at 50fps — it was decent, but not very reframe-friendly.
- Idea #2: Next, I spun the camera while walking through the courtyard, which was better, but still not amazing.
- Idea #3: Finally, I moved the camera from the ground to the sky repeatedly.
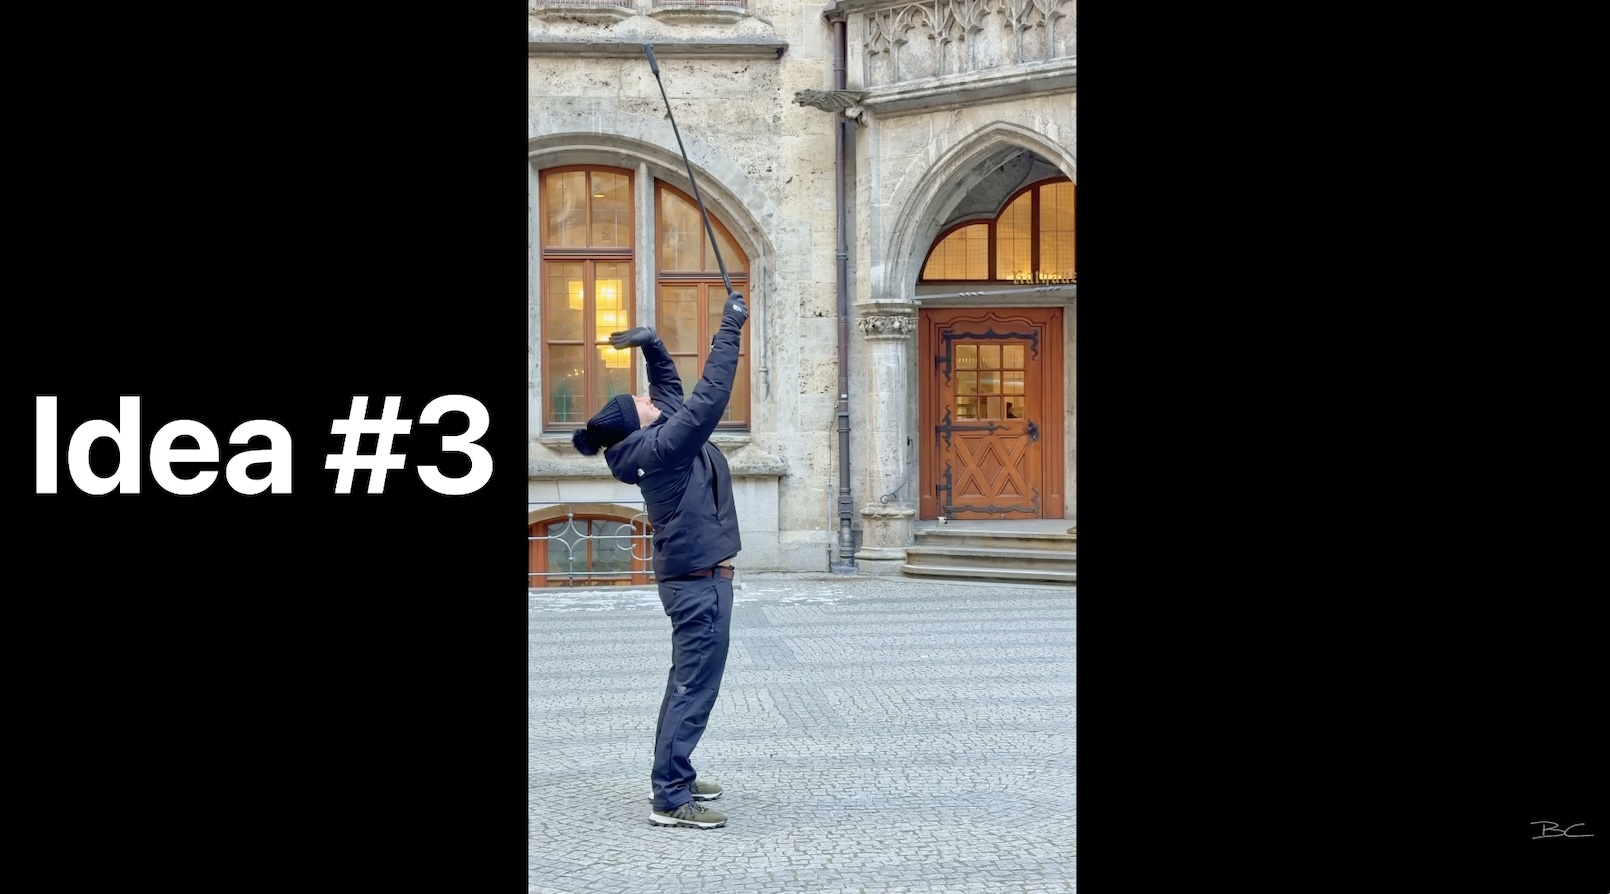
At the time, I had no idea which shot would work, but after editing all three, one clearly stood out - and the winner was shot #3:

Why This Actually Saves Time
At first, shooting more clips sounds like it would take longer. But in reality:
-
All shots per location took around 10 minutes total
-
Knowing there was likely one “banger” meant I didn’t waste time trying to save bad shots
-
I only reframed the best clip with minimal effort
Because I kept shots around 10 seconds, reframing was quick and easy.
Use Your Intuition
Sometimes you won’t have time for multiple shots — maybe you’re only in a location briefly or something is happening once. In that case, trust your intuition.
For example, at the top of St. Stephen’s Basilica in Budapest, my intuition told me to lift the camera over the edge and shoot in slow motion. That idea turned out to be a winner — although it easily could have gone the other way. That’s just part of the numbers game.

Keep Your Camera Set Up and Ready
One thing that massively sped up my shooting while travelling was keeping the camera permanently mounted on my selfie stick and stored in my bag.
That way, when I passed something interesting, I didn’t need to stop, open my camera bag, or assemble my gear.
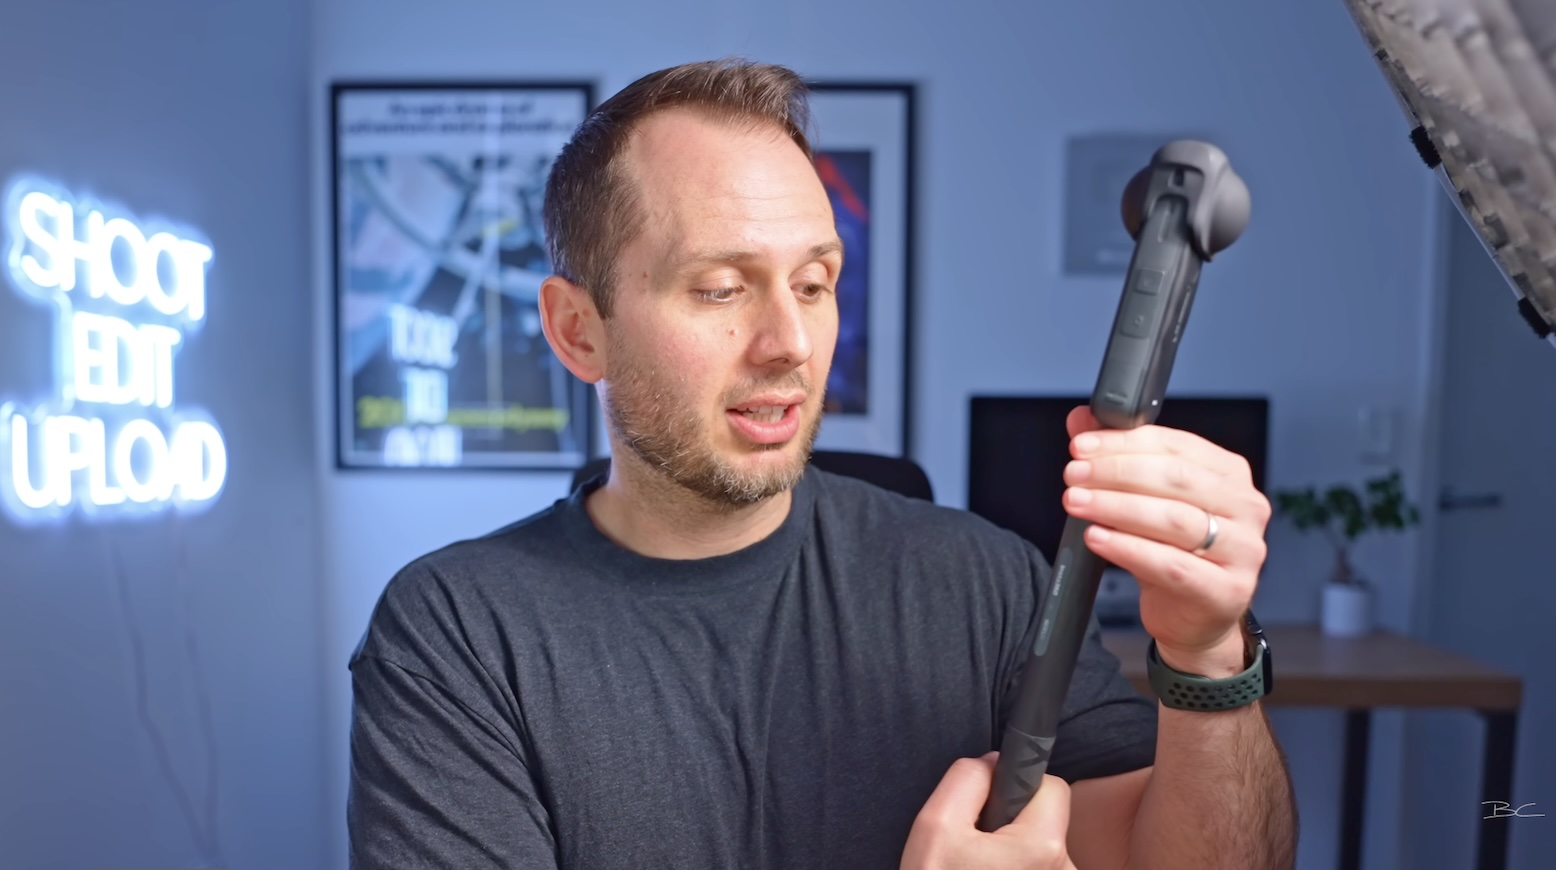
The camera was already ready to go. A portable selfie stick like the Insta360 Action Invisible Selfie Stick makes a huge difference when it comes to saving time.
Edit on Your Phone, Not Your Laptop
It’s tempting to bring your laptop and edit on the road, but I strongly recommend against it.
Editing on your phone speeds up your workflow, reduces friction between devices, and eliminates unnecessary bottlenecks.
Download Footage (If You Have Space)
If you have enough storage, start by connecting your camera to your phone from the album tab and downloading your clips in batches. Once the files are downloaded, you can turn the camera off, put it on charge, and edit anywhere.
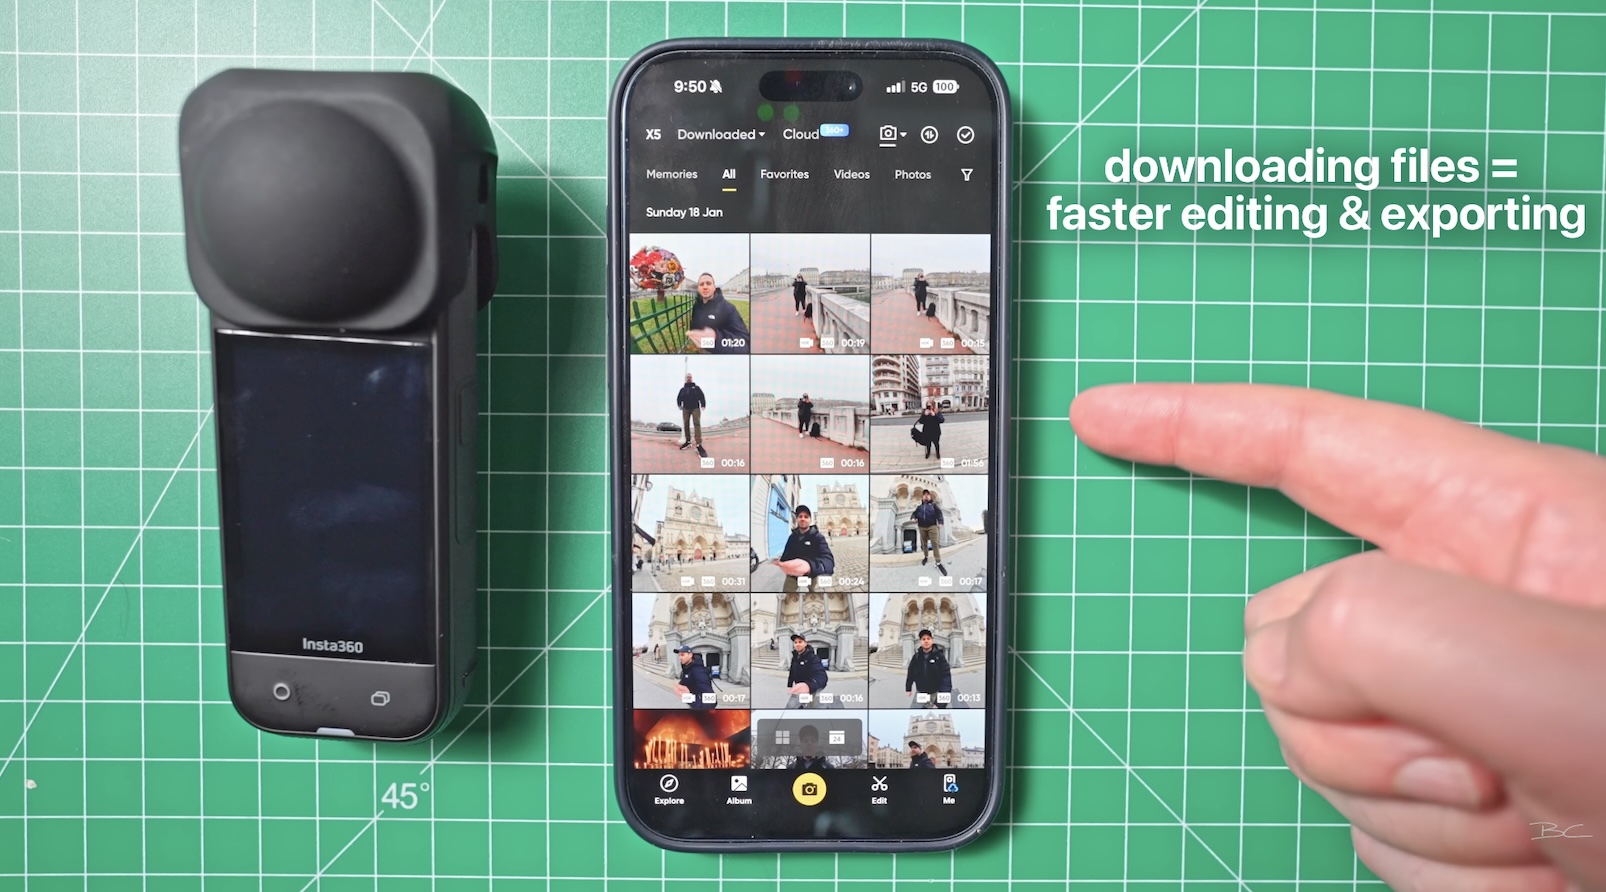
For very long clips (like 8-minute hyperlapses), you can edit wirelessly from the SD card instead. It’s slower, but saves storage space. I recommend downloading anything under a minute for faster reframing and exporting.
Choose the Winning Clips
Since you shot multiple clips per location, the next step is choosing the winner.
Tap a clip to preview it. You can even do a quick micro edit to see if it has potential. If it doesn’t, move on to the next one.
This step alone saves a huge amount of time.
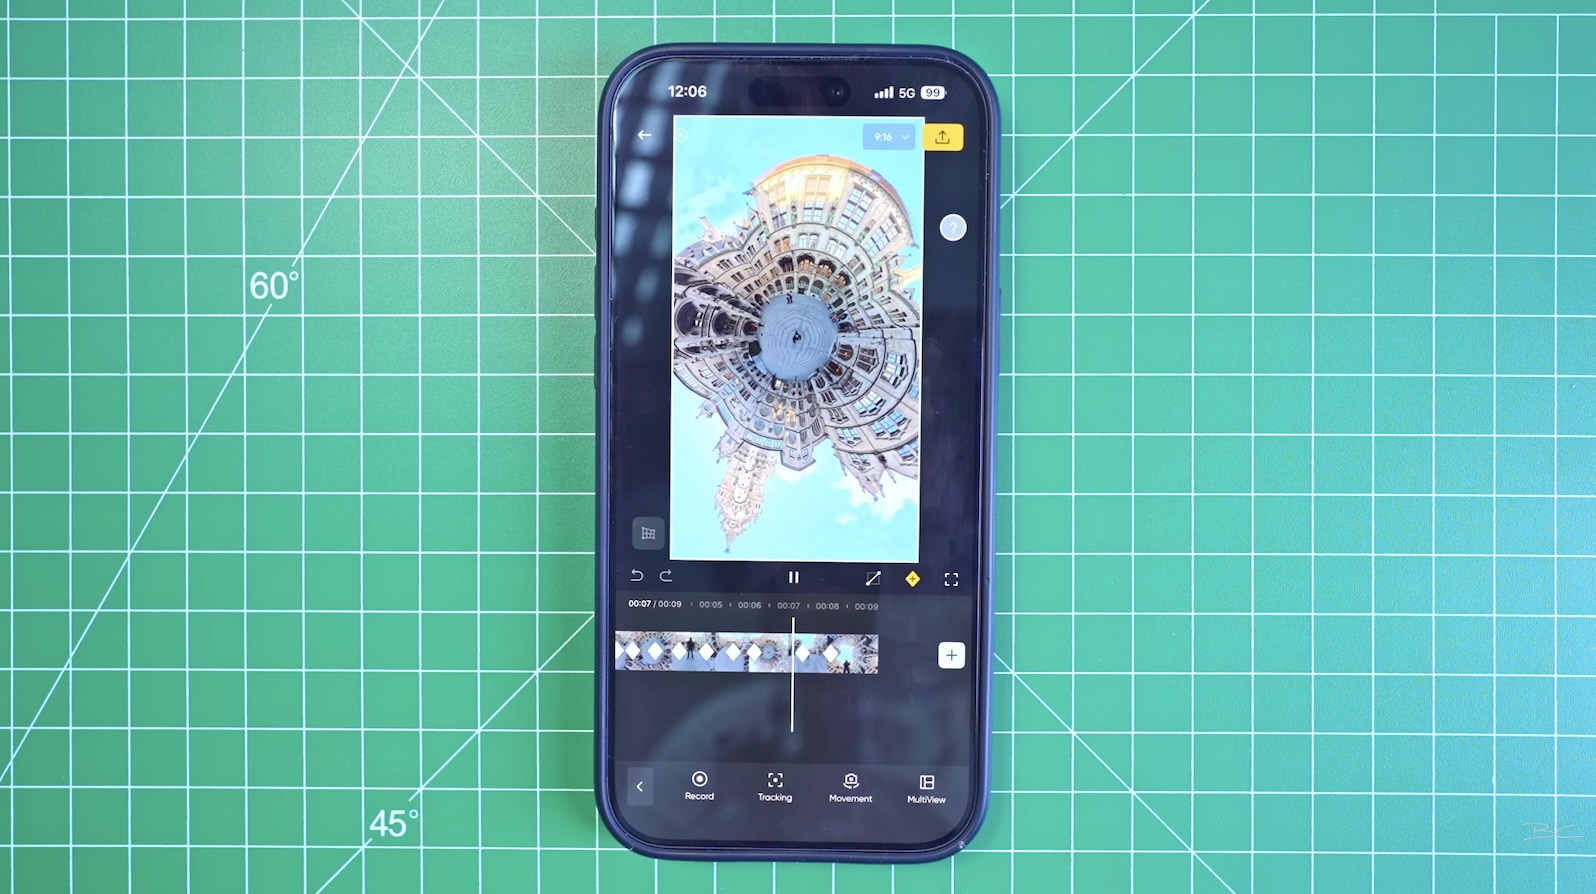
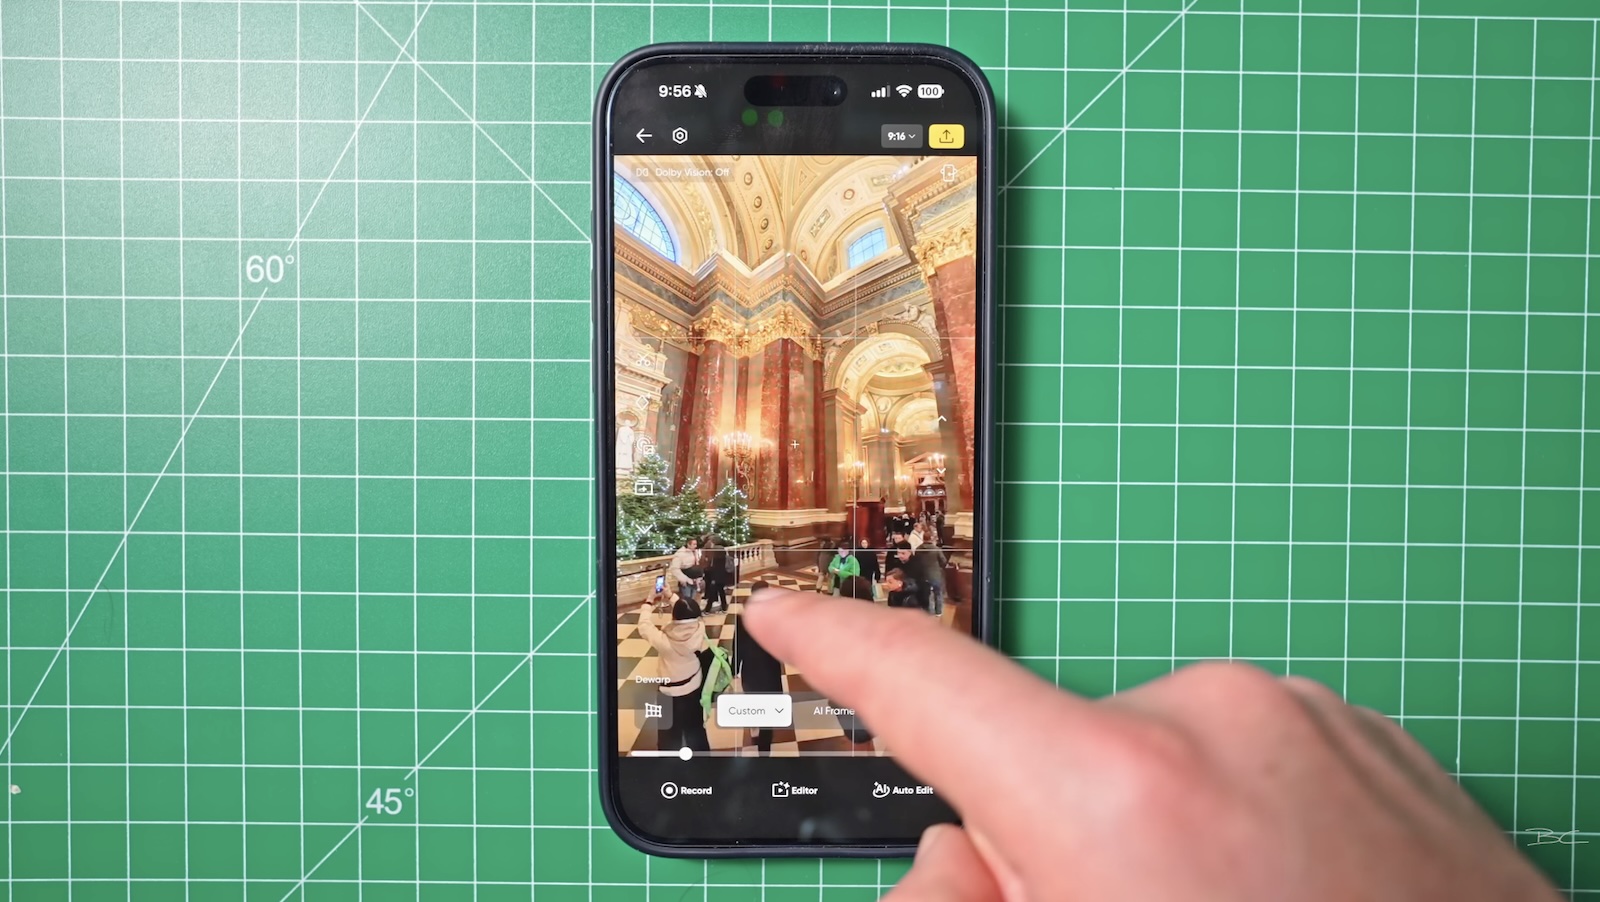
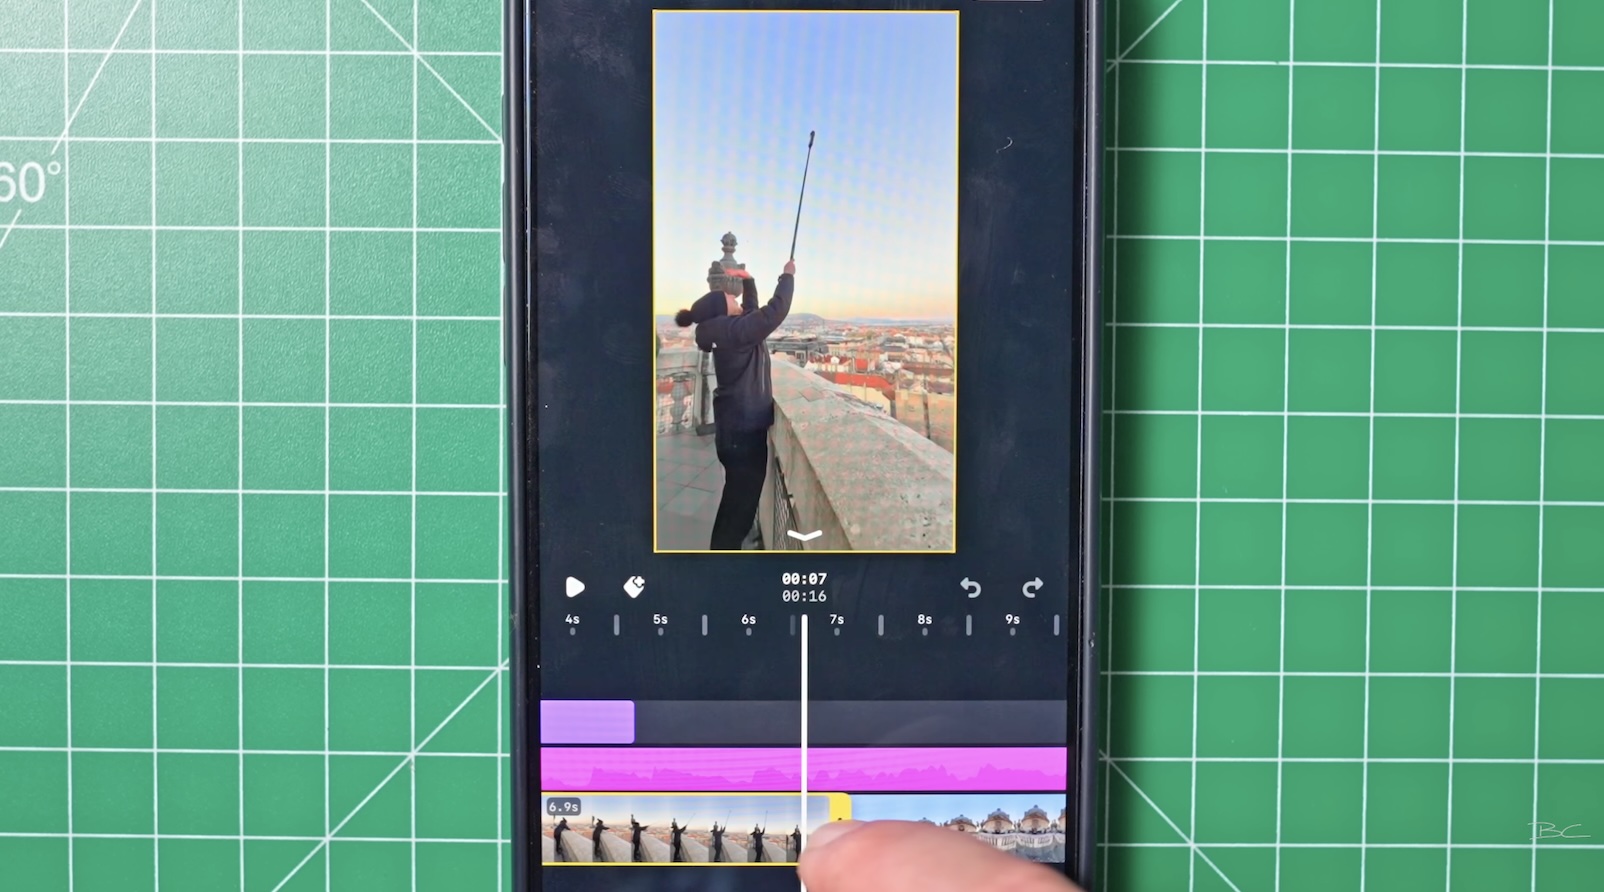
Manually Keyframe for the Best Results
There are lots of reframing options in the Insta360 app, but after years of doing this, I can confidently say that manual keyframing is the best method.
Start by trimming the start and end of the clip to remove setup footage. If needed, apply speed effects next.
Then:
-
Set your first keyframe
-
Move forward and set the second
-
Add a third if needed

I strongly recommend using no more than three keyframes. Most shots only need two or three to create that wow factor, and fewer keyframes keep your workflow fast.
Export in 4K for Best Quality
Once you’re happy with your edit:
-
Tap export
-
Change video quality from 1080p to 4K
-
Export to your phone
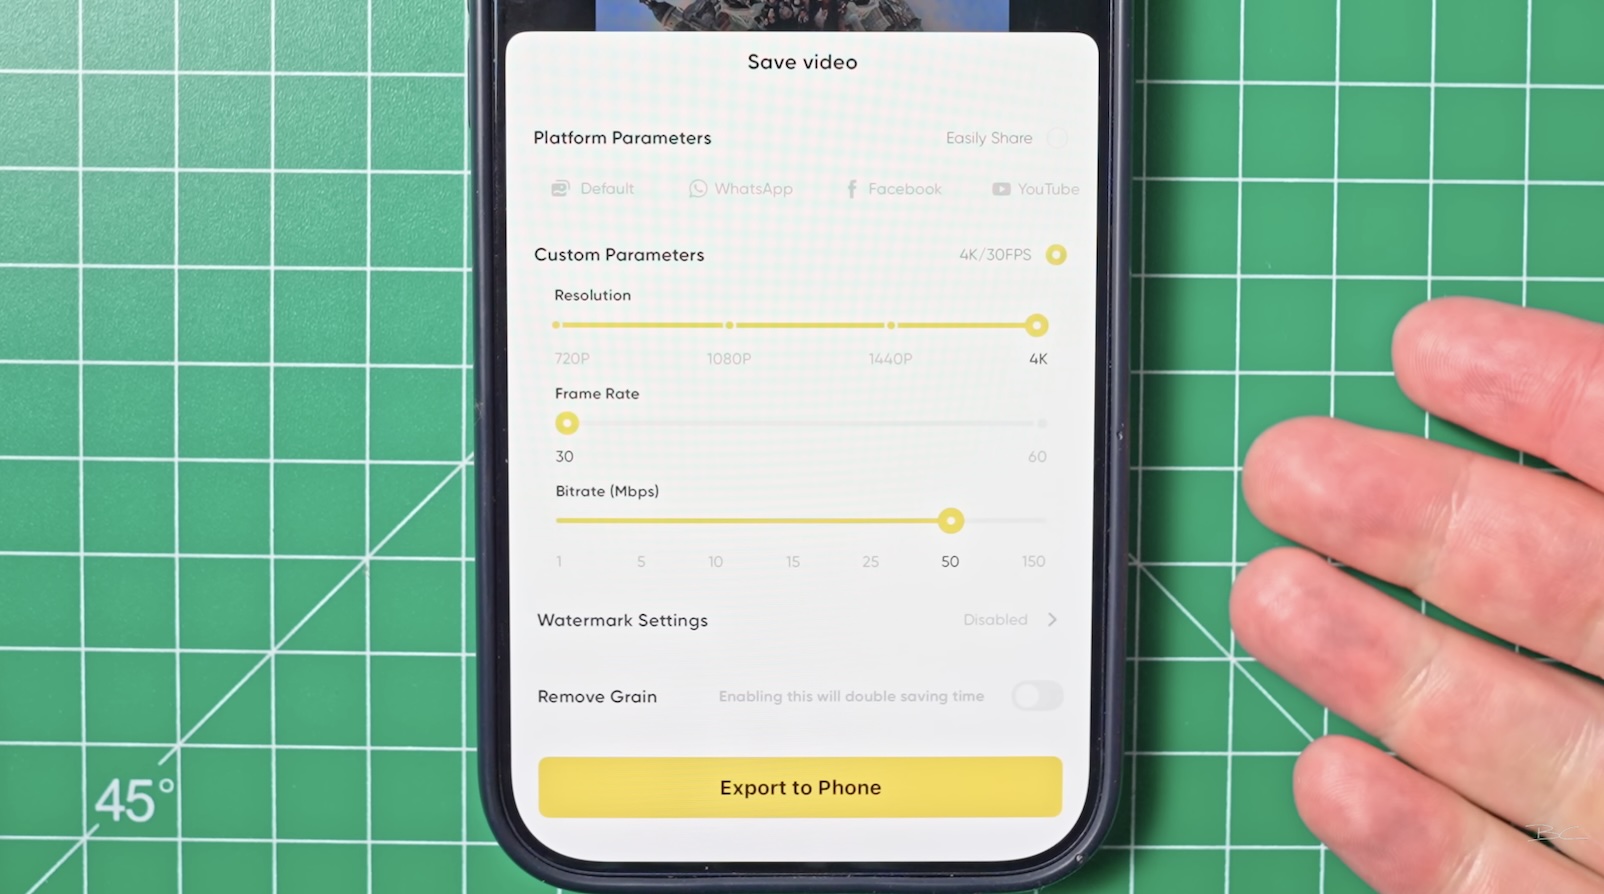
That’s it.
Bonus App: Instagram’s Edits App
One app I used constantly while travelling was Edits by Instagram. It’s essentially Instagram’s version of CapCut, but completely free and very simple.
You can:
-
Import clips
-
Connect them together
-
Adjust clip length with touch controls
-
Add text and music
-
Colour-correct if you want
It also integrates directly with Instagram and Facebook, but you can just export to your camera roll and use the video anywhere. I’ve used these exports a lot for YouTube Shorts as well.
Final Thoughts
This is my travel workflow for shooting Insta360 content without it becoming overwhelming or taking hours every day.
Of course, there are exceptions. If you’re creating a full walking tour or VR experience, that’s going to require more time. But attention spans are short. The shorter your content, the higher the engagement — and the easier it is to shoot and edit consistently.
Blog Author