The Best 360 Video Settings for the Insta360 X5
Jul 07, 2025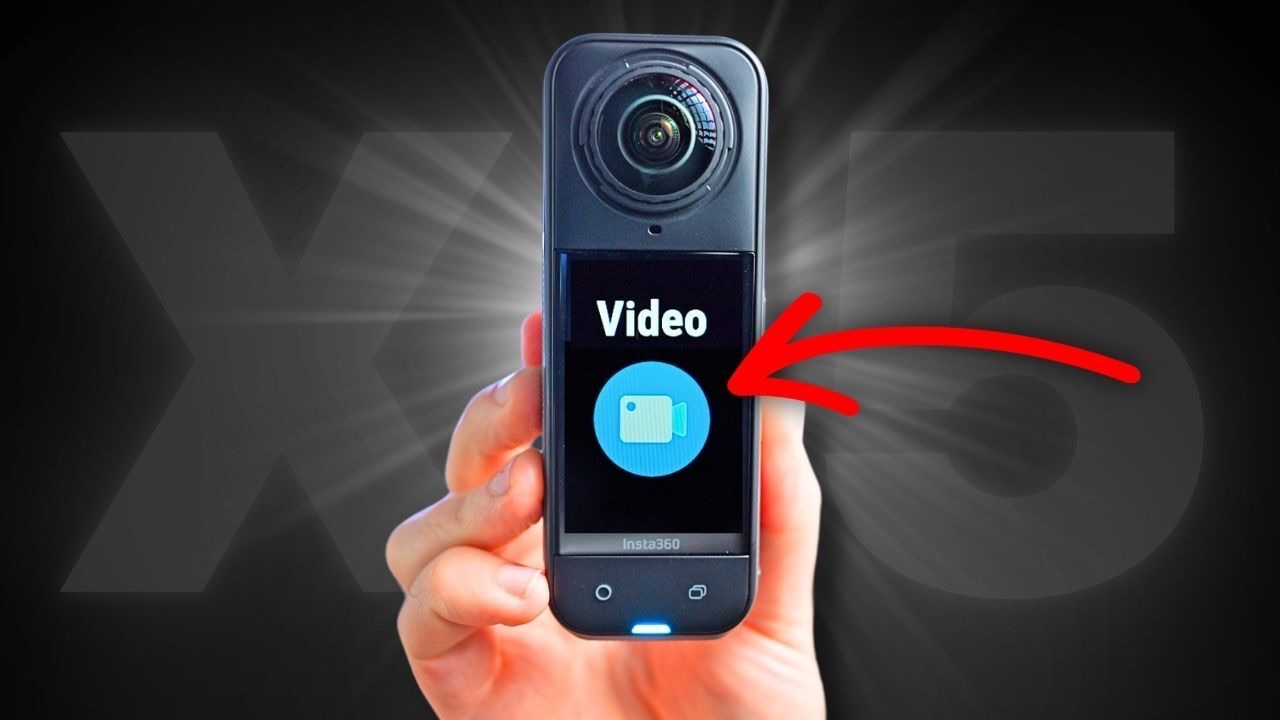
Not sure which 360 video settings to use with your Insta360 X5? It’s easy to end up with footage that looks blurry, low quality, or poorly exposed if you’re using the wrong settings. But with the right setup, your shots will look sharp, clear, and cinematic—with smooth motion and high dynamic range.
In this post, I’ll show you exactly which settings to use in different shooting situations, and how to get the most out of your X5 in terms of video quality.
Before we jump in, feel free to download my free Insta360 Cinematic LUT Pack—a collection of drag-and-drop colour presets I’ve created for five of the most common shooting scenarios. These LUTs will instantly make your footage more cinematic, no matter which Insta360 camera you’re using.
Step 1: Get Your Insta360 X5
Okay, so step one is getting yourself an Insta360 X5. If you haven't bought one yet, then head to my affiliate link here where you can pick one up, with a free lens replacement kit thrown in (for a limited time only)
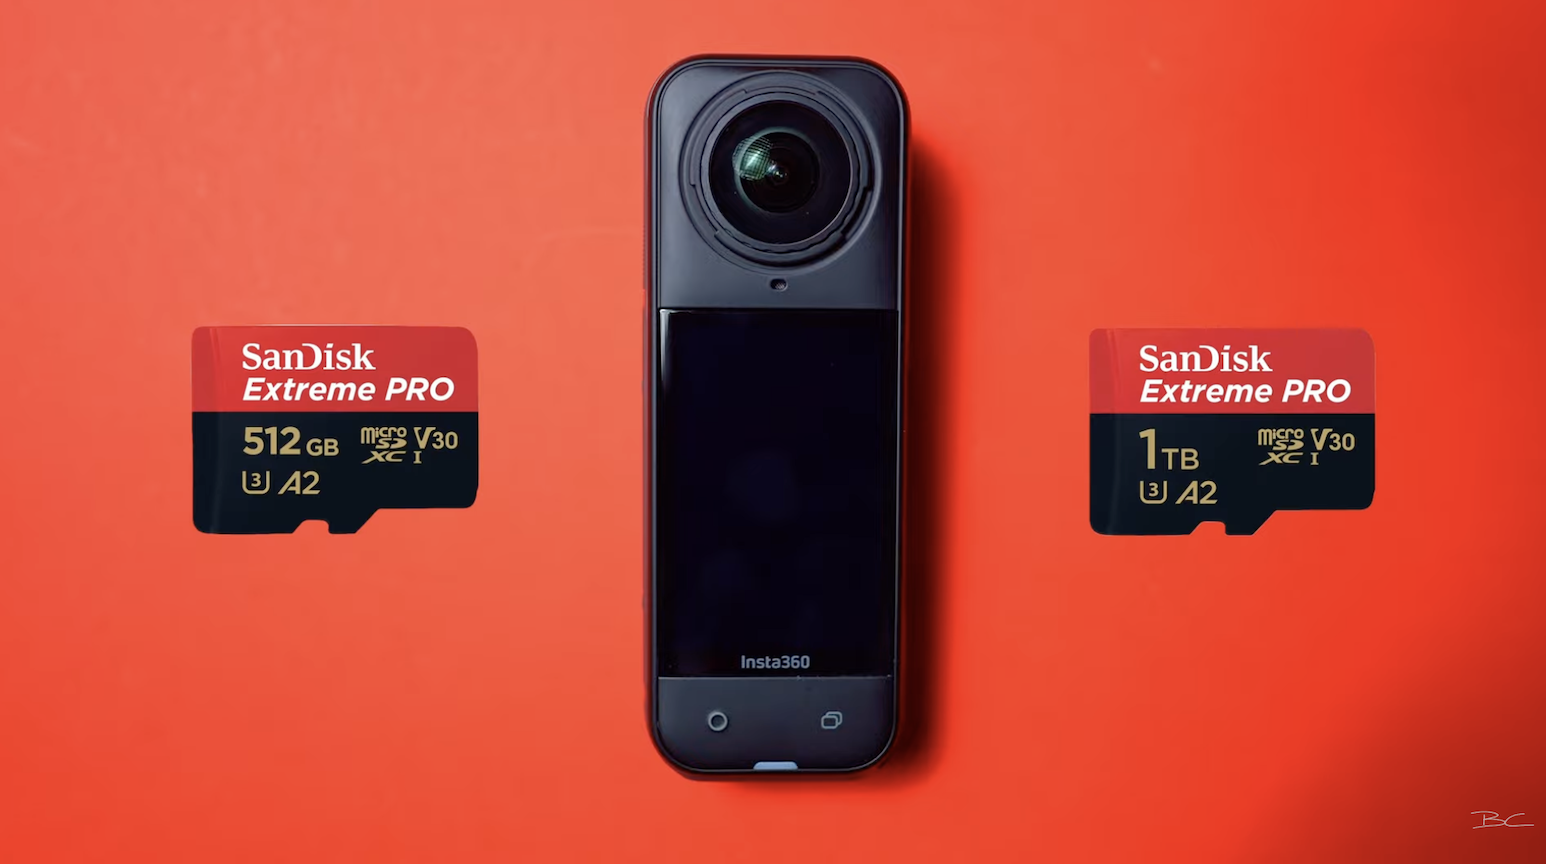
Step 2: Get a High-Capacity SD Card
Step two is getting yourself an SD card. I would strongly recommend buying an SD card with plenty of storage space, anywhere from 512 GB all the way up to 1 TB. And the reason that this is important is that in order for us to use the best settings of the X5 with the highest quality, we're going to need storage space to record the highest quality files possible. There's two SD cards I recommend:
Video Mode: Resolution and Frame Rate Options
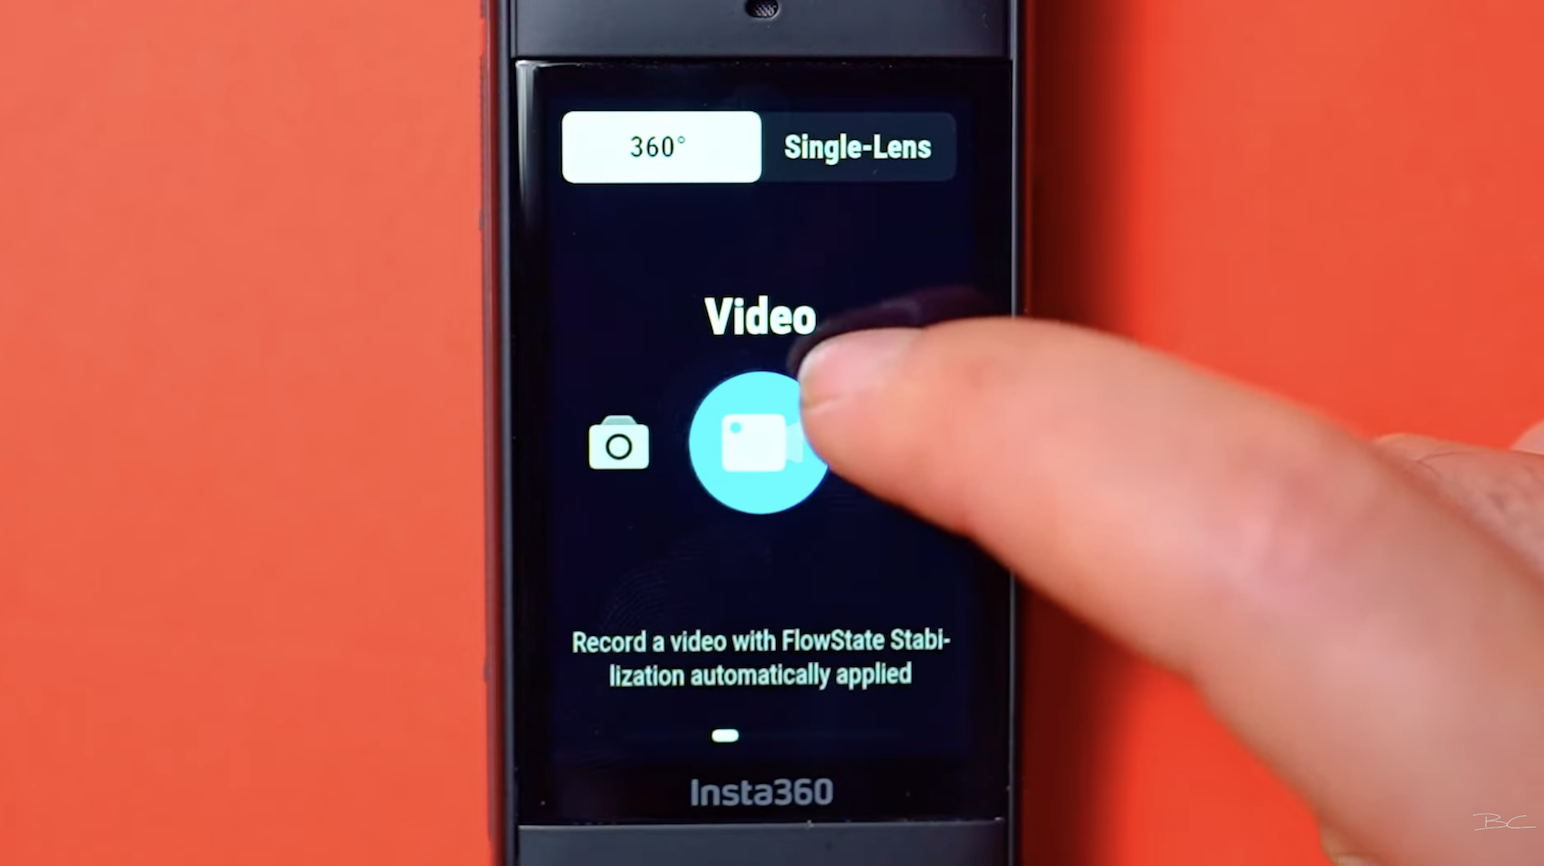
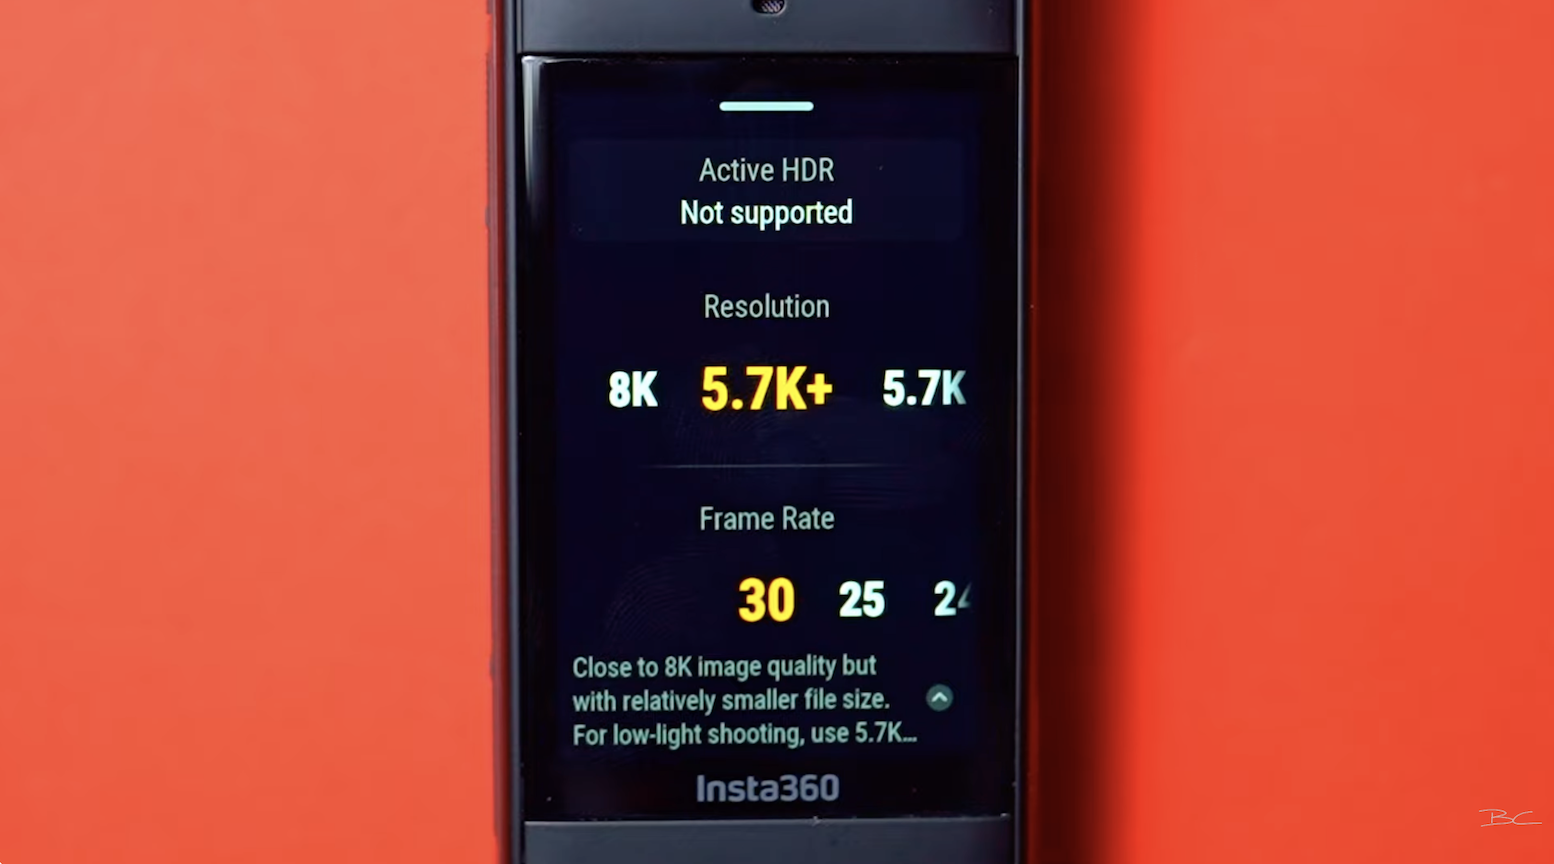
Now, if you go into the video mode of the X5—and this is 360 video—if you tap that and then tap the settings icon down the bottom here, this is where we can change our resolutions and frame rates. And you'll notice that there are multiple different options here to choose from, since the camera can only capture a certain amount of frames at really high resolution.
So, you'll find that the lower the resolution goes, the more frames that it will be able to capture.
- 8K 30
- 5.7K up to 60 fps
- 4K up to 120 fps (slow motion)
5.7K vs 8K vs 5.7K+
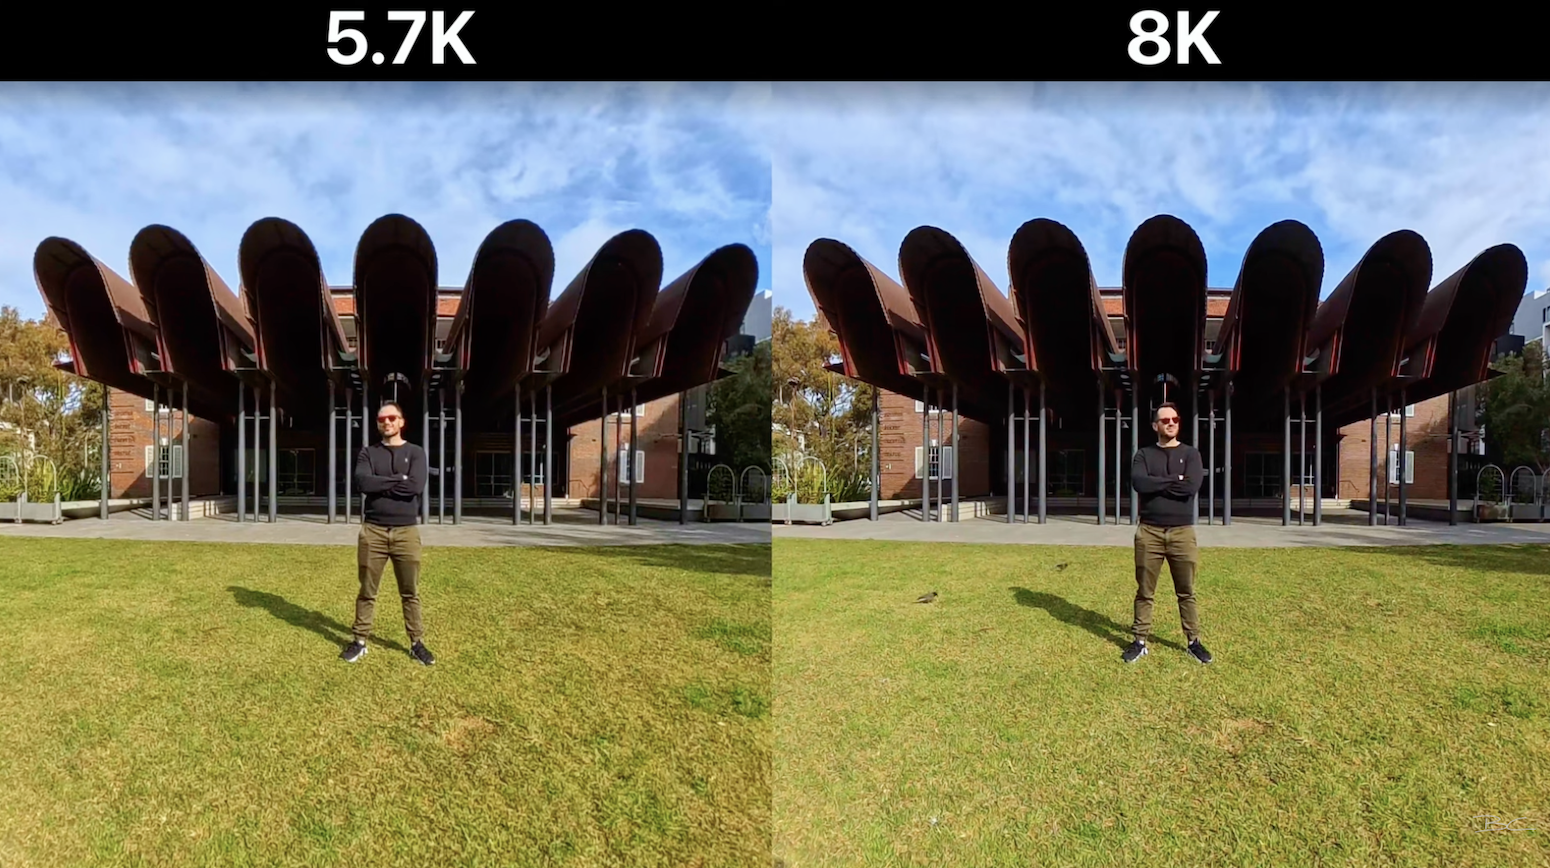
Now, let's take a look at some side-by-side footage.
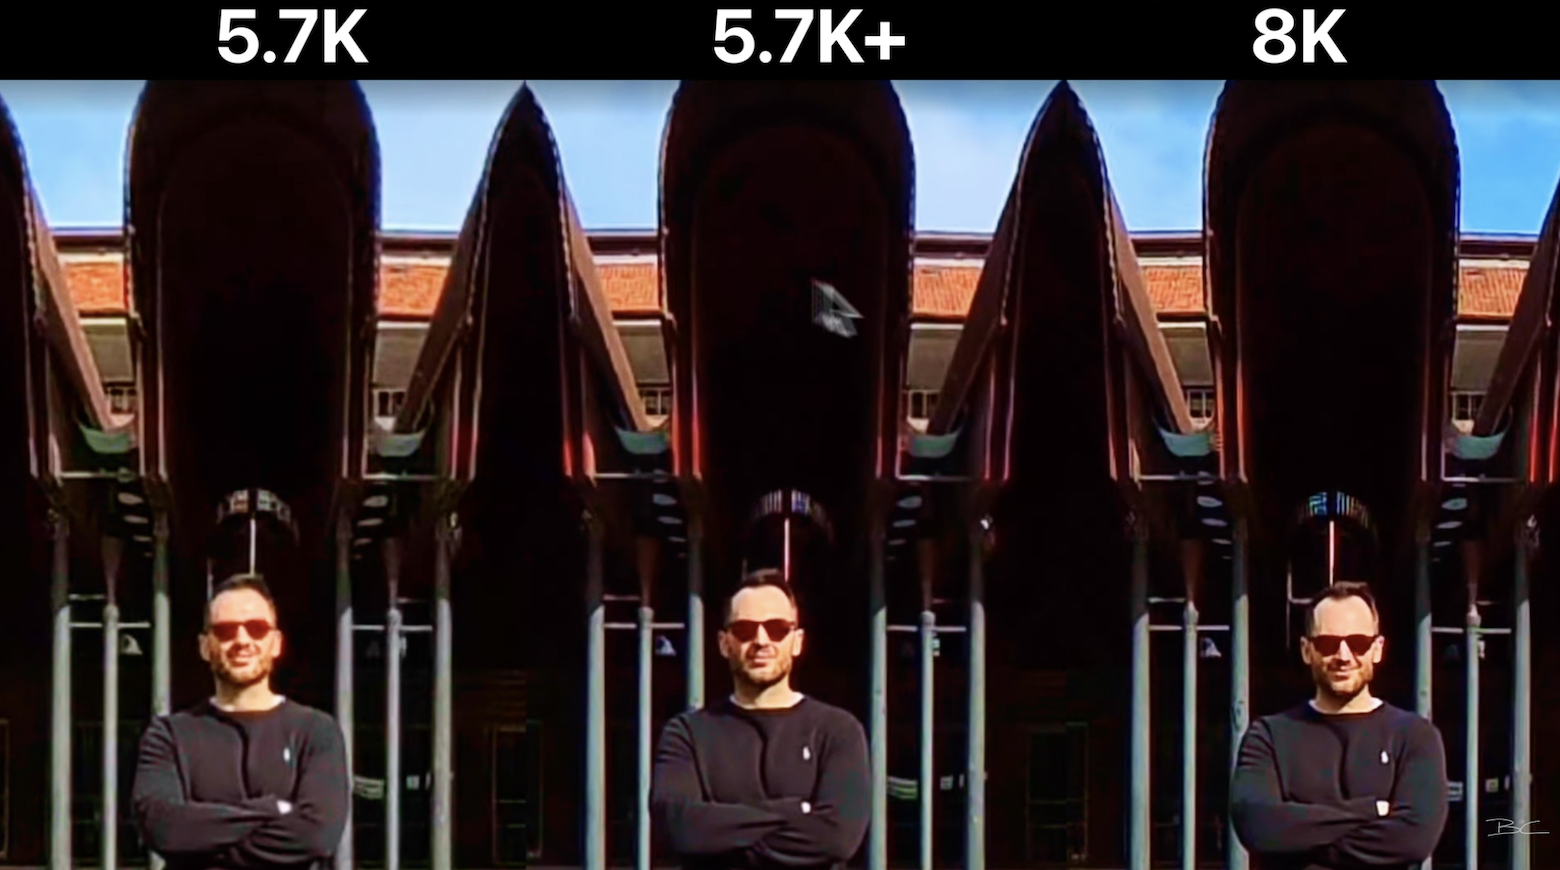
Firstly, let's take a look at sharpness. Here's 5.7K on the left versus 8K on the right. And even in this wide-angle shot, 8K is noticeably sharper in both the background and on me.
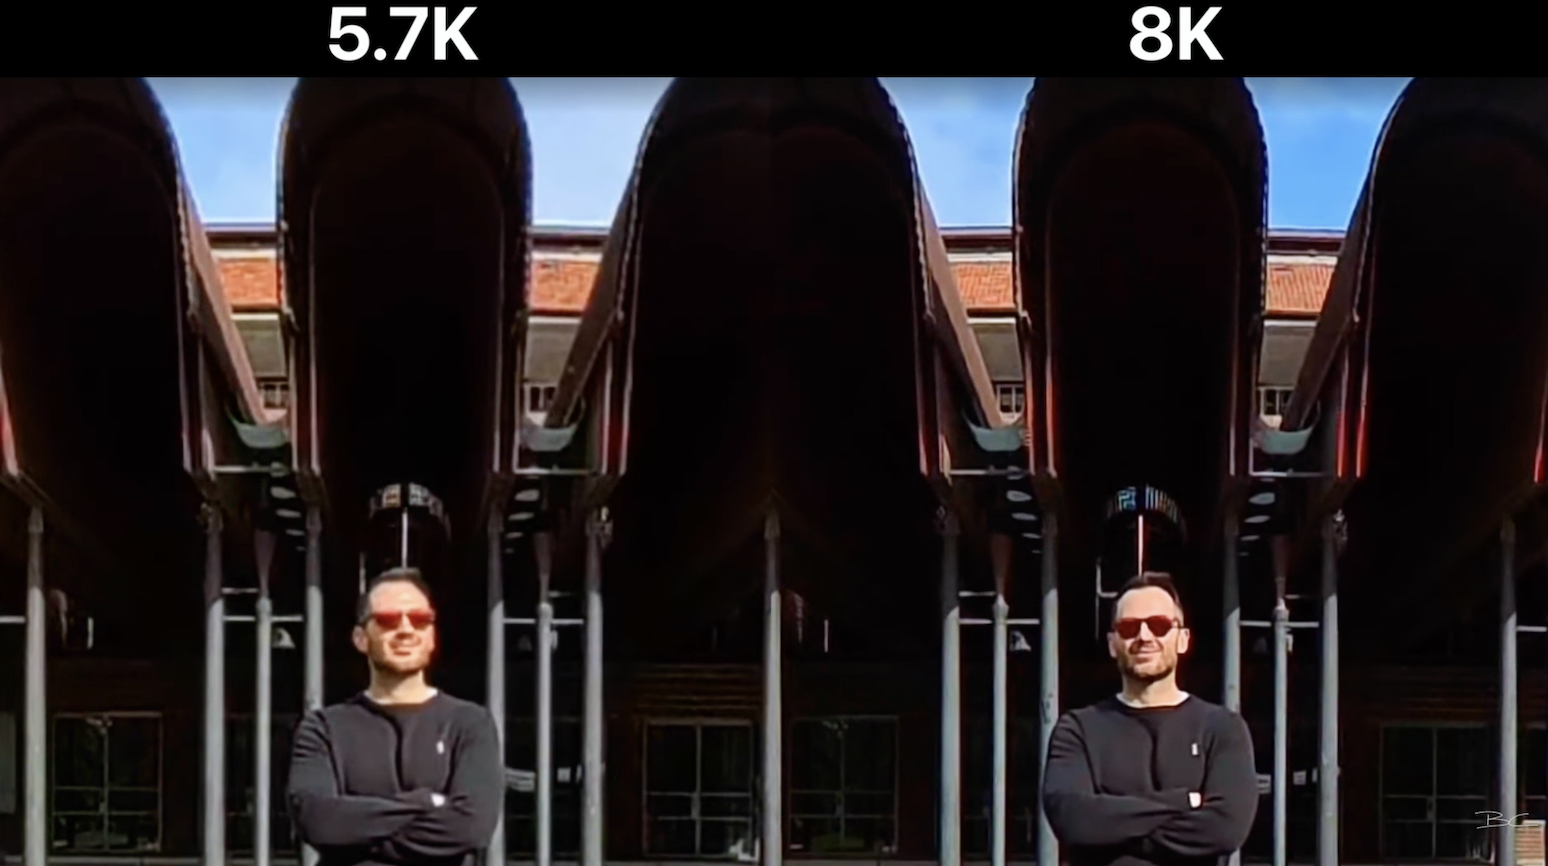
Then, when we punch in, look at the difference between these two. I think we can all agree that 8K looks far better and sharper than 5.7K.
Now, there is this 5.7K+ option with a maximum frame rate of 30. 5.7K+ seems to be somewhere between 5.7K and 8K in terms of sharpness and overall quality. So, it's pretty decent, but definitely not the best of the three. And from what I understand, 5.7K+ is essentially a downscaled version of 8K, and it's supposed to keep file sizes down compared to 8K files, which means you could shoot a lot more on the same SD card compared to shooting at 8K.
But again, like I said earlier, if you just buy yourself a bigger SD card to begin with, you don't need to shoot at lower resolutions at lower quality just for the sake of saving a little bit of card space. So, I hereby eliminate 5.7K+ from this comparison. Don't use it.
Resolution vs Frame Rate: What to Prioritise
Okay, so the comparison's done, right? Well, not so fast. While resolution is one factor, frame rates is another.
So, the reason you'd shoot in 5.7K mode obviously isn't for the quality, but rather the frame rate, since 5.7K allows you to shoot at 60 frames a second, which means you're capturing double the amount of frames with every video.
The reason I'm pointing this out isn't because you're using that 60 frames a second to slow the footage down to a slow-motion shot, but rather it can be used as a stylistic tool to play your footage back at regular speed with more frames in between. And this captures fast motion extra well.
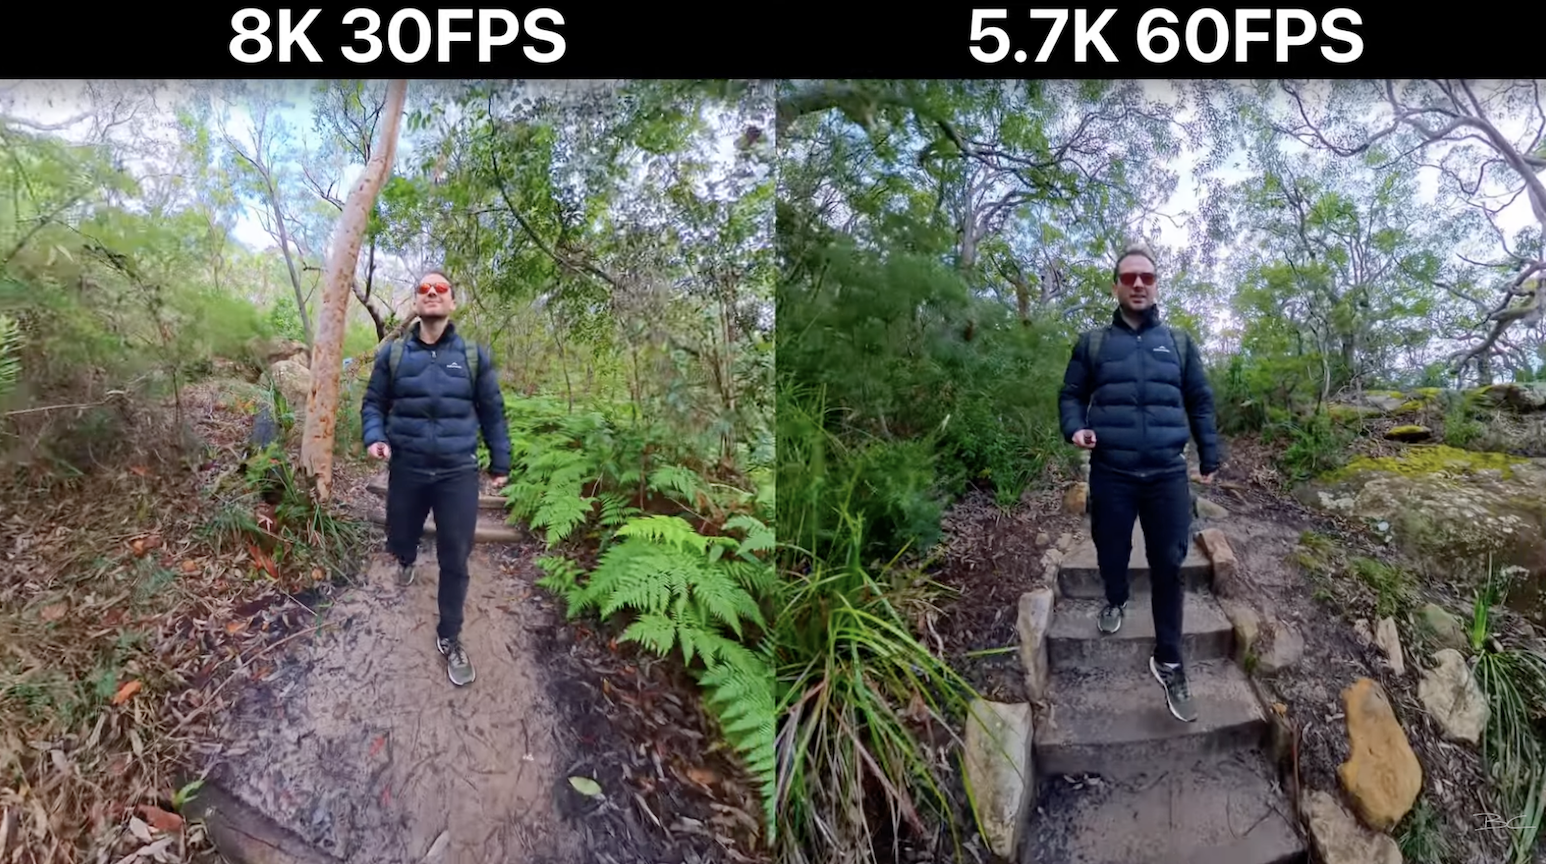
Footage shot at 5.7K 60fps captures fast motion more smoothly and realistically, making it feel like you’re actually there. In comparison, 8K 30fps can look jittery during fast camera movements.
Best Use Cases for 8K 30 and 5.7K 60
- 8K 30 is best for slower-moving scenes, walking or standing, and when you want the best image quality and flexibility to zoom.
- 5.7K 60 is best for fast motion or wide-angle action scenes where you want realism and smoother playback.
When to Use Active HDR
Now, in 5.7K mode, you can also use Active HDR, which is essentially an in-built HDR video mode that will noticeably improve your scene's dynamic range. But with that said, it's not a one-size-fits-all setting. I would only use Active HDR in scenes where you've got the sun bright in shot—maybe it's blowing out the sky completely—well, Active HDR is a great choice for bringing it back under control.
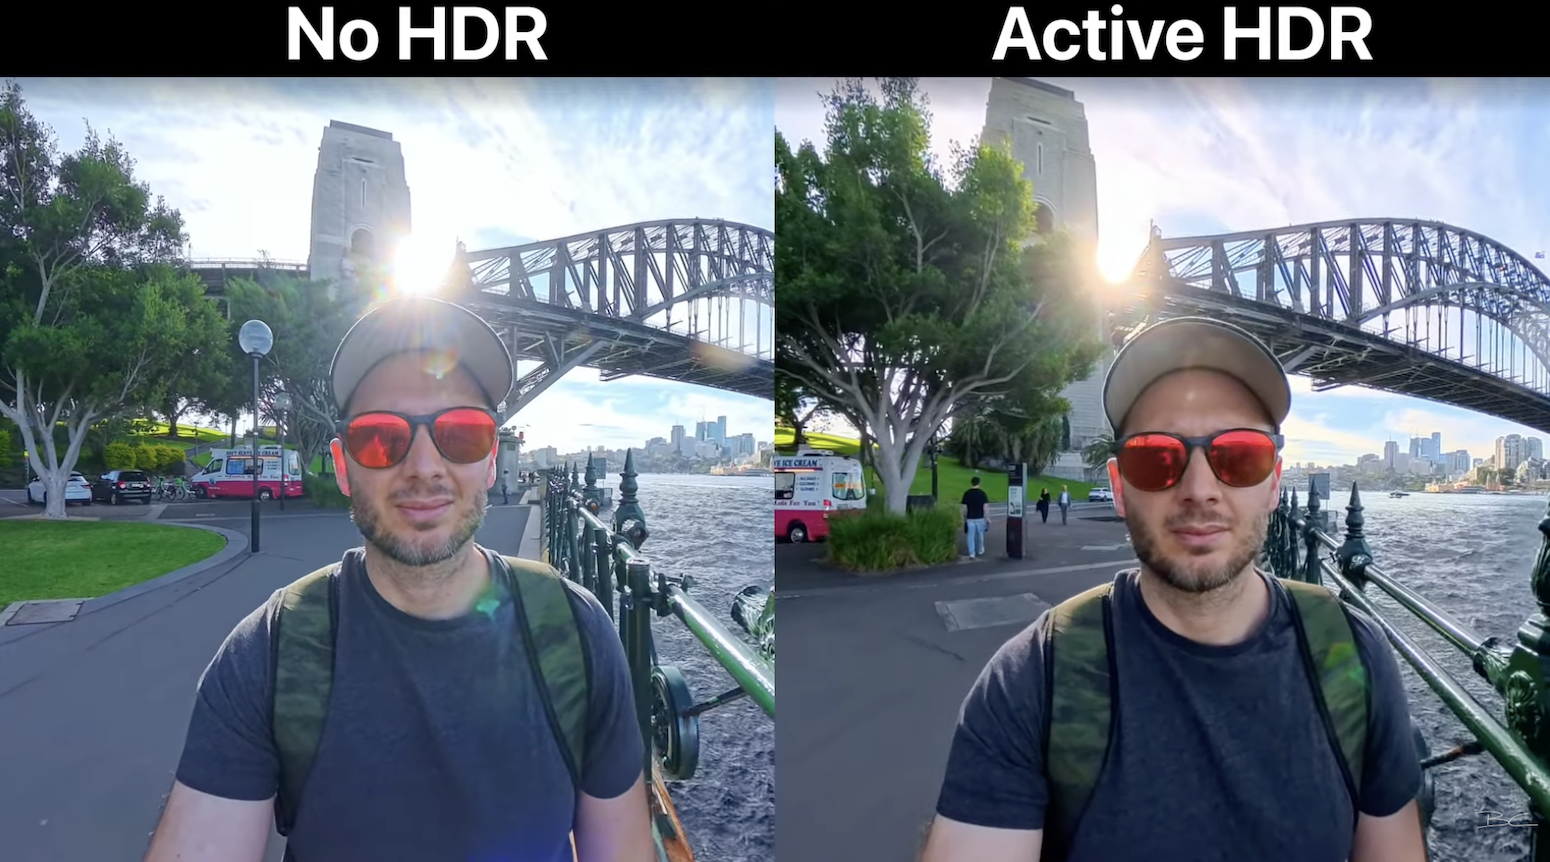
Whereas on a less sunny day or if you're not shooting in direct sun, turning on Active HDR just won't be necessary, and the drop in quality will make your shot worse than if you were to just shoot in 8K with no HDR. So yes, use Active HDR in bright sunlight, but only then.
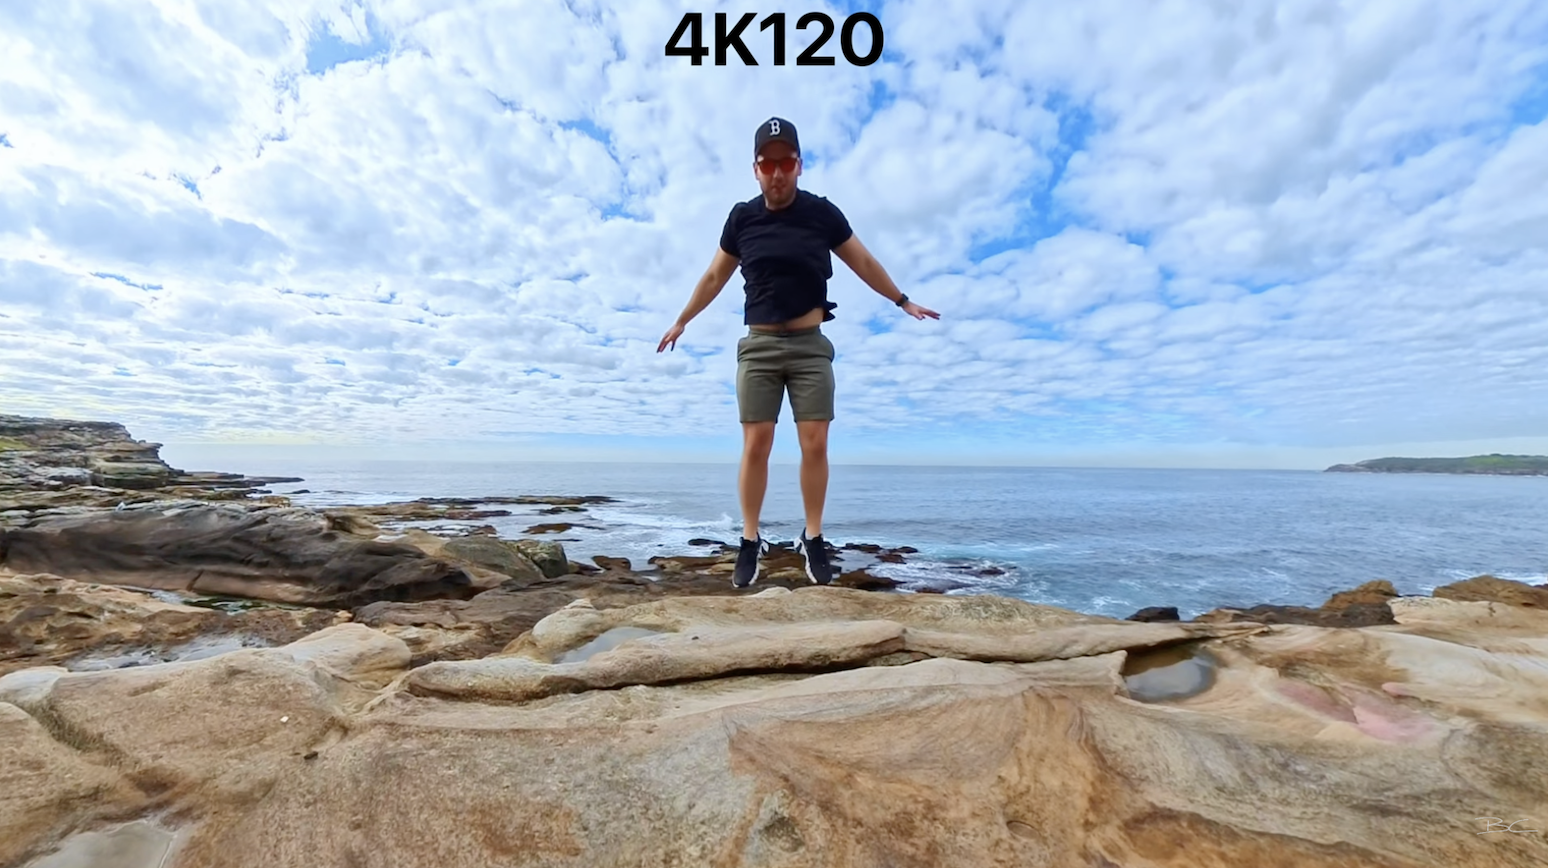
When to Use 4K
The final resolution setting to consider is 4K. And the only reason you'd use 4K is if you want to shoot slow motion at 120 fps. Otherwise, stick with 8K or 5.7K for regular shots.
Best Settings for Low Light: PureVideo Mode
Now, if you're shooting at nighttime, the X5 has a brand-new PureVideo mode, which can be found here. And what PureVideo does is it optimizes the internal camera settings and frame rates to perform really well in low light without you having to set the exposure manually. I've been consistently impressed when I've used PureVideo mode, since it takes the headache out of shooting at nighttime.
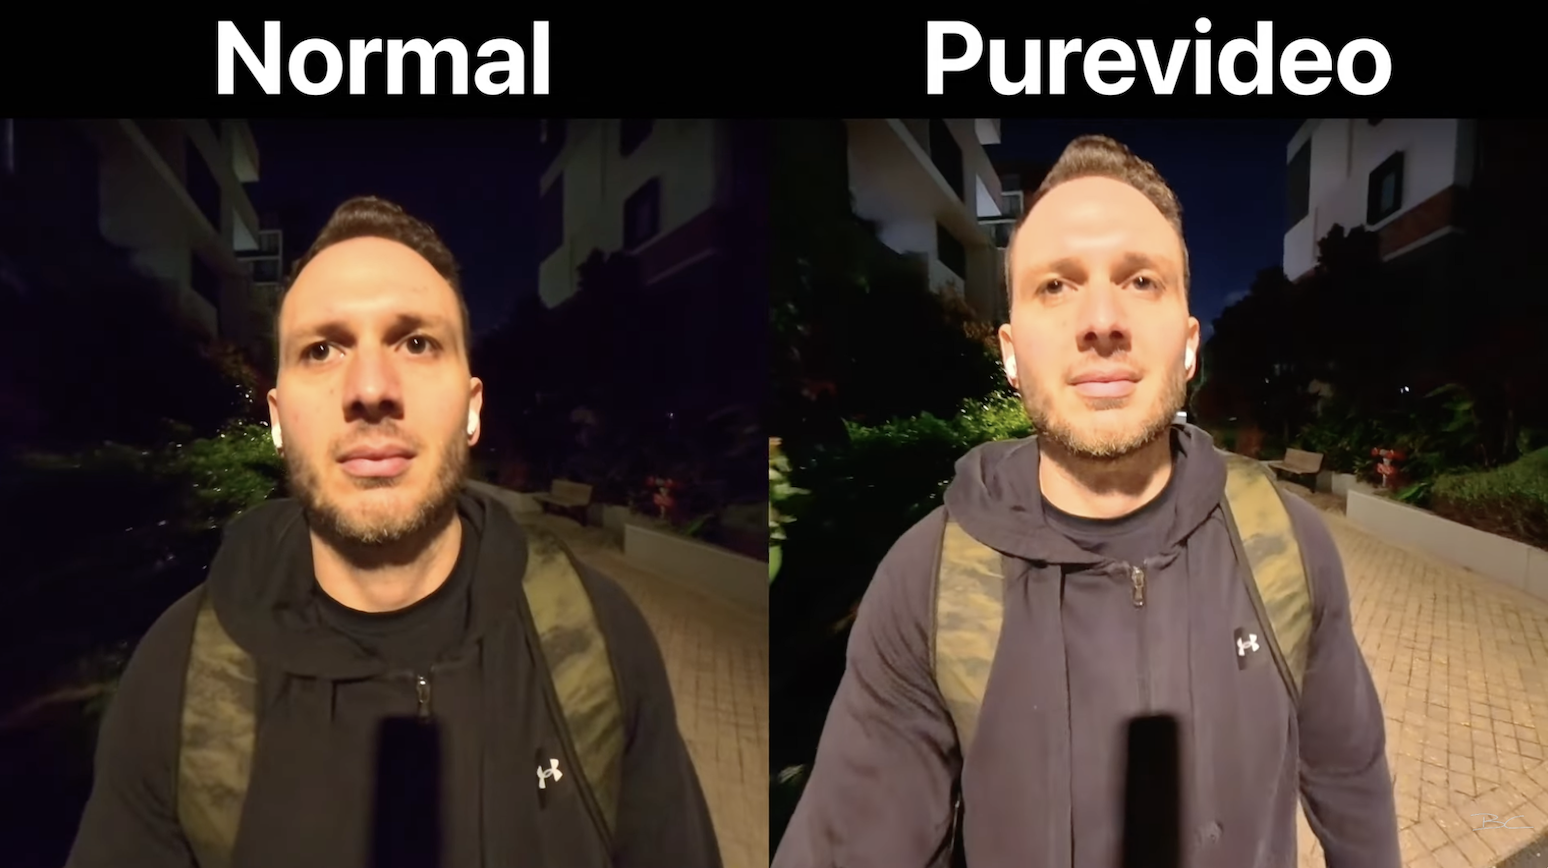
Most of the time with PureVideo mode, you won't need to worry about your shots being either too dark, too blurry, or too grainy. PureVideo also has the same resolutions and frame rates that we had before, with the only exception being 5.7K doesn't have Active HDR or 60 frames a second. Therefore, you would obviously want to shoot at 8K 30.
Manual vs Auto Exposure
You can manually control the X5’s exposure by swiping right on the screen to switch from Auto to Manual mode. This gives you the option to set shutter speed and ISO yourself to dial in the exposure. However, in my experience, the difference between Manual and Auto is pretty negligible. I haven’t come across a situation where Manual Exposure gave noticeably better results.
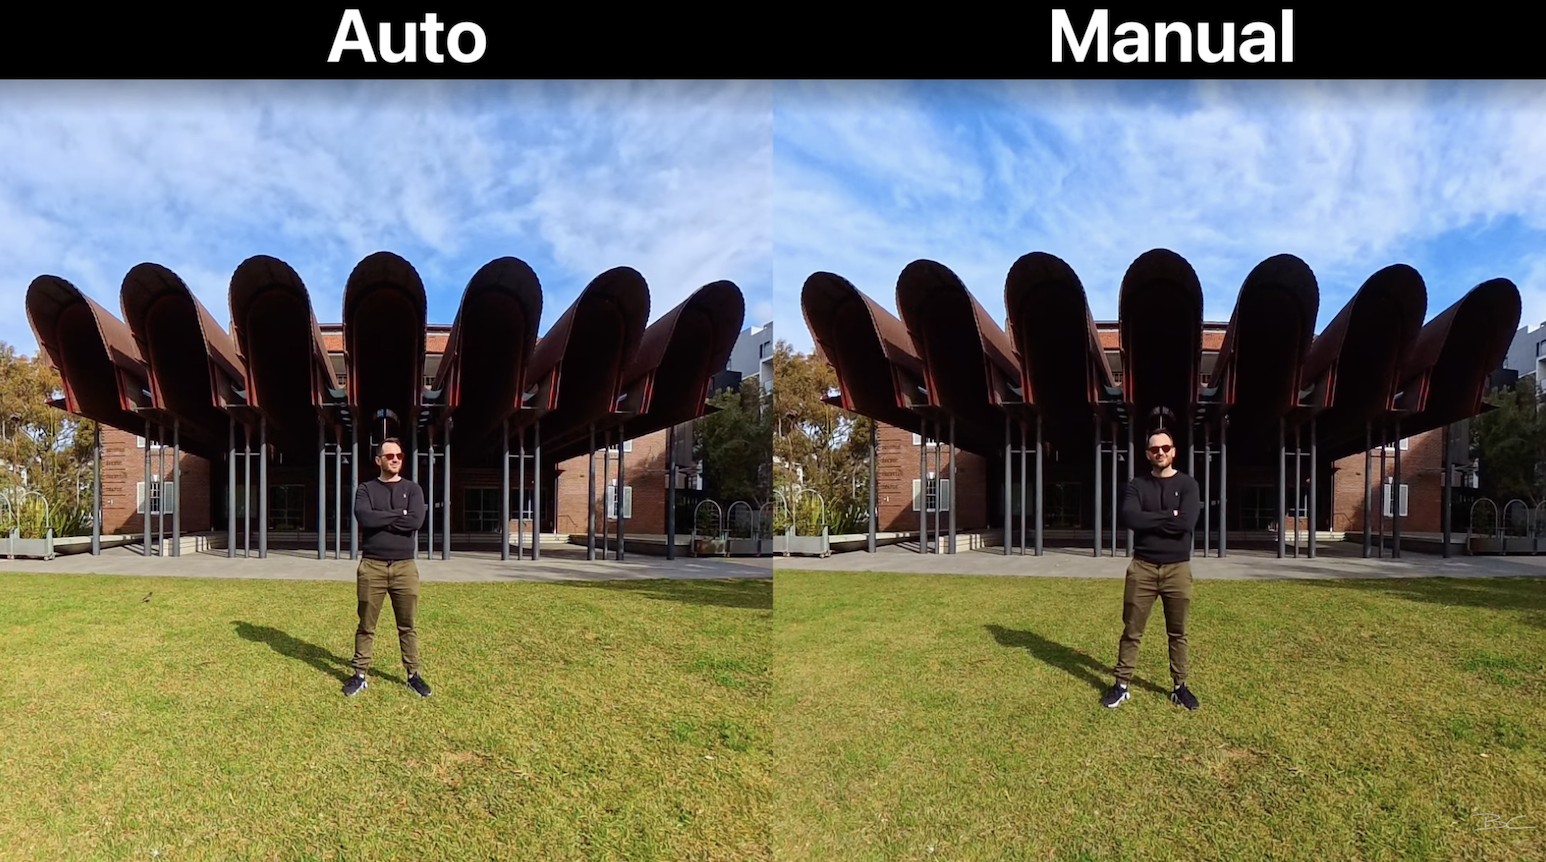
While Auto mode might seem like it’s just for beginners, Insta360 have done a great job optimizing it. The X5 consistently chooses the right settings for the scene, no matter what you’re shooting. So unless you have a very specific reason, there’s really no need to switch out of Auto.
Colour Profiles & White Balance
There are a few more things you can change here, even in Auto Exposure mode, and they are to do with the color profiles—but I found keeping these as-is has been the best approach. And yes, this includes white balance. While you can manually set your white balance, I don't see much of an advantage to this, since the camera will get it right 99.9% of the time. So, leave that in Auto.

Hidden Settings for Better Video Quality
Okay, so that’s resolutions, frame rates, and exposure. But did you know there’s a hidden settings menu in the X5? Swipe down from the top of the screen to open general settings, tap the settings icon, then scroll to Image Settings.
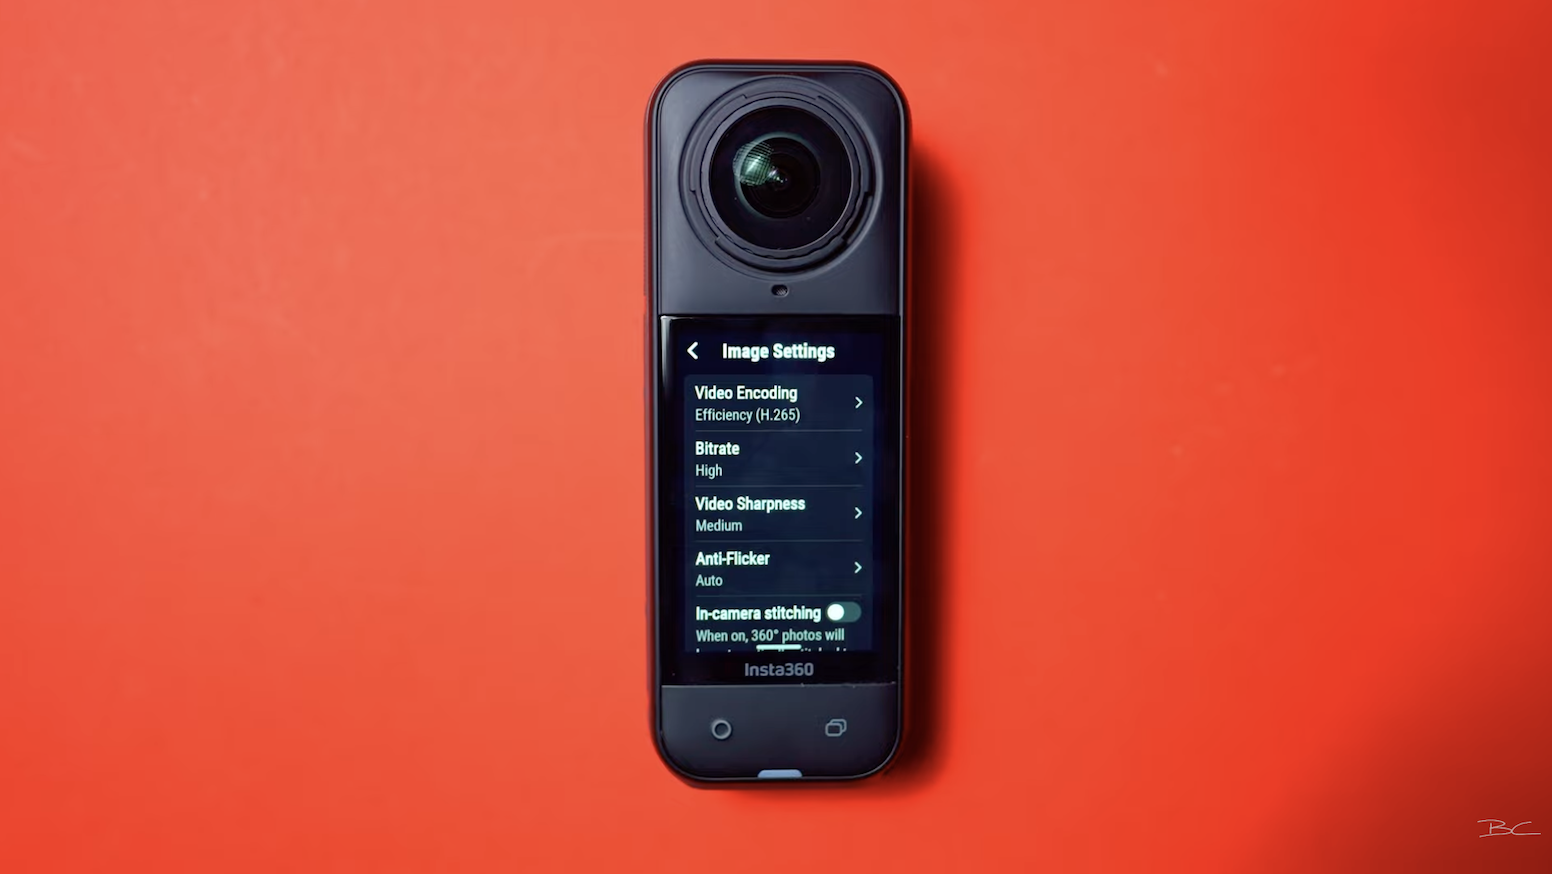
Here, you’ll find a few extra options that can help improve your video quality—like video encoding (H.264 or H.265), bitrate, sharpness, and Anti-Flicker (which is on by default).
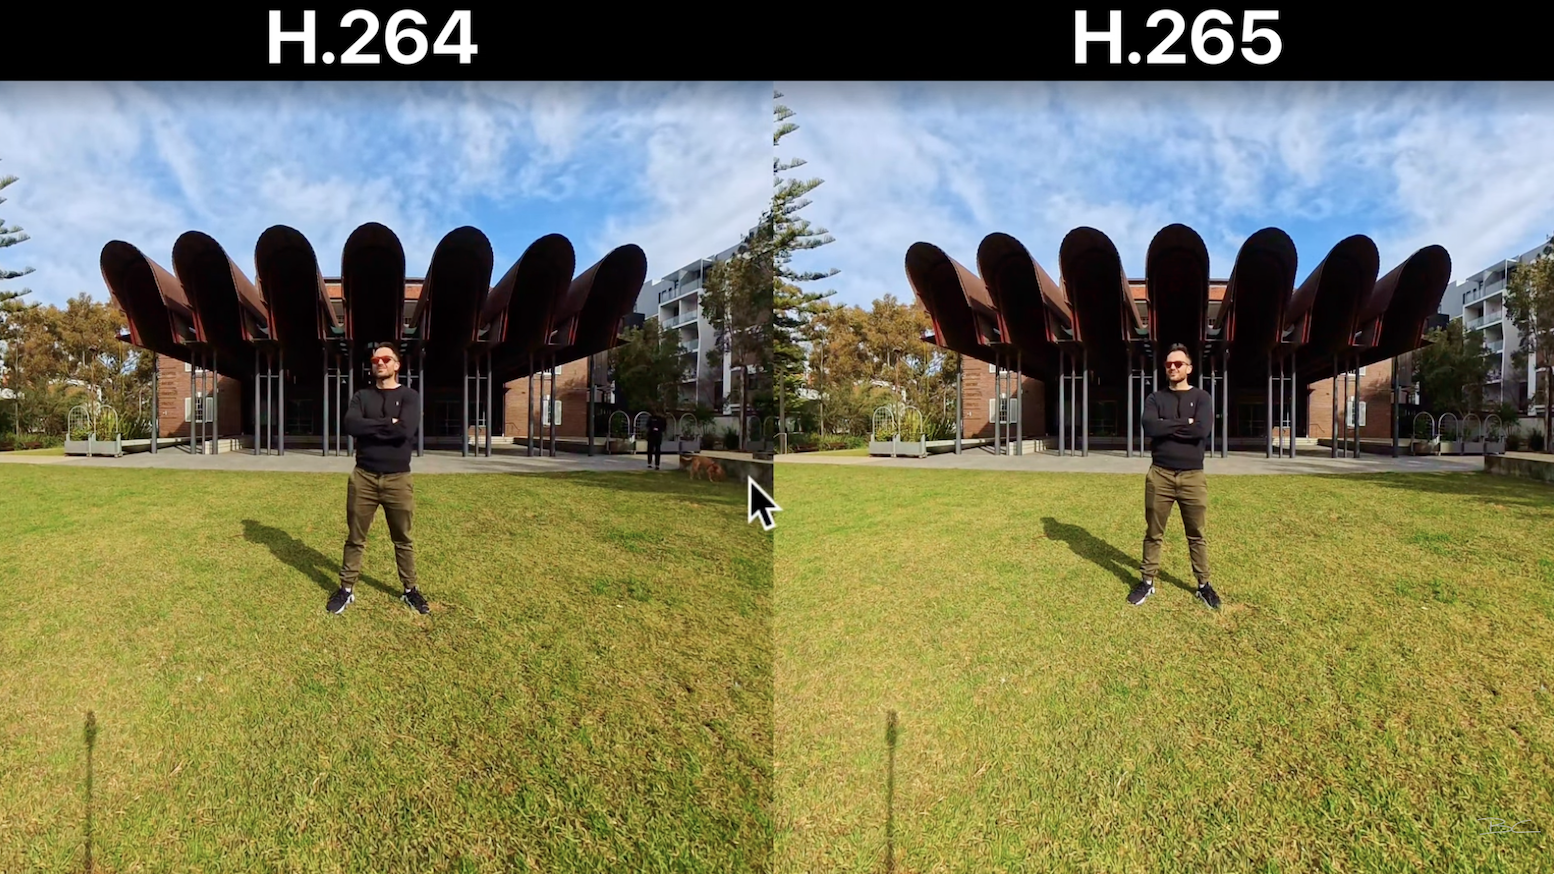
When comparing H.264 and H.265 side by side, there’s very little visual difference—even when zoomed in. H.265 gives you smaller file sizes with slightly better compression, so I’d recommend using it if your phone and computer are fairly recent. If you’re editing on older devices, stick with H.264.
Same goes for bitrate: Standard and High look almost identical, even when punched in—so there’s really no reason to use the higher setting, since it takes up way more SD card space.

Sharpness is the one setting that makes a noticeable difference. In a wide shot, low sharpness looks quite blurry, while medium and high both look sharp—especially for 8K footage.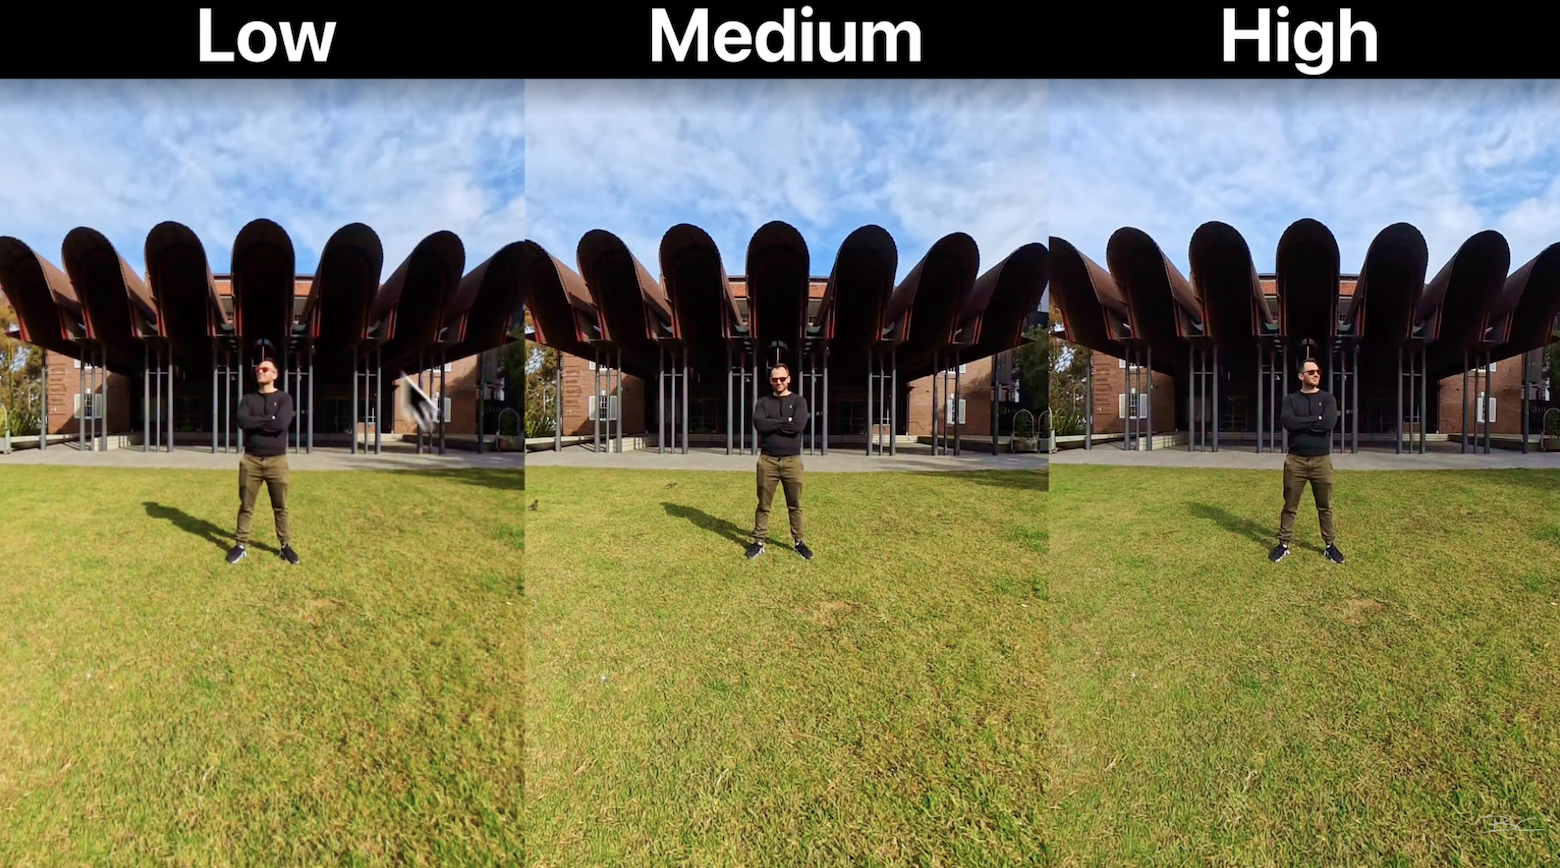
But when zoomed in, high sharpness starts to create grainy texture, particularly on finer details like clothing. Medium sharpness avoids this and still looks clean and crisp, so it’s the clear winner.

Final Thoughts 🤔
I hope you learned something today. Both 8K 30 and 5.7K 60 are great modes, and there's a time and a place for either of them. If you find this too overwhelming, I'd just say when in doubt, go 8K.
So, now that you know which settings to use, all you need to do to put the icing on the cake is to do some quick colour grading. And if you find colour grading overwhelming, inside my free Insta360 cinematic LUT pack you'll get access to my one-click colour presets that will instantly take your Insta360 videos from good to great.
These LUTs can be used within DaVinci Resolve, Premiere Pro, and Final Cut Pro. And once you've installed them once, you never have to again. They can then be applied instantly on all of your future videos with one click.
Blog Author