Hidden Settings of the Insta360 X5 You Need To Turn On
Jul 16, 2025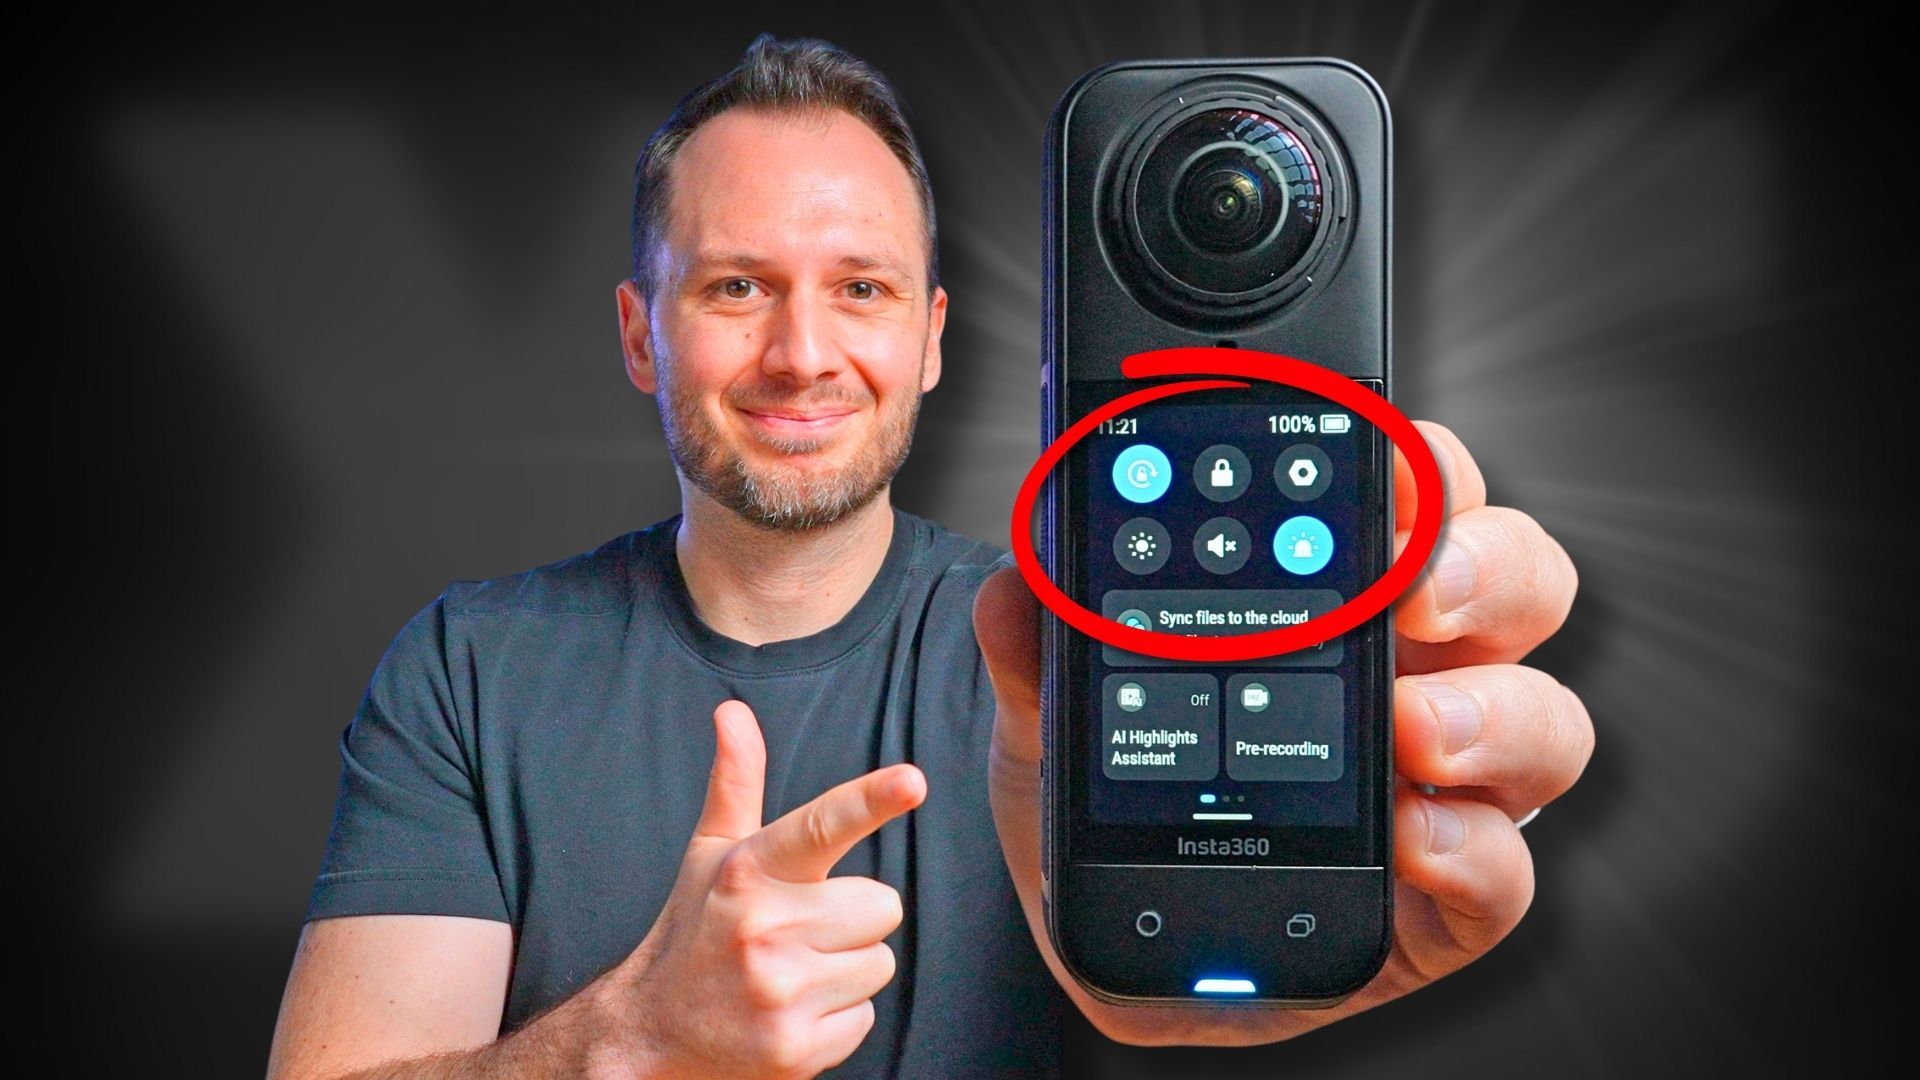
If you swipe down from the top of the Insta360 X5 screen, you'll discover an entire menu and multiple sub-menus of hidden settings that can vastly improve your 360 shooting experience! In this blog post, I'll walk you through all of them and show you how to customize your Insta360 X5 to match your ideal workflow.
FYI If you're new to Insta360 cameras and have just picked up the X5, my 360 Video 101 Course will build on what you're about to learn— to help you achieve Insta360 videos you're proud of 🙌🏻
Insta360 X5 Settings: First Page Menu Overview
Once inside the camera settings menu, the first page provides controls related to the physical handling of the camera.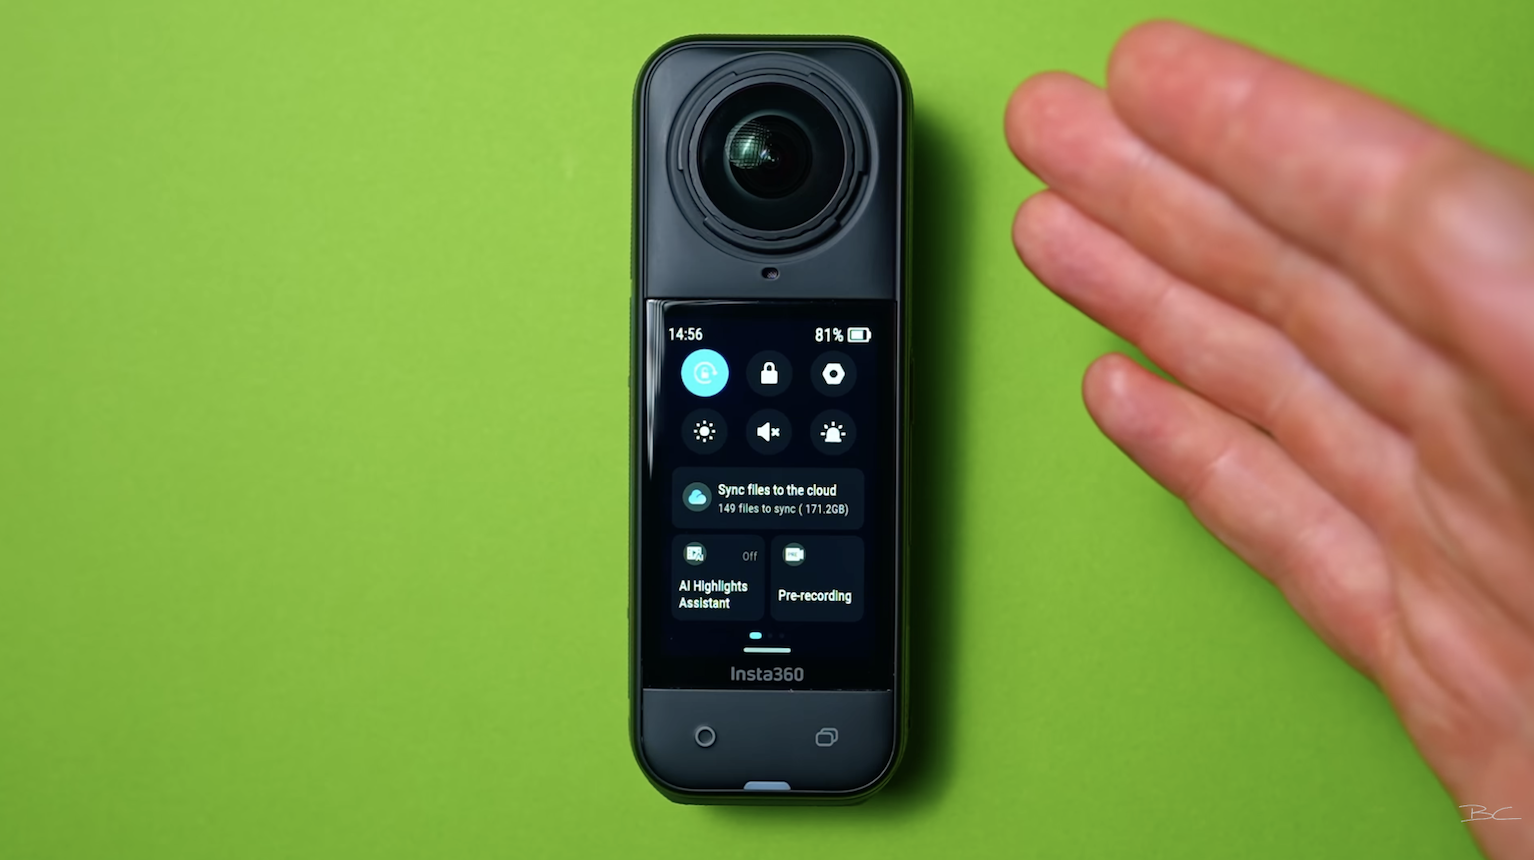
Here's what each option does:
👉 Rotation Lock locks the orientation of the X5’s touchscreen. If you're recording in single-lens mode horizontally, this is essential. I recommend keeping it on the standard portrait orientation—especially for 360 shooting.
👉 Screen Lock instantly locks the touchscreen to avoid accidental taps. Swipe up to unlock.
👉 Brightness Settings let you adjust the screen based on your environment—use full brightness in sunlight and lower it in dim settings to save battery. I usually keep mine at medium or just under, since the screen’s already super bright, and turning it up too high will drain your battery faster than necessary. You can also turn on auto-brightness if you’d prefer it to adjust automatically.
👉 Prompt Sounds controls the sounds the camera makes while you're shooting. I like to keep this on mute, which means the camera won't make a single sound. If you prefer having feedback as you move through the menus, you can tap on the different volume levels to adjust it. Still, I recommend keeping it muted so the sounds don’t drive you crazy.
👉 Indicator Light turns red when you start recording, which makes it very obvious you’re filming—especially in public. This can draw more attention than you might want, but thankfully, there’s a setting in the menu to turn it off. I like to stay as stealthy as possible, so I keep both the indicator light and camera sounds off.
👉 Insta360+ Cloud Backup appears if you’re subscribed to the service—this lets you sync your camera and automatically back up files over Wi-Fi.
👉 AI Highlights Assistant tries to detect highlight moments as you shoot and marks them in the app or desktop software. I’ve personally found it unreliable, so I don’t use it—but if you're filming for hours and waiting for a single moment (like something that happens 43 minutes in), this can help you jump straight to it.
👉 Pre-Recording Mode captures 30 seconds of video before you hit the record button, which is great for unpredictable moments. It works similarly to loop recording.
Insta360 X5 Menu Page 2: Recording Prompt Features
If you swipe across, you'll find another menu. The first three relate to recording prompts.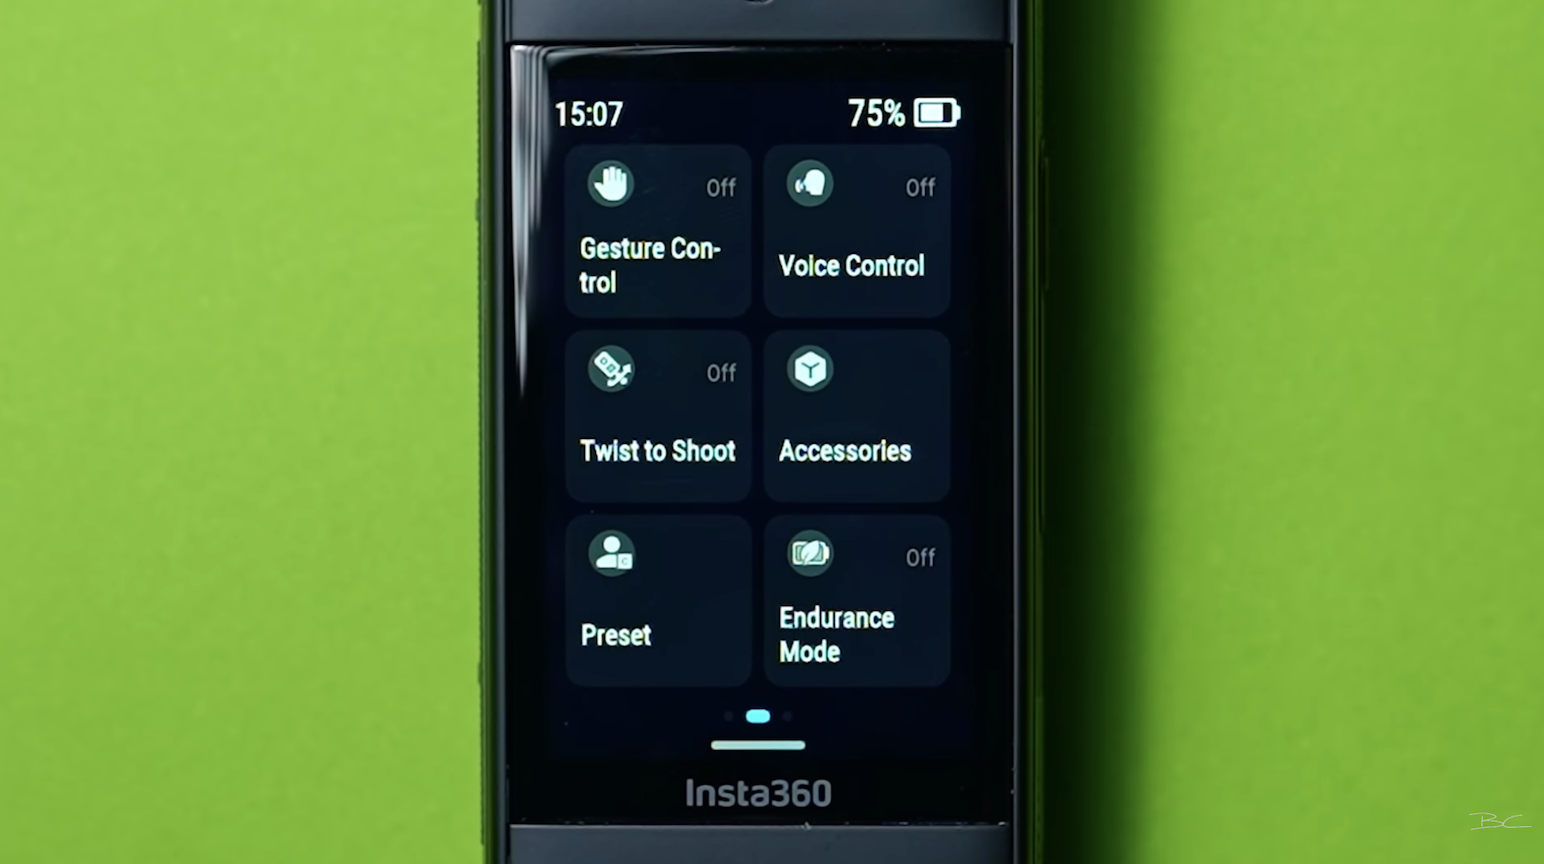
👉 Gesture Control lets you start a video by simply raising your hand. For example: I put my hand up—recording starts. I do it again—recording stops. There's also the peace sign ✌️, which triggers a 10-second countdown to take a photo. If you want a fast, hands-free way to record without pressing buttons, turn Gesture Control on—it’ll respond to these motions.
👉 Voice Control works similarly, but instead of gestures, you use your voice. You can say one of five phrases to take a photo, start/stop recording, mark a moment, or shut the camera down.
👉 Twist to Shoot allows you to start recording by twisting the selfie stick twice. Perfect for moments where pressing a button is tricky—like skiing or snowboarding when it’s too hard to remove your gloves.
👉 Accessories is where you can select a specialised Insta360 accessory like the dive case, chest mount, or Thermogrip cover. This setting will optimise recording for those specific types of shots. Now, I haven't tested these myself, so I can’t say for sure that it’s better to do it through the camera—but if you know you’ll be recording with these accessories a lot, there’s no harm in setting it up for best results. Just remember to turn it off once you're done.
👉 Camera Presets gives you a bunch of pre-filled resolutions and frame rates if you want a quick way to switch between different camera presets. Although personally, I just don’t recommend this—it’s easy enough to change them manually.
👉 Endurance Mode simplifies the X5’s settings to help save battery by limiting your shooting options. It’s useful if you’re down to your last 10% with a bit of filming left—but ideally, avoid using it by carrying a spare battery or portable charger.
Insta360 X5 Menu Page 3: Connectivity & Capture Options
If you swipe across again, you'll find another menu, starting with Bluetooth. 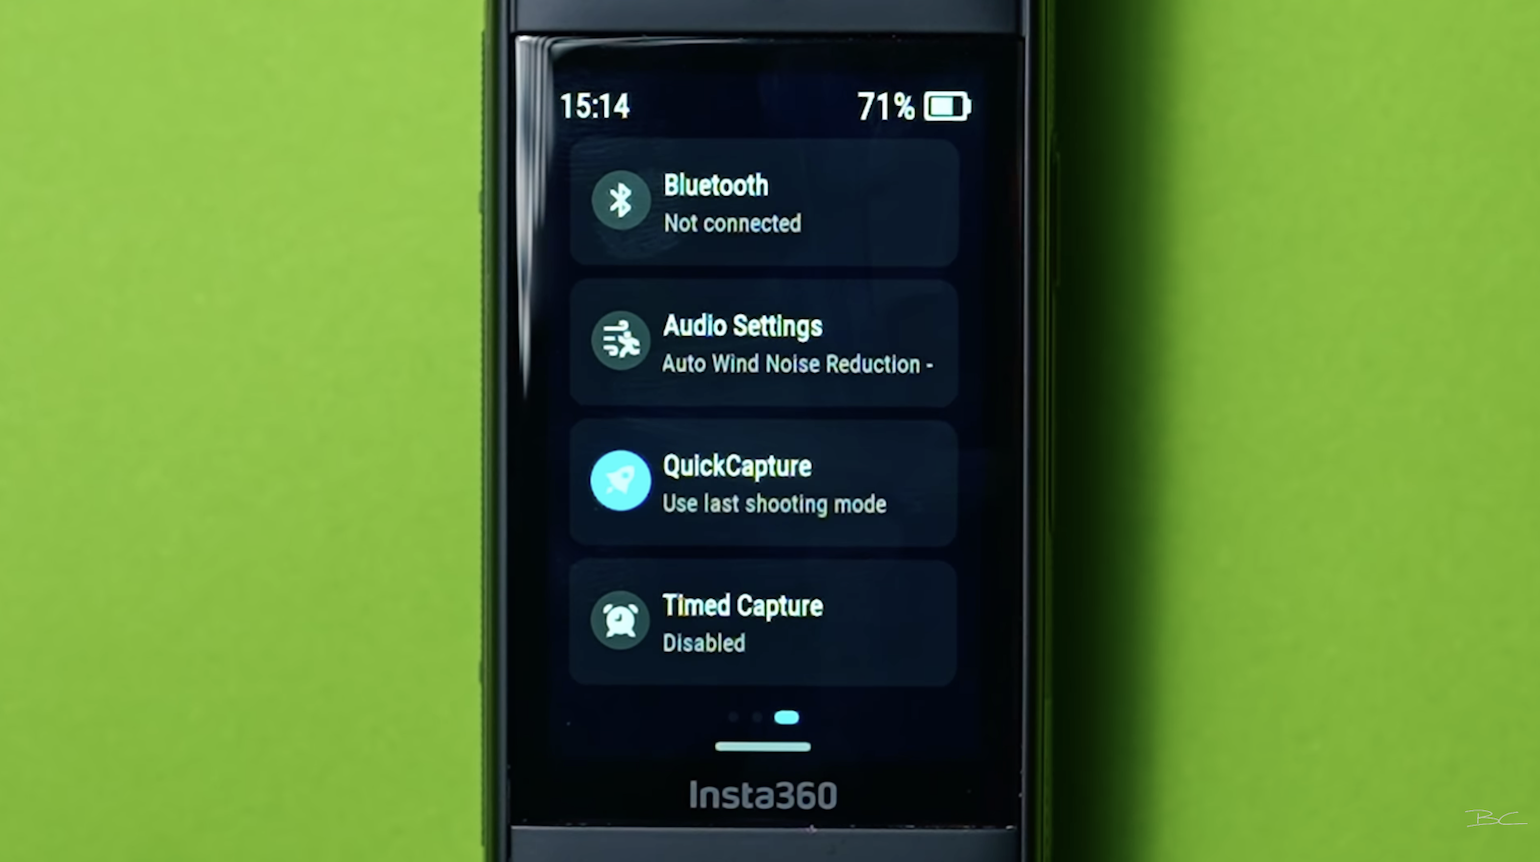
👉 Bluetooth lets you connect accessories like a Bluetooth remote, headset, or microphone—including Apple AirPods. If you want to record GPS or use wireless audio, this is where you’ll pair those devices.
👉 Audio Settings give you control over your mic output. If you're using an external microphone, you can customise its settings. Even without one, you can choose the type of sound recording. The Auto setting is a great option with automatic wind noise reduction. (I’ll cover the other options in a future video.)
👉 Quick Capture allows the camera to start recording instantly—even when it’s powered off. Just press the record button and voilà—it begins within a second or two. You can also choose whether it uses your last shooting mode or a specific one just for quick moments like this.
👉 Timed Capture sets the camera to start recording at a future time. For example, if you’re capturing the night sky but don’t want to stay up all night, you can schedule it to start and even choose the duration (up to 10 hours) and shooting mode—like a star-lapse, with all your parameters pre-set.
Insta360 X5 General Settings Menu
Under the main Settings menu on the first page, you’ll find more options.
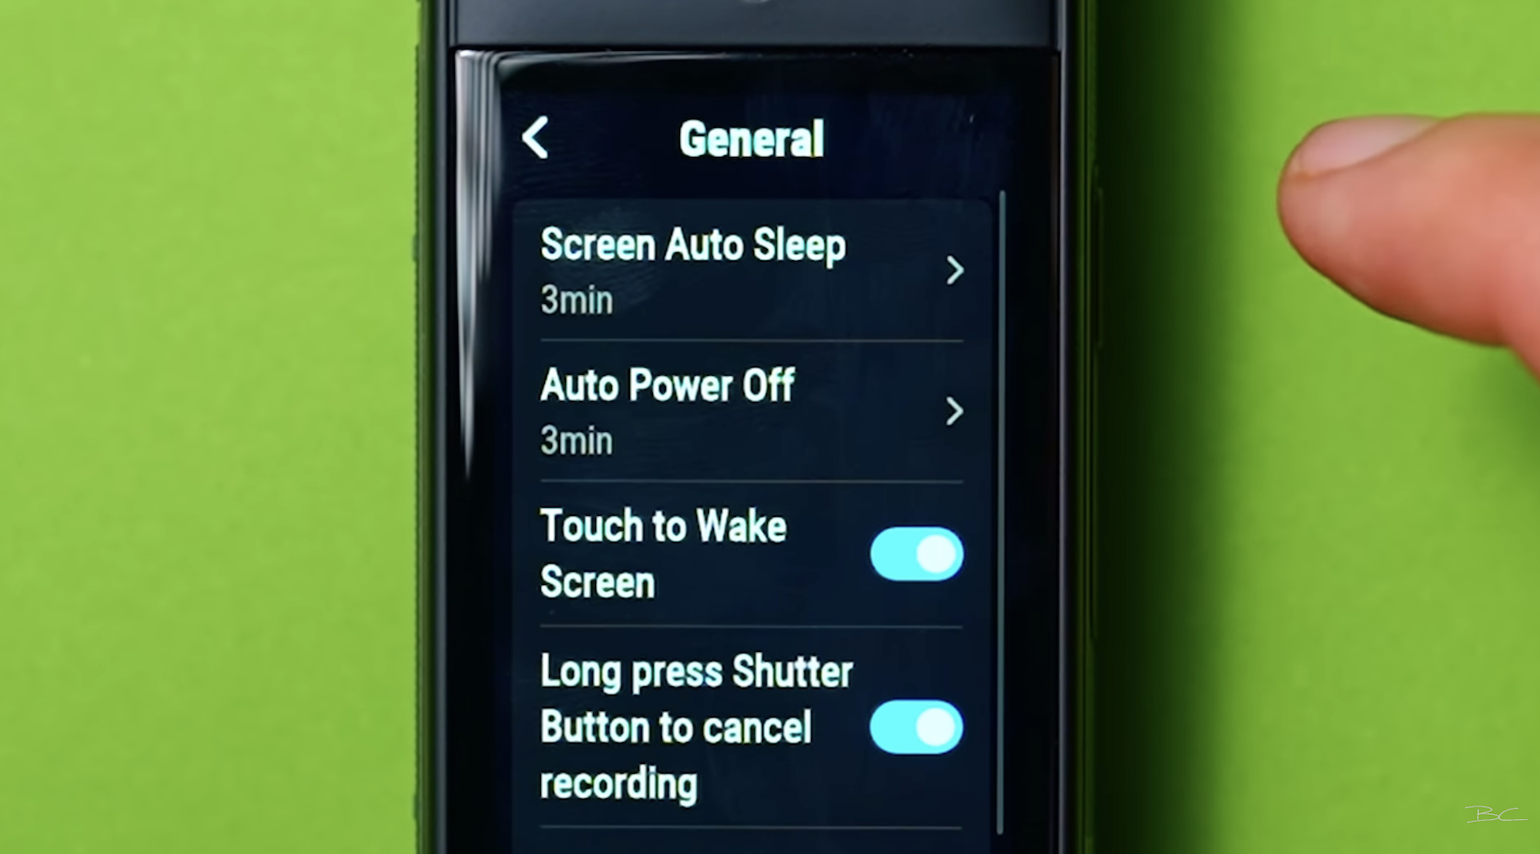
Some are boring—but here are the ones that matter:
👉 Screen Auto Sleep controls how long the screen stays on before it goes black. I prefer 90 seconds, which gives me enough time to get back to what I was doing without killing the battery.
You can also set it to turn off during recording to save power during long shoots.
👉 Auto Power Off determines when the camera fully shuts off. I recommend 3 minutes to help preserve battery when you're not filming.
👉 Touch to Wake Screen lets you simply tap the screen to wake it if it’s in sleep mode.
👉 Long Press Shutter to Cancel Recording is a must-have. If you mess up a shot and don’t want to keep the file, just long press the record button and it’ll delete the clip immediately—no need to remove it manually later. Definitely turn this on.
👉 Bluetooth Wake Up lets you turn on the camera remotely from your phone or Bluetooth remote.
Storage, Wi-Fi and Calibration Tools
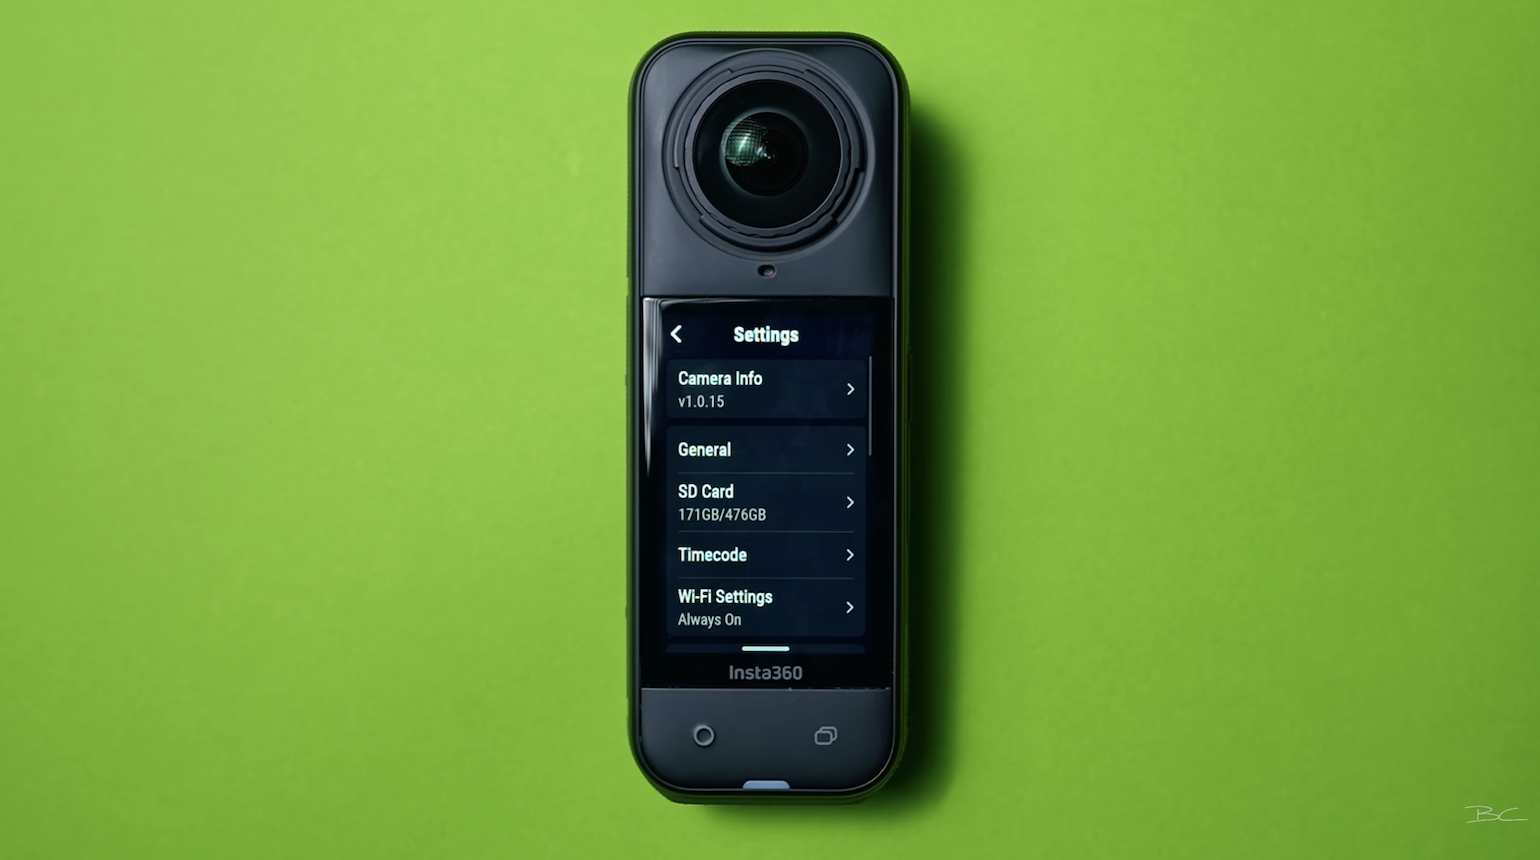
👉 SD Card Info shows you how much storage space is left on your microSD card.
👉 Time Code is used for syncing video footage—most users can ignore this.
👉 Wi-Fi Settings should be kept on if you're regularly connecting your camera to your phone. If not, turn it off to help save battery.
👉 Image Settings lets you control encoding type, sharpness, and bit rate. I dive deeper into this in another video.
👉 Anti-Flicker Mode helps prevent flickering from artificial light sources like overhead lights. It’s turned on by default, and I’d recommend keeping it that way.
👉 In-Camera Stitching automatically stitches 360 photos right in the camera. I personally recommend this in the mobile or desktop app—it’s faster and gives better results.
Button Customisation: Quick & Menu Buttons
Underneath Image Settings is the Customize Button feature.
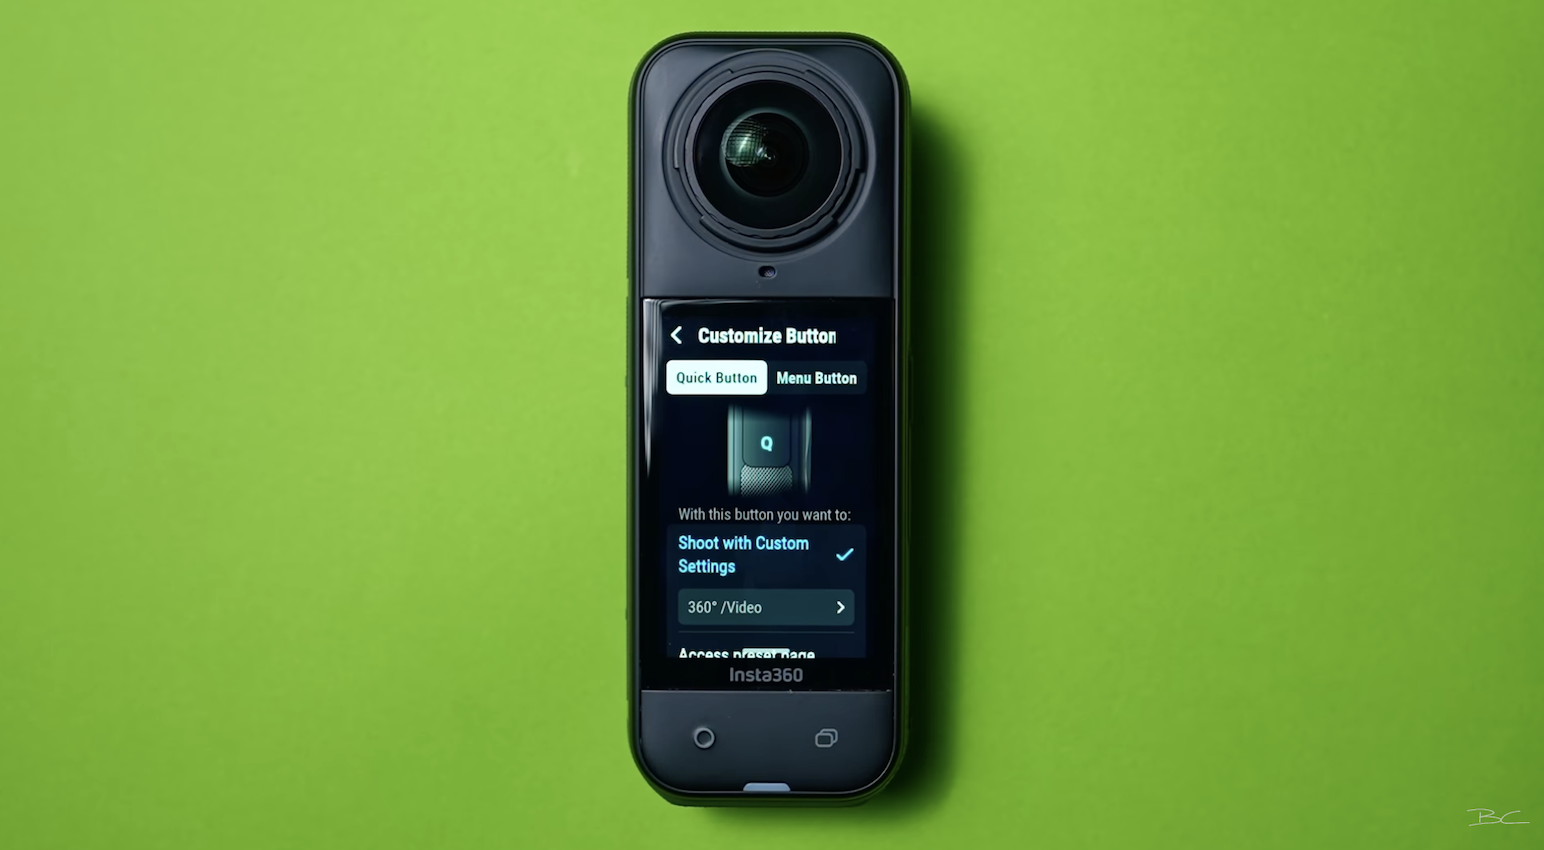
👉 Quick Button can be customised to instantly jump to your favourite setup. I use mine to switch between 5.7K 60fps video and photo mode.
👉 Menu Button is also customisable and great for quickly switching between modes like 360 and single-lens shooting—depending on the content you’re filming.
👉 Skip Intro/Outro trims 3 seconds from the beginning and end of each clip. I don’t recommend turning this on—manual trimming is quick, and sometimes those extra seconds are actually useful.
Final Camera Calibration Tools
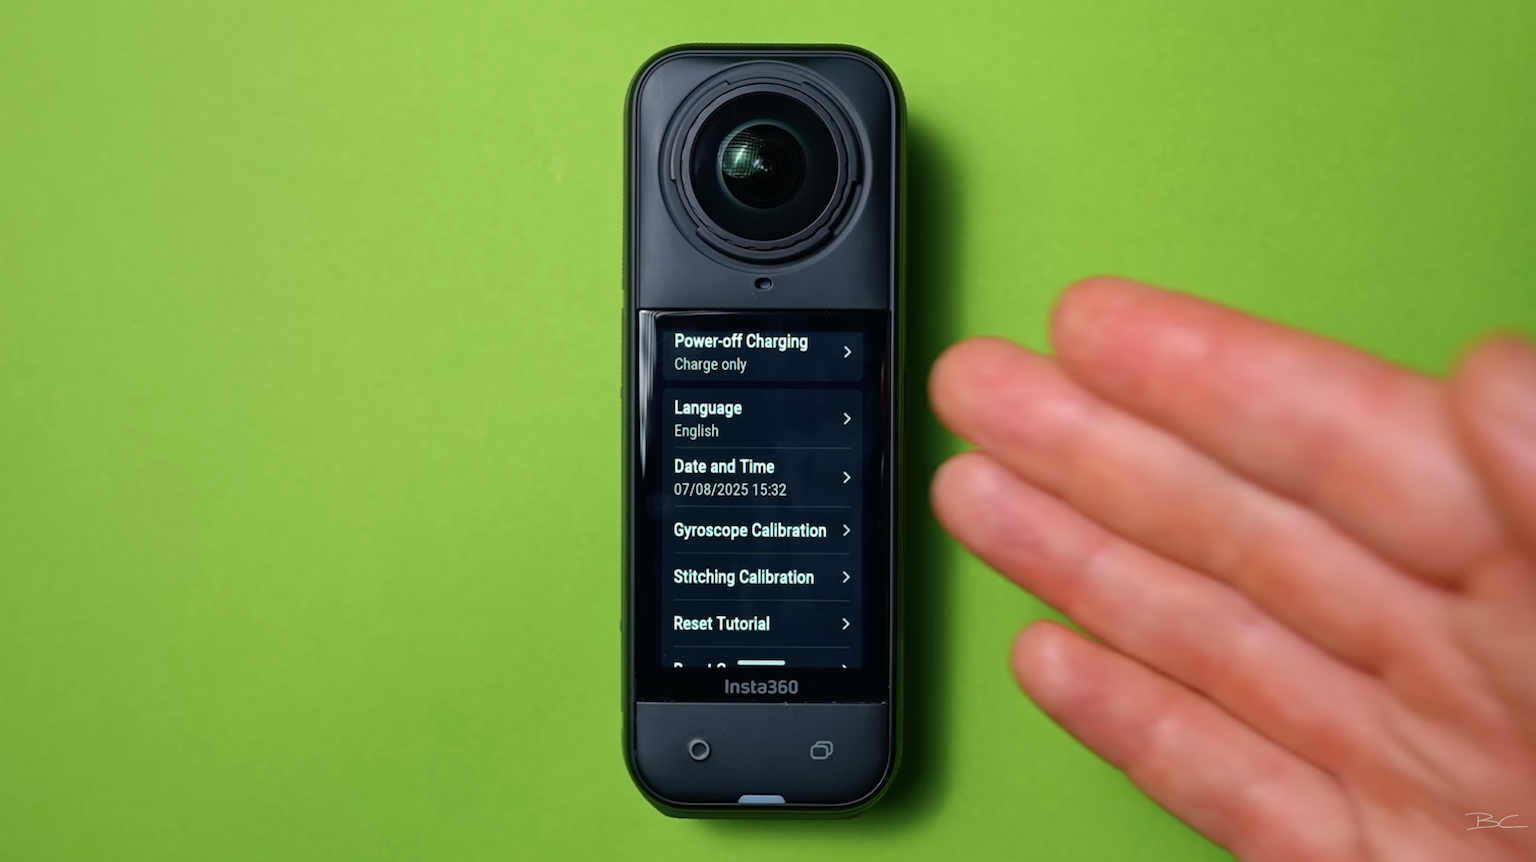
👉 Date and Time should be accurate so your files are timestamped correctly. It’s usually auto-set when you first activate the camera.
👉 Gyroscope Calibration helps level your footage if it ever looks wobbly. Just run the calibration to reset the internal stabilisation.
👉 Stitching Calibration is important if you’ve replaced one of the lenses. It re-aligns the lenses so your 360 stitching stays seamless.
Final Thoughts
So, there you have it. You're definitely not going to use every setting I just went through—that would be way too much. But I’m guessing at least a few made you think, “Oh my god, that’s awesome.” So try them out and see how much smoother and faster your filming becomes.
And, if you want to learn the other important aspects of making Insta360 videos you're proud of, inside my 360 Video 101 course, I share hundreds more tips and tricks just like these that will level up your 360 video game and help you create awesome content that gets noticed.
Blog Author