How to Reframe 360 Videos in the New Insta360 App (V2)
May 23, 2025
Version 2 of the Insta360 mobile app has just been released, and while it’s faster and improved in many ways, the updated layout can be pretty confusing, especially if you’ve been using the previous version.
I’ve been using the Insta360 app since the very first version nearly 10 years ago. So in this post, I’ll walk you through exactly what you need to know to reframe your 360 videos in the new app, quickly and easily.
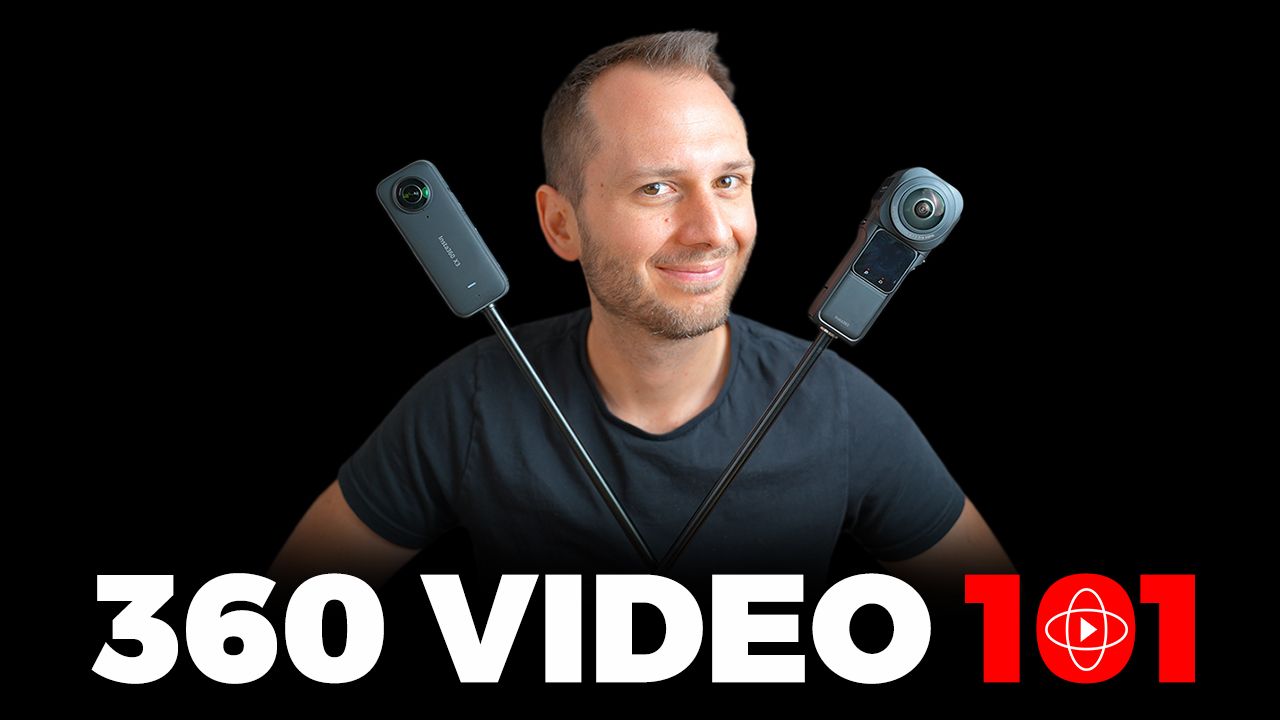
If you're curious about how I filmed the shots used in this tutorial, I teach my full step-by-step process inside my 360 Video 101 Course. I guarantee it will help you improve the quality of your Insta360 videos, even if you're a complete beginner starting from scratch.
In this guide, I’ll be using footage i shot with the Insta360 X5, but you can still follow along with shots from any Insta360 camera.
Step 1: Update to the New Insta360 App 📲
Start by updating to the latest version of the Insta360 mobile app from the App Store or Google Play. Once updated, open up the app.

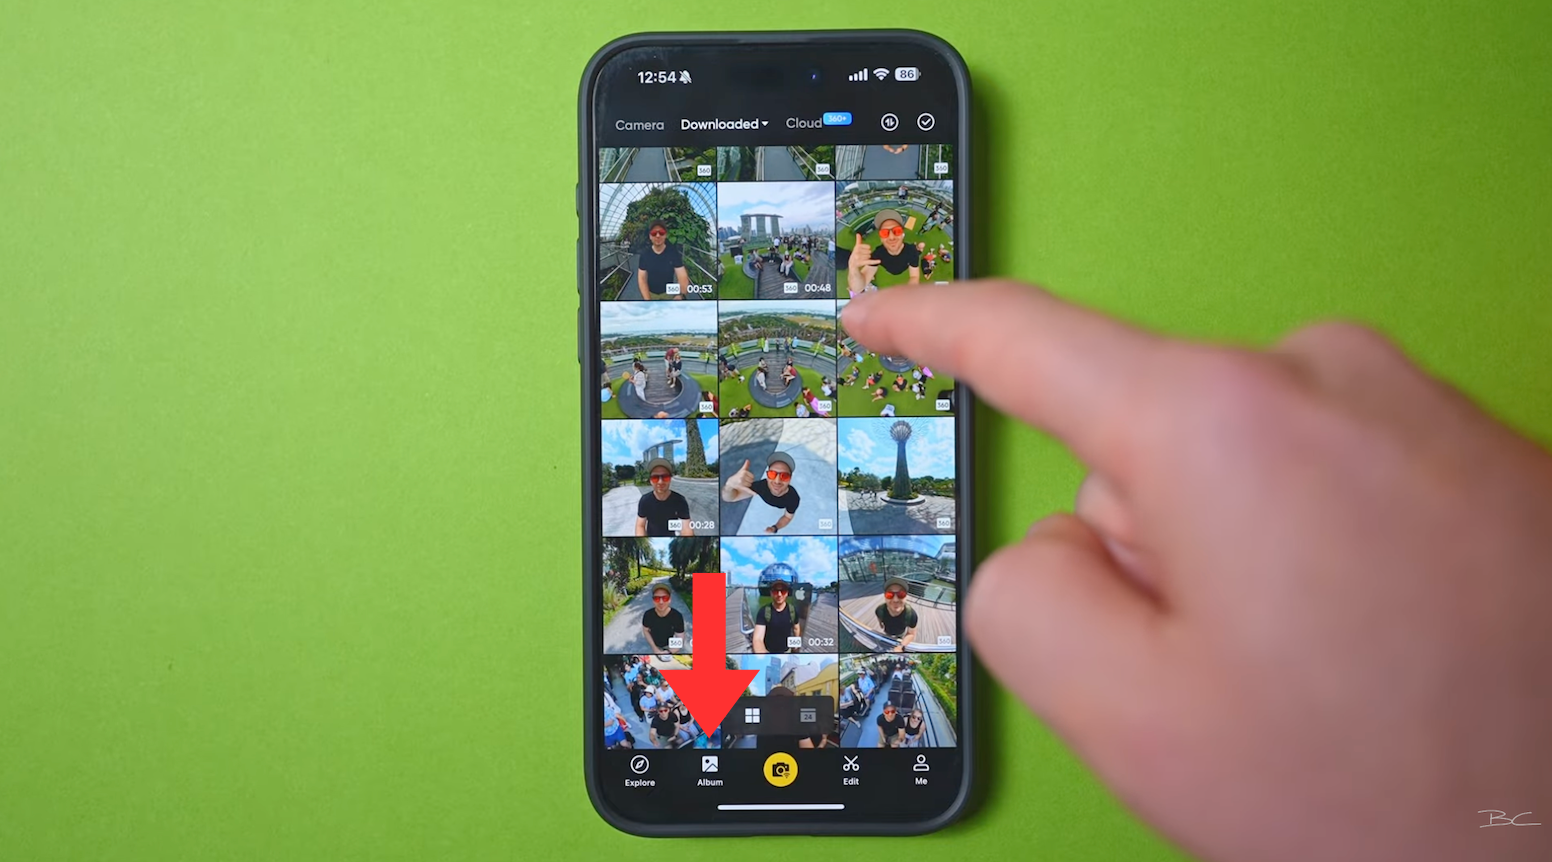
The first screen you’ll see is the Explore Page, but don’t worry about this too much. Instead, head straight to your Album.
The album now shows much larger and clearer thumbnails, making it easier to identify your shots—a small but welcome improvement!
Step 2: Connect and Import Footage 🔄
If your footage isn’t yet downloaded to your phone:
1. Turn on your Insta360 camera
2. Tap the Camera icon (top left) in the app.
3. Follow the prompts to connect your device.
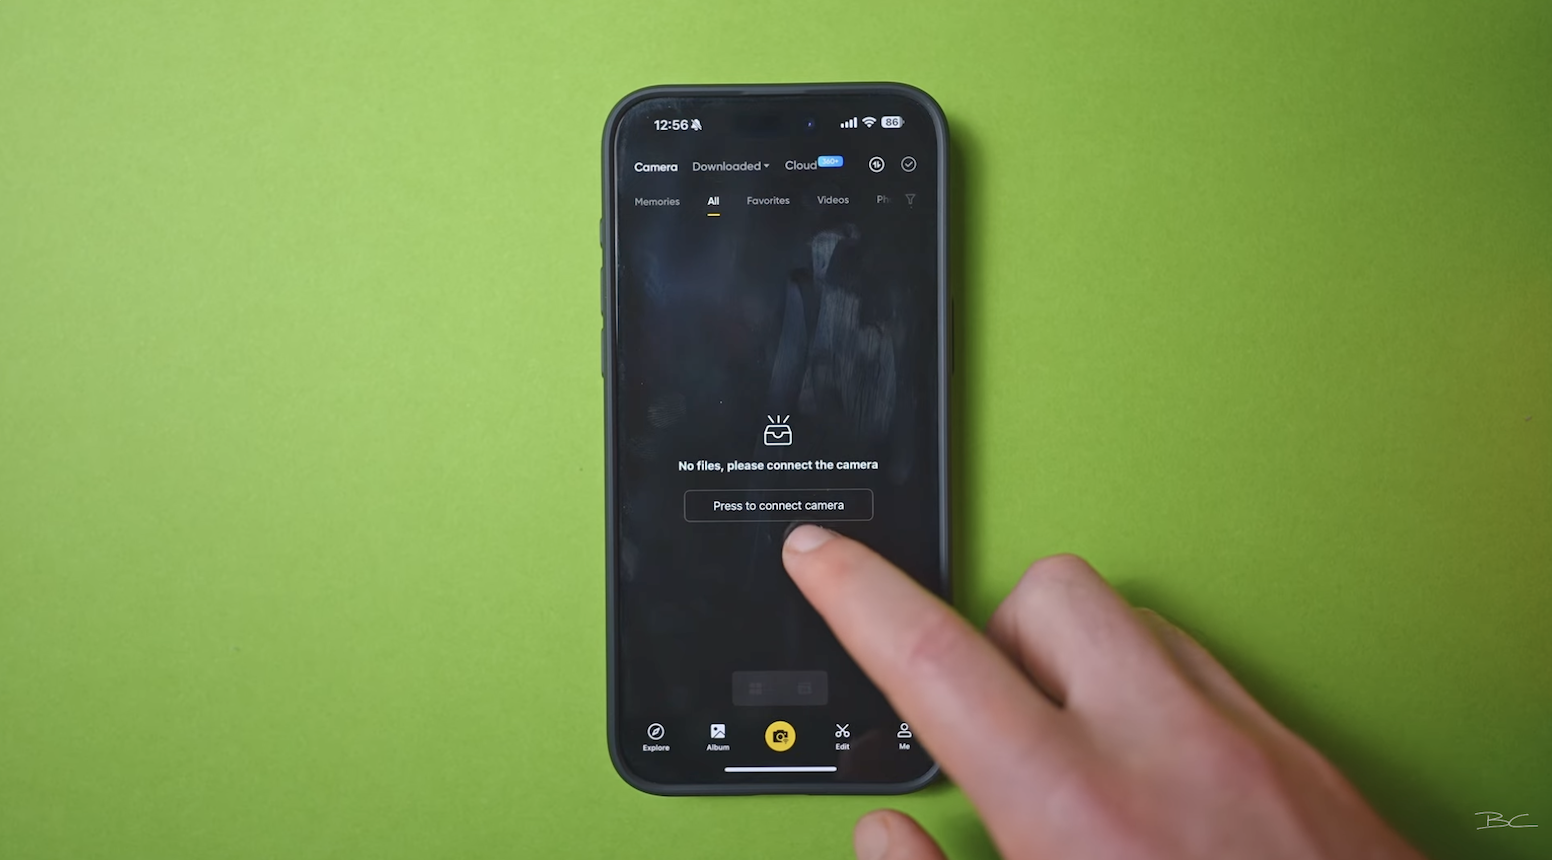
Once connected, the app will show the files currently on your camera.
You don’t actually have to download the footage before editing, it’s possible to reframe wirelessly. However, this will drain your phone and camera battery faster, so downloading is ideal if you have the storage space.
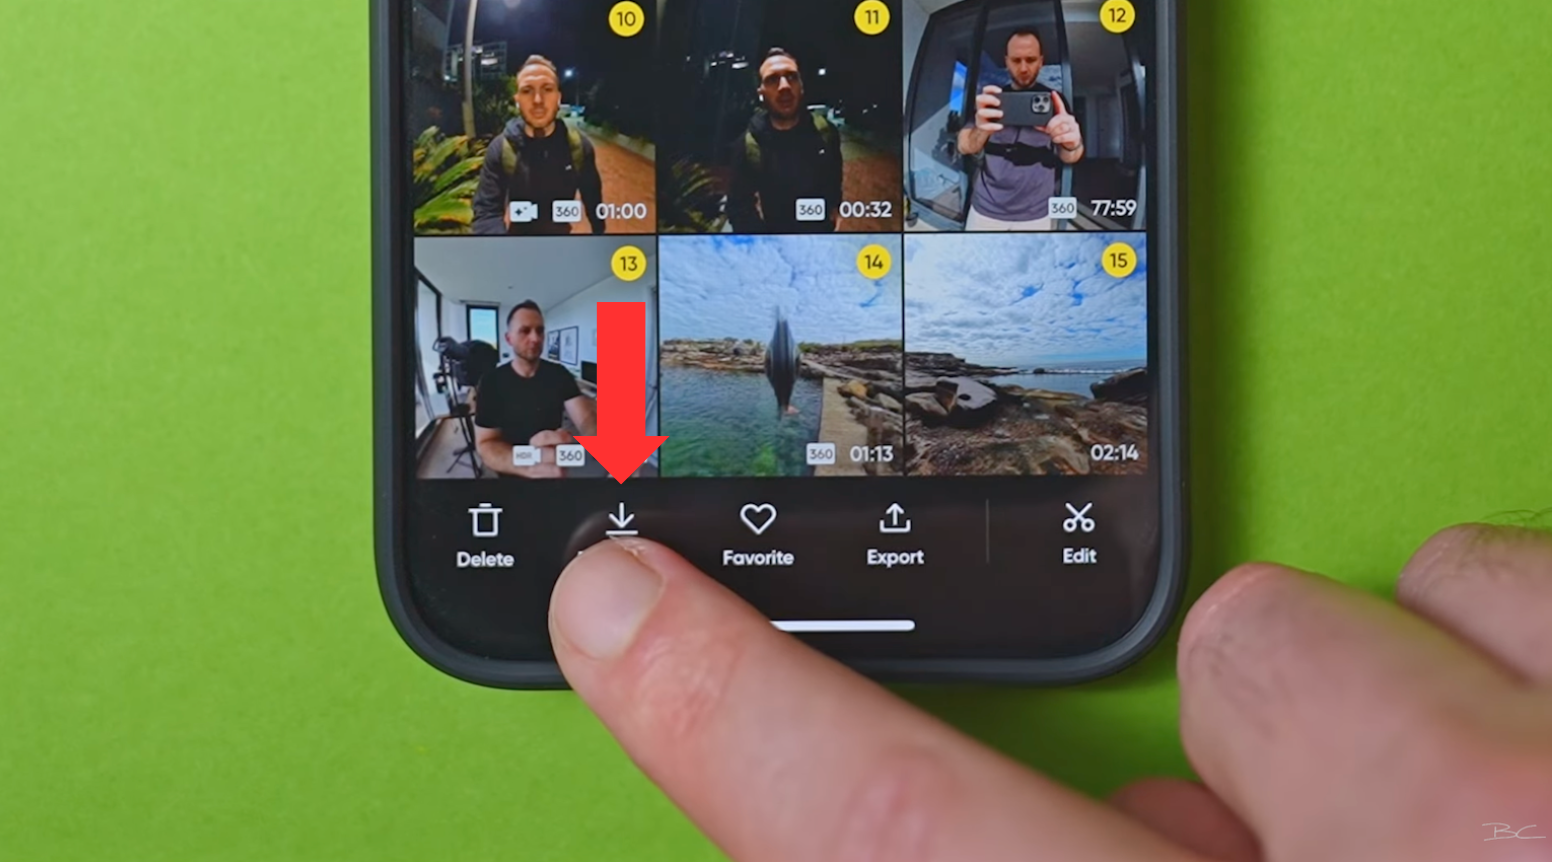
To download:
1. Tap the checkmark (top right)
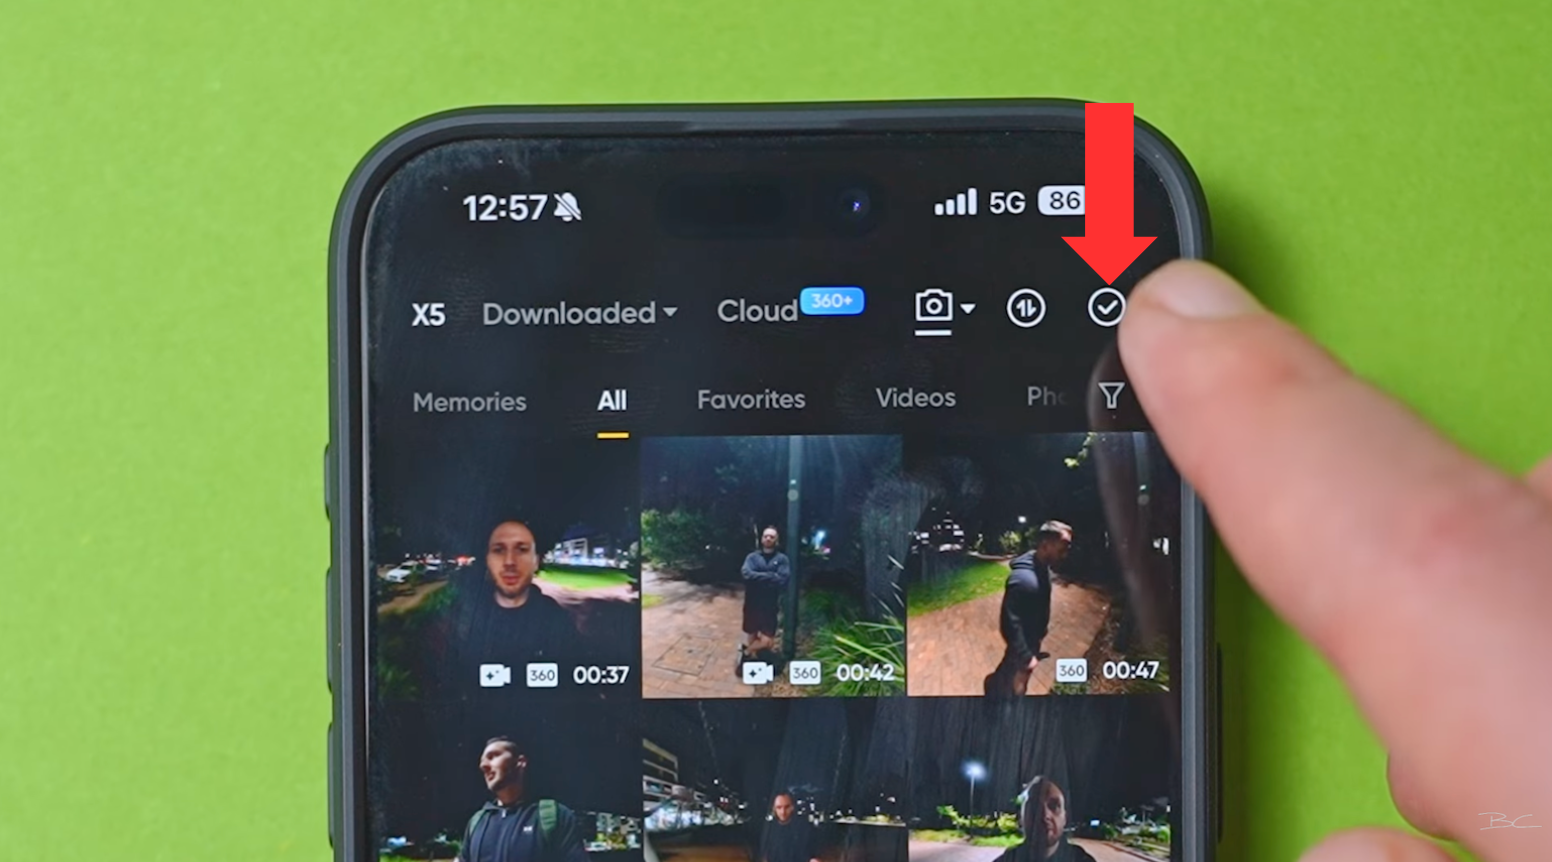
2. Select All (Or you can select your shots individually)
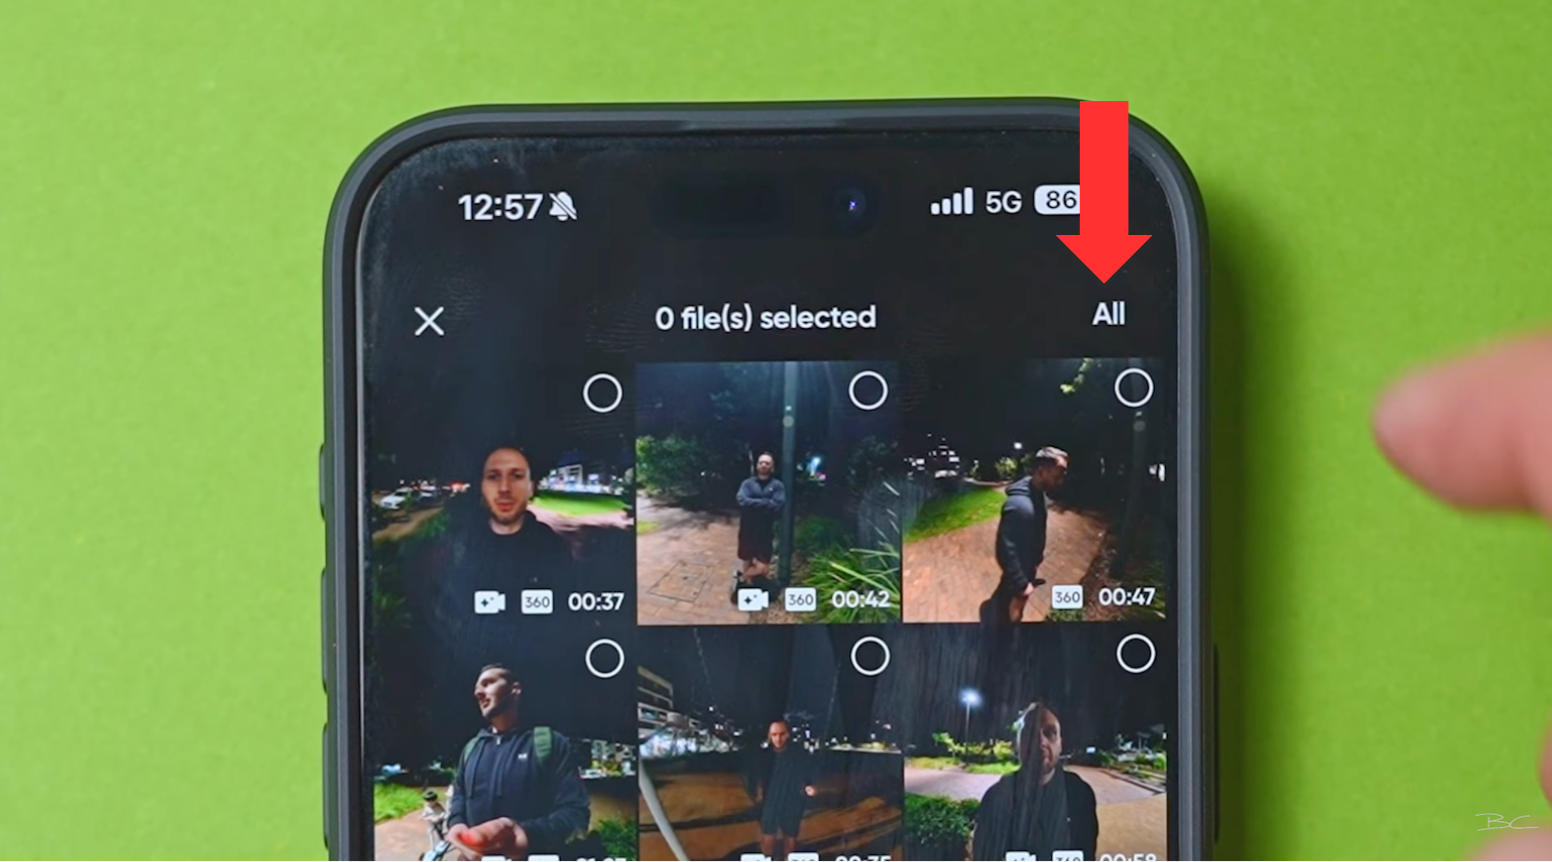
3. Hit download
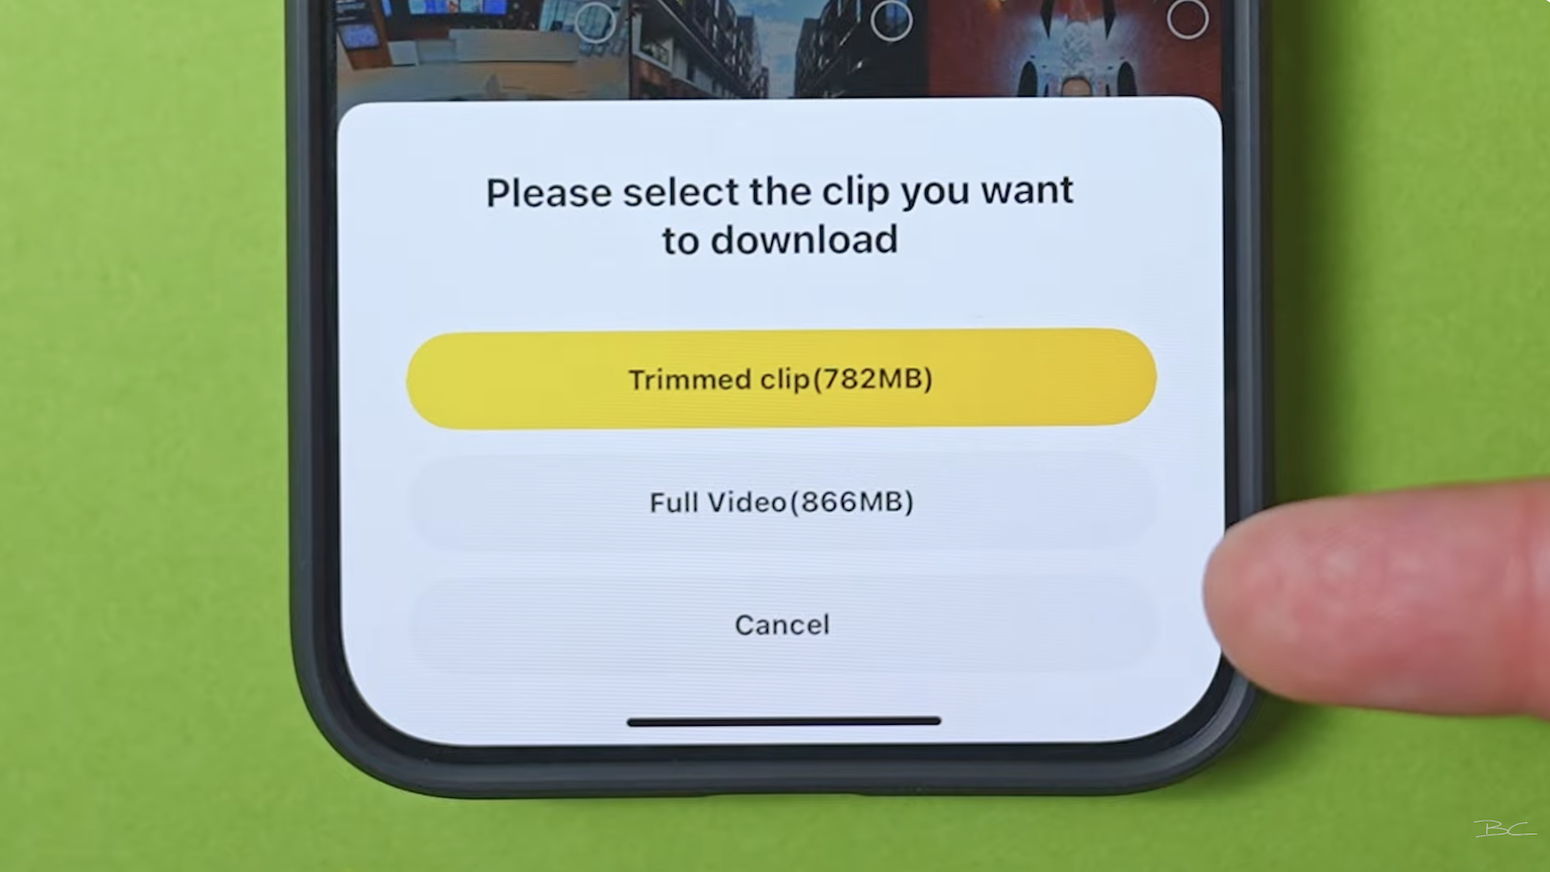
You’ll be given the option to download a trimmed clip (recommended to cut setup footage) or the full video.
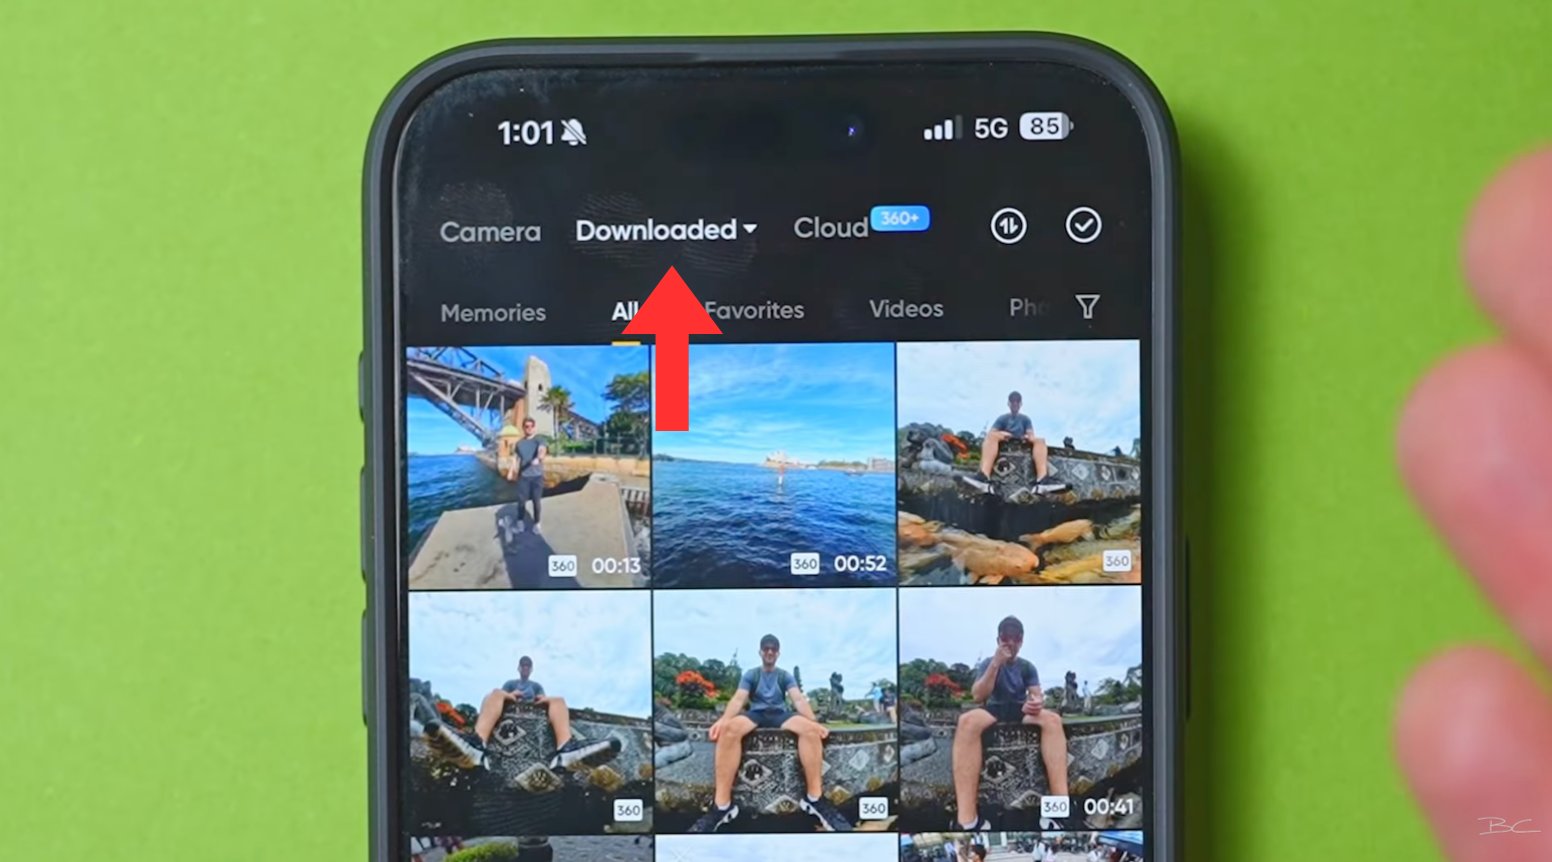
Check your download progress by tapping the download icon, and once it’s done, your clips will appear under the Downloaded tab.
Step 3: Start Reframing 🛠️
Now for the fun part—let’s reframe your 360 footage into stylish, flat video shots.
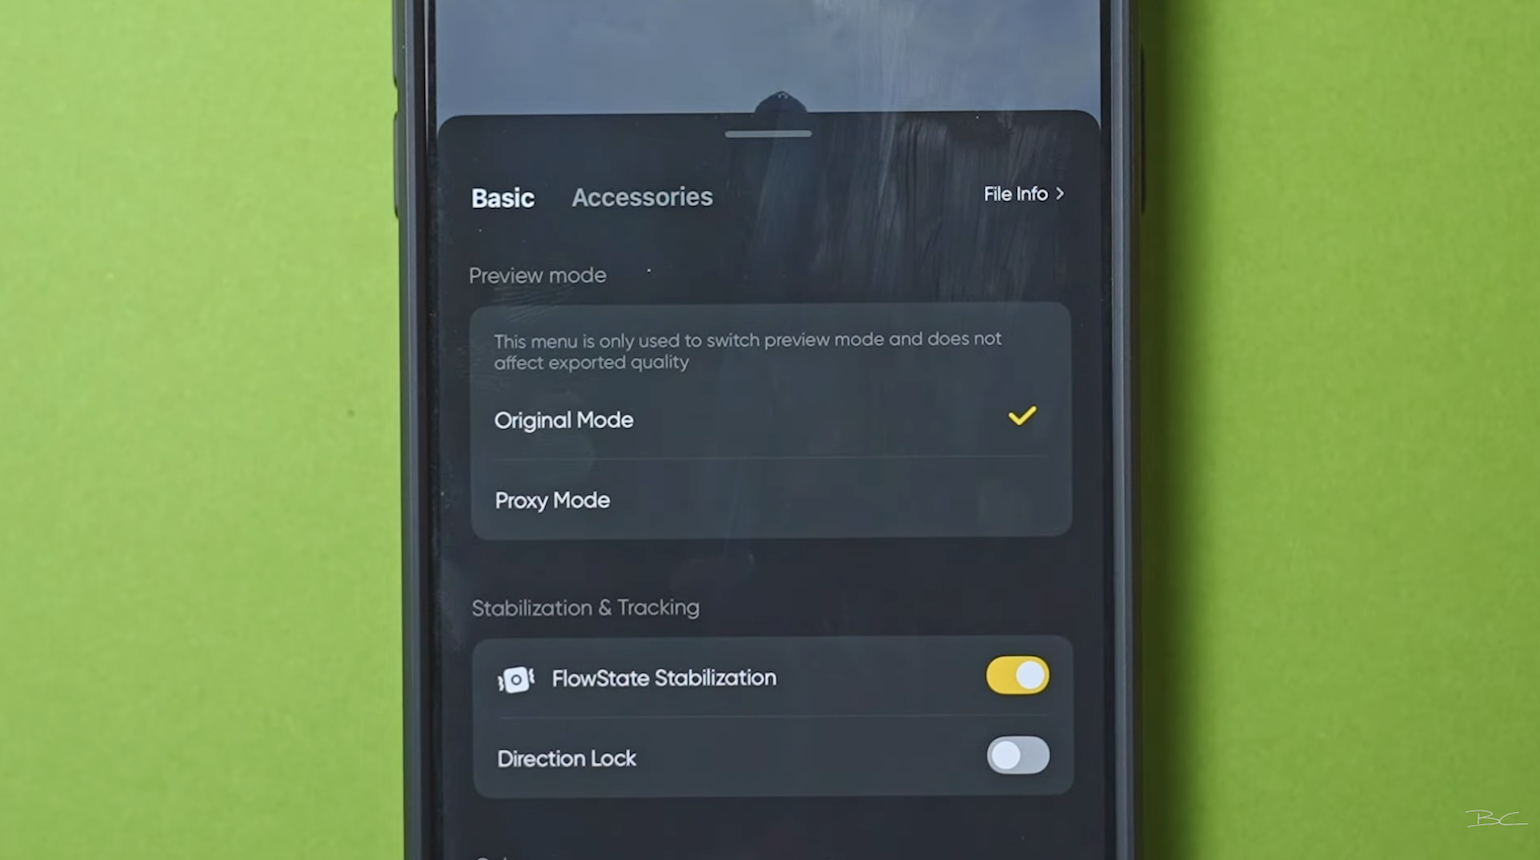
Clip Settings
Open your chosen clip and tap the Settings icon (top left).
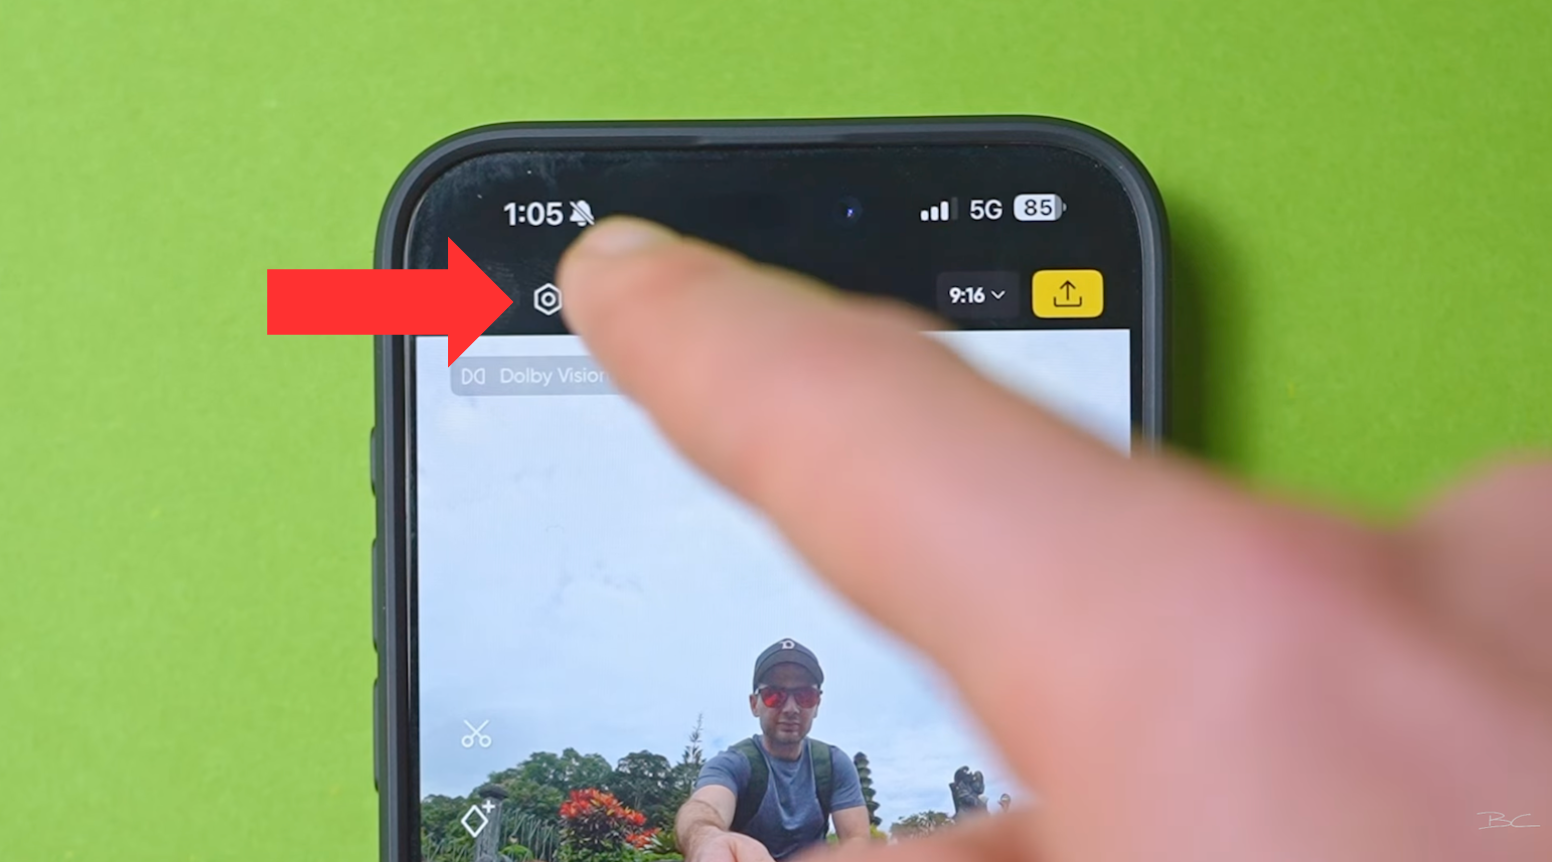
Here’s what you’ll find:
-
Proxy Mode: For older phones, this lowers quality to improve editing speed.
-
Original Mode: The best option if your phone can handle it.
-
Stabilization: Automatically turned on.
-
Direction Lock: Keeps the shot facing a fixed direction.
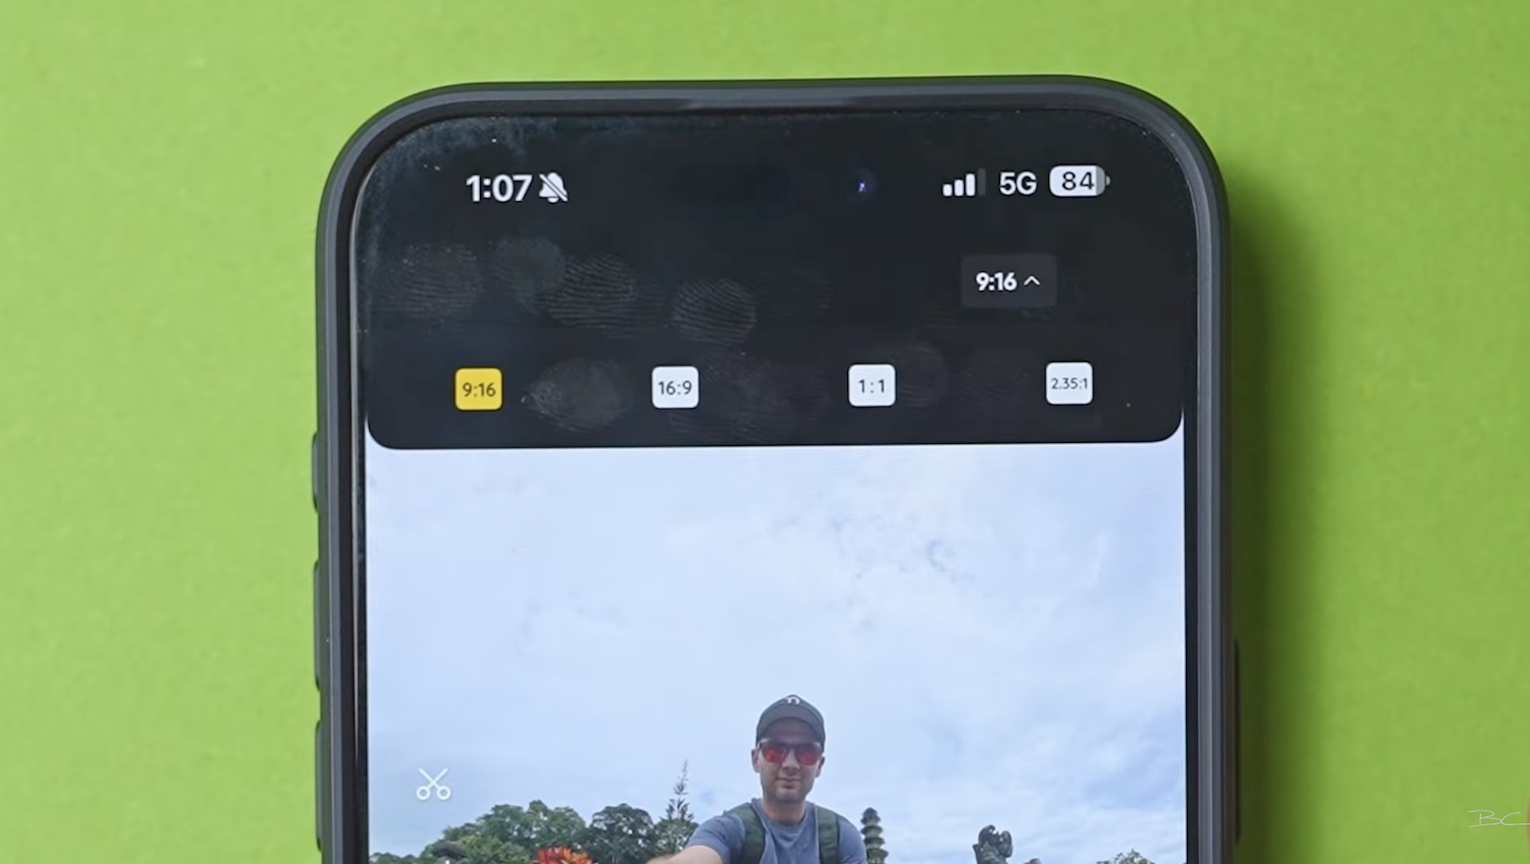
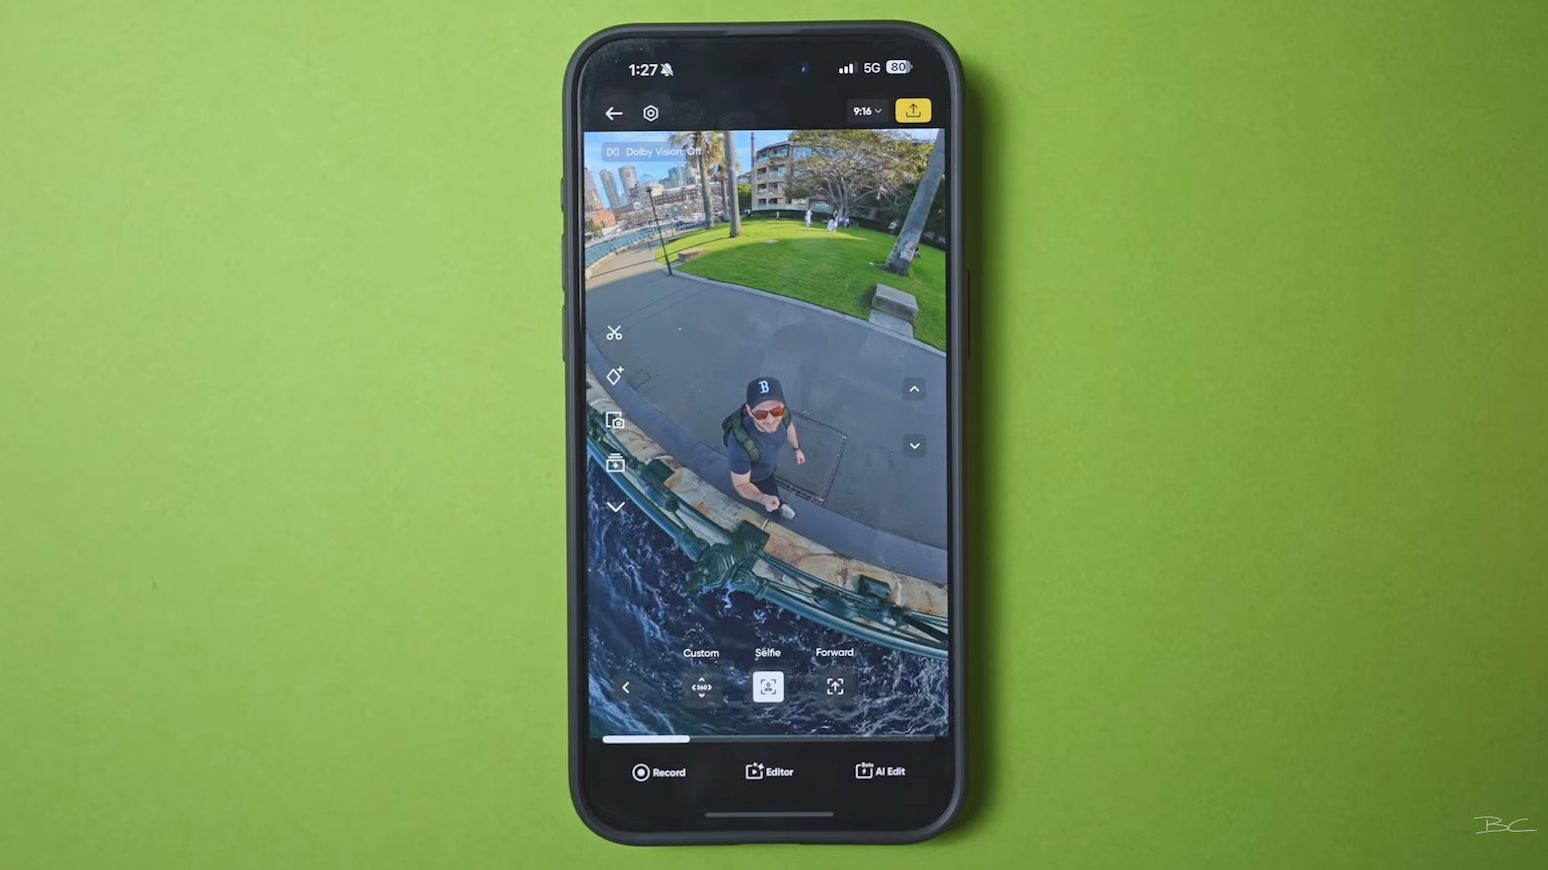
Choose Your Aspect Ratio
Tap the ratio button (next to the Export icon, top right).
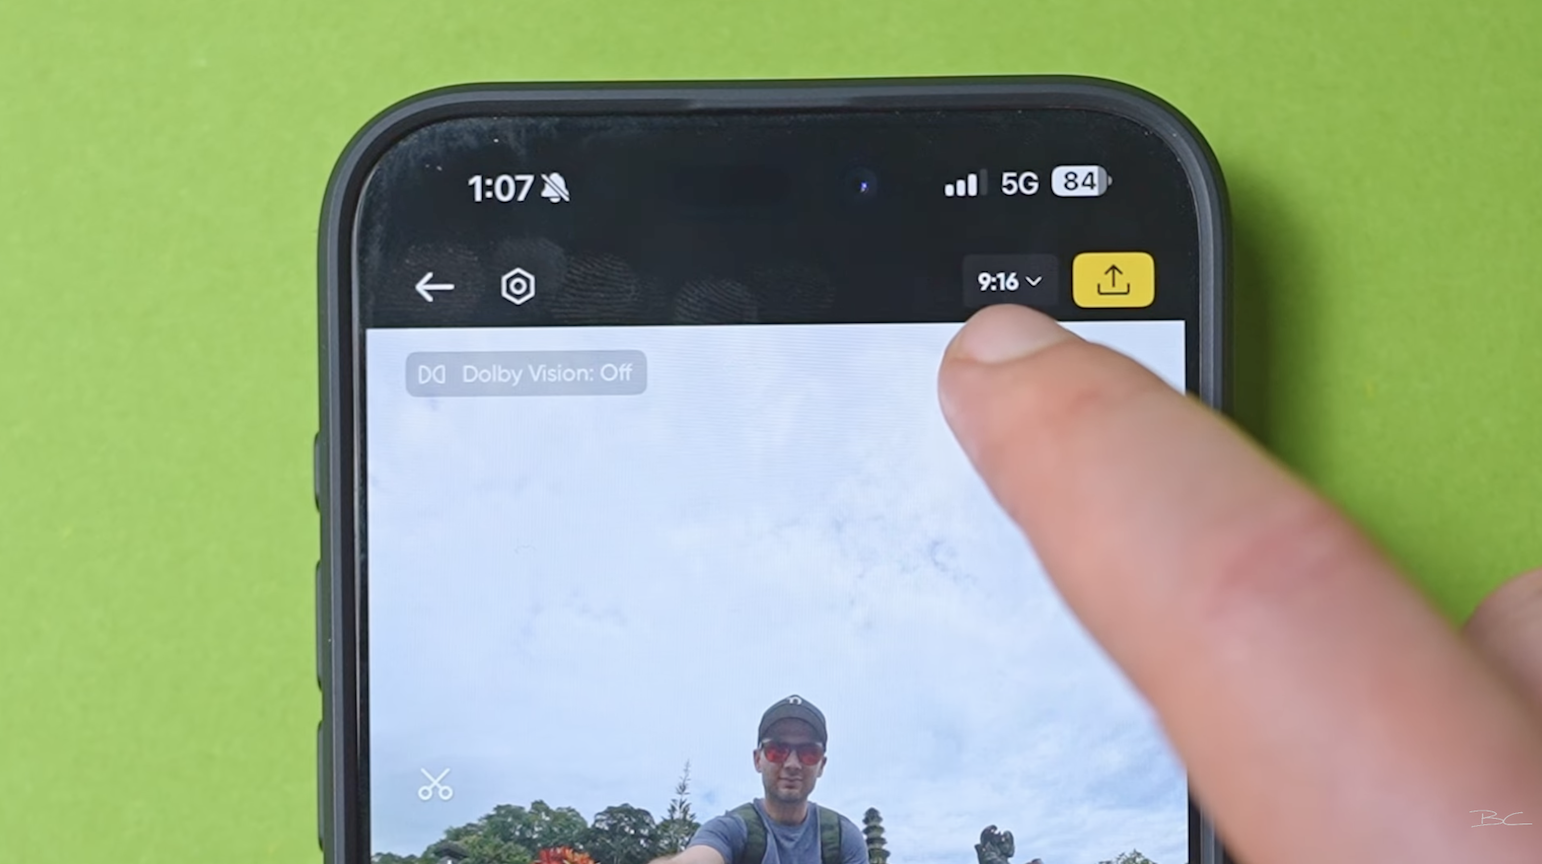
You can choose:
-
9:16 – For vertical video (TikTok, Reels)
-
16:9 – Standard YouTube format
-
1:1 – Square for Instagram
-
2.35:1 – Cinematic (if you’re feeling fancy)
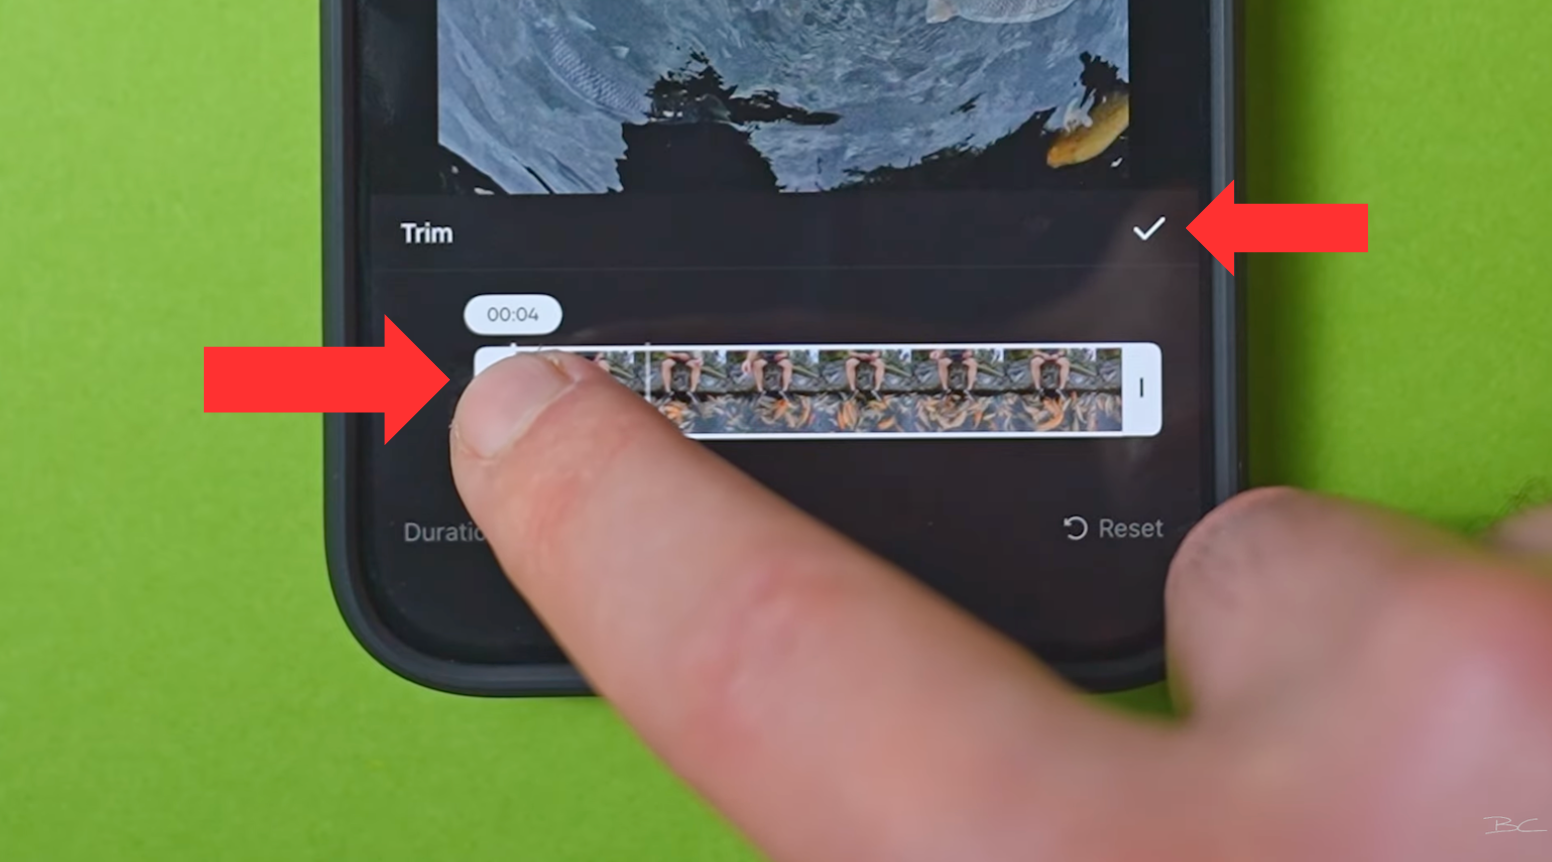
Step 4: Trim the Clip ✂️
Tap the arrow on the left to expand the edit menu, then hit Trim. This lets you cut off setup time at the beginning and end.
Drag the handles to where the action starts and finishes, then hit the checkmark ✅
Step 5: Reframe Your Video 🔄
Here are five different methods for reframing your 360 clip, ranging from beginner-friendly to more advanced techniques.
Basic Reposition and Export 🛠️
The easiest method:
-
Drag the video to your preferred frame.
-
Leave it fixed in that position.
-
Tap Export—done!
You can also toggle Dewarp to defish the footage, making it look more natural (works between 70–105° FOV).

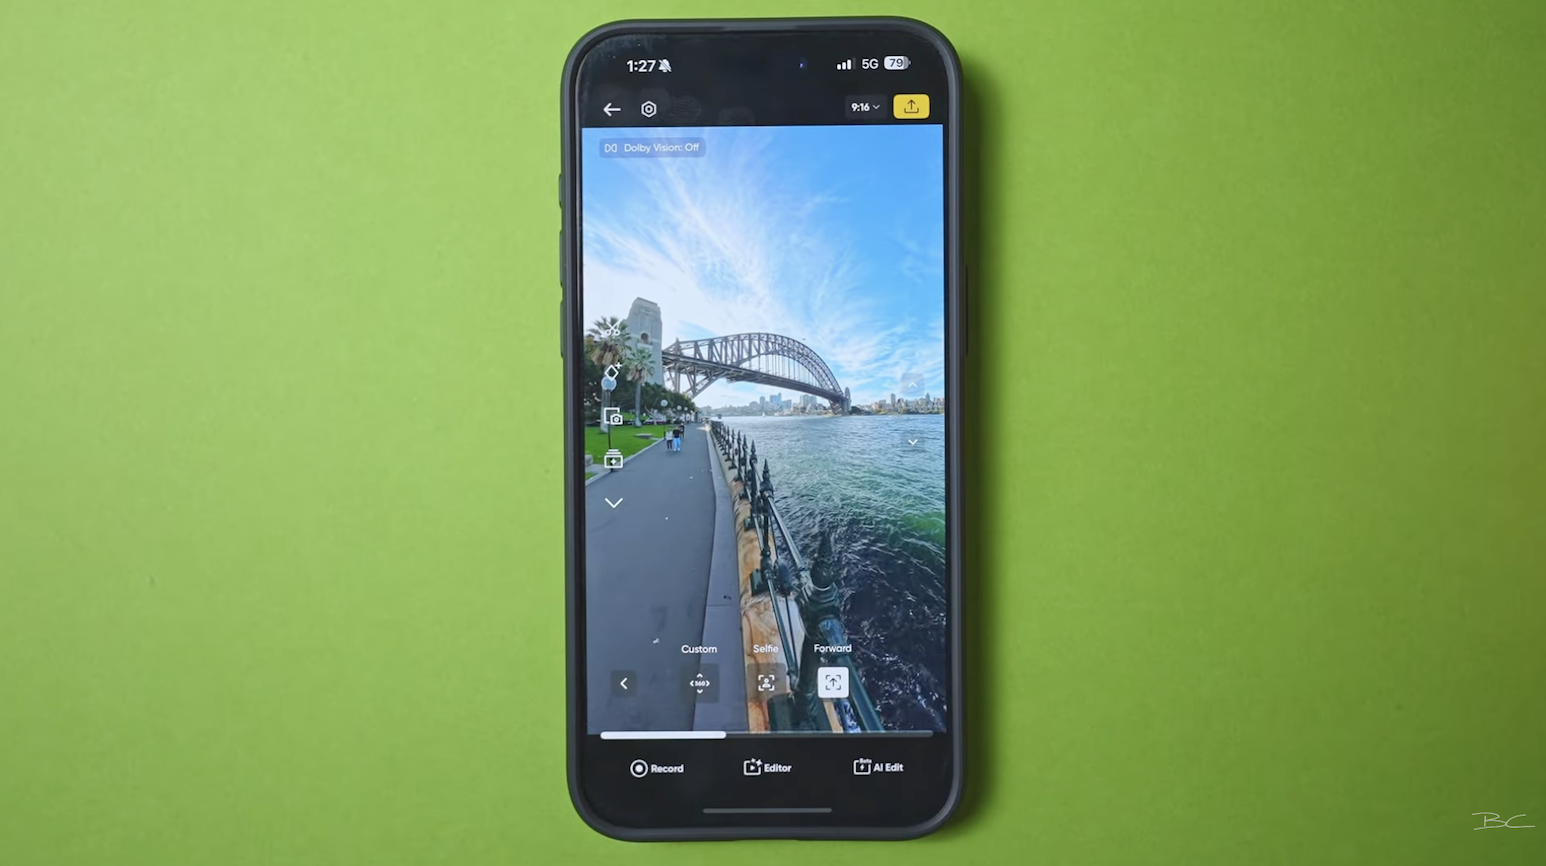
Auto-Selfie or Forward View Mode🧍♂️➡️
Tap Custom > Selfie to keep the camera pointing at you automatically. Great for walk-and-talks.
Or tap Forward View to follow the direction you're moving.
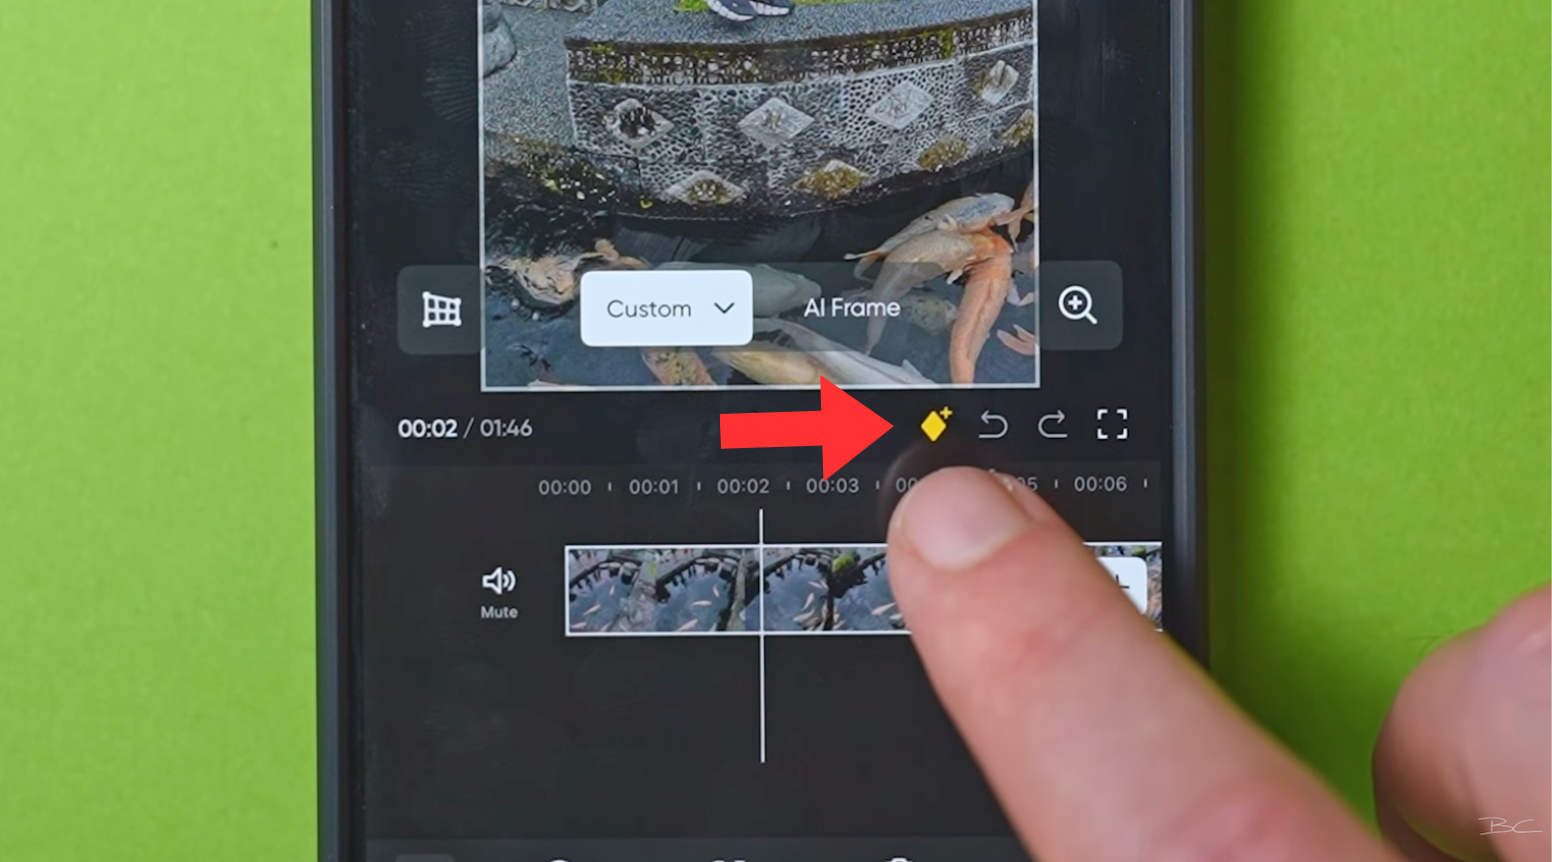
AI Frame & AI Edit 🤖
In the export menu there are a couple of AI options:
-
AI Frame: Insta360 tries to guess what an interesting shot would be. Then it provides one more alternative, basically a different angle to the first one.
-
AI Edit: Analyses our video and creates a mini-edited sequence from one clip.
They're okay, but I think we can get way better results doing it ourselves.

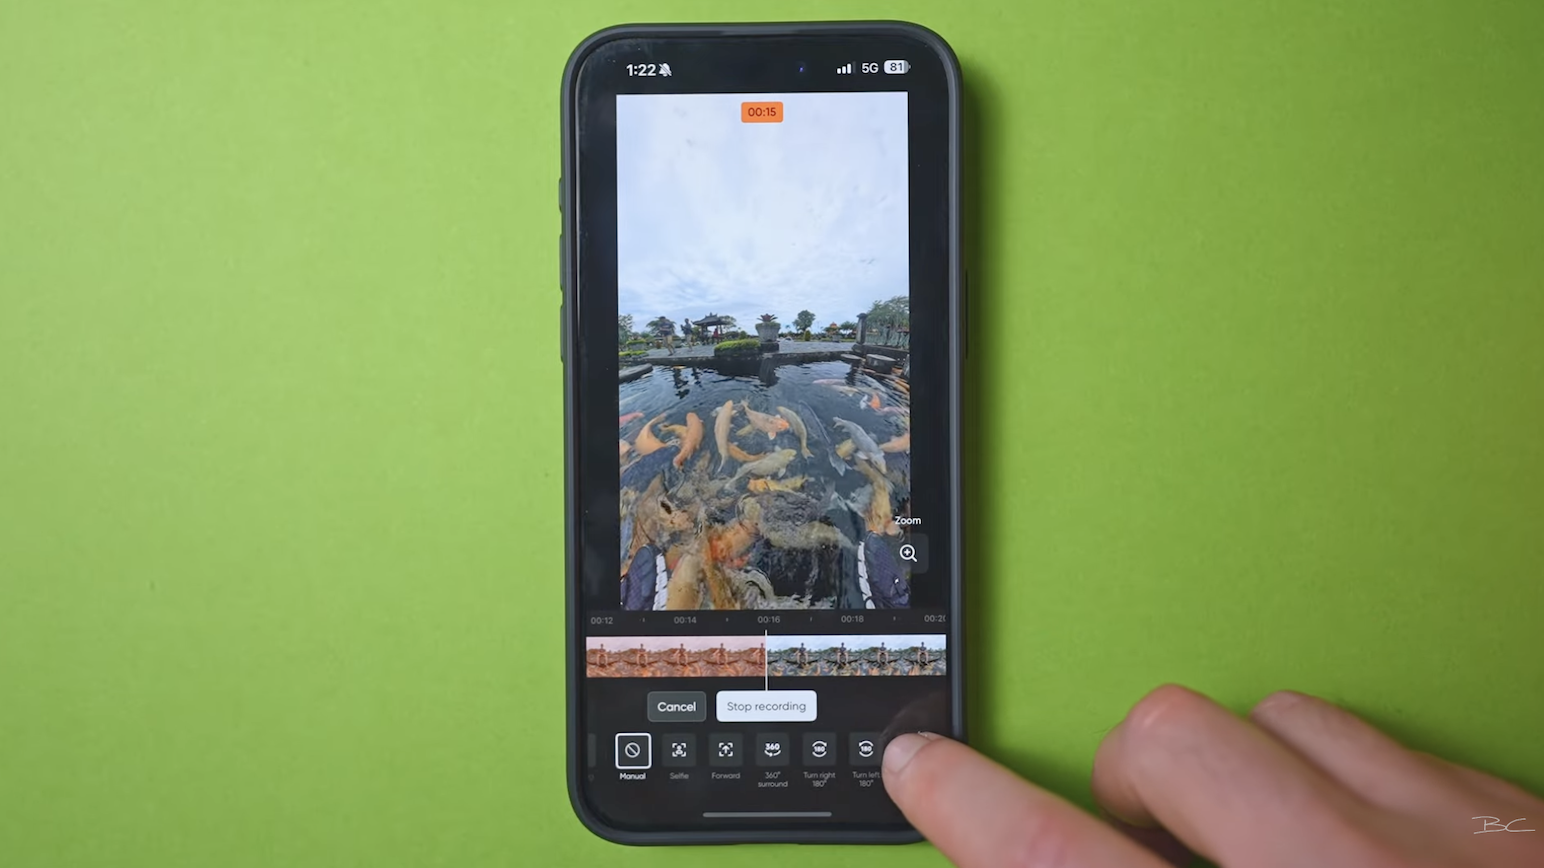
Live Reframing with Record Mode 🎥
Tap Record and swipe around during playback to record movements in real time.
You can also:
-
Use your phone's gyroscope to move the frame by turning the phone.
-
Tap Rotate / Pan / Tiny Planet buttons during recording for automated camera motion.
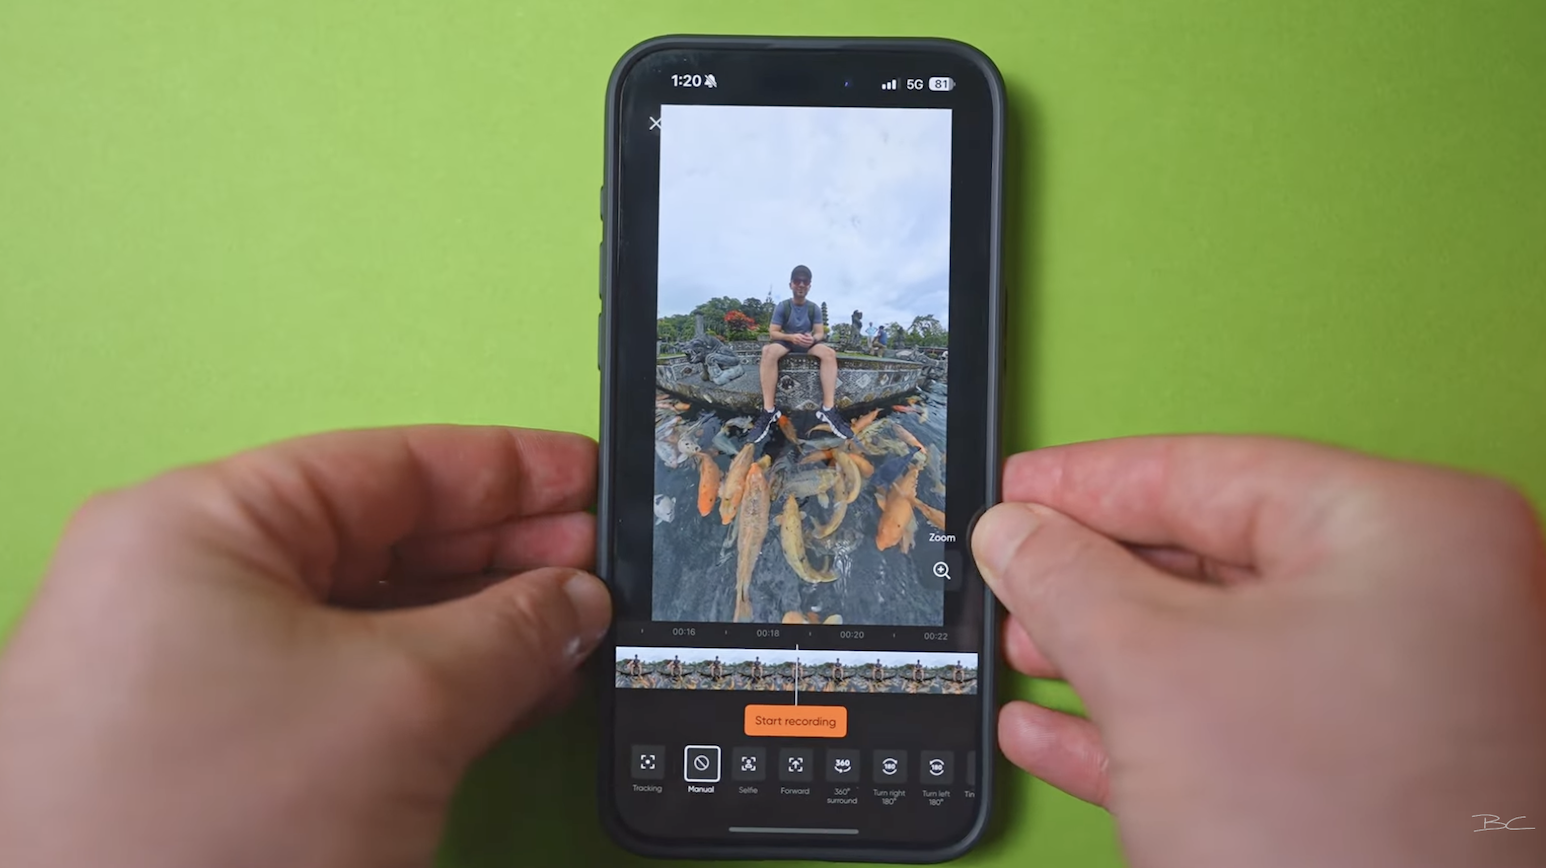
Pro tip: Use a swivel office chair for surprisingly decent results with gyroscope recording 😄
- Tap Rotate / Pan / Tiny Planet buttons during recording for automated camera motion.
Manual Keyframing (Best Method for Control) 🧠
This is my personal favorite for more complex shots.
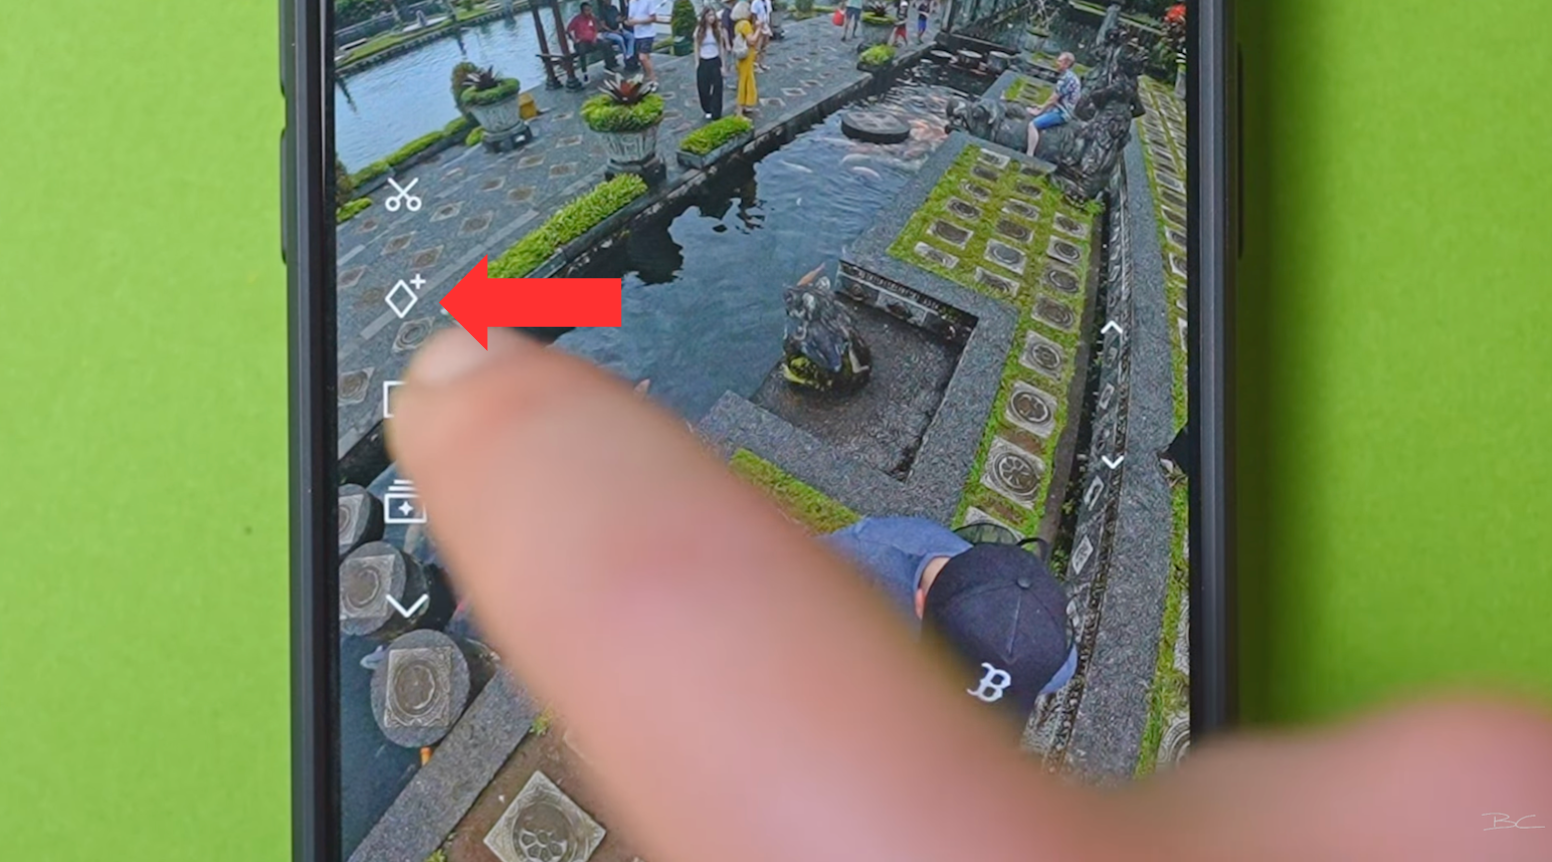
Tap the Diamond + icon to enter keyframe mode.
Reposition your view and hit the gold diamond to set your first keyframe.

Move forward, adjust the frame, and set another keyframe.

Repeat as needed.
Playback your sequence to see smooth transitions between angles. This is ideal for longer clips or walkthroughs with multiple interesting scenes.
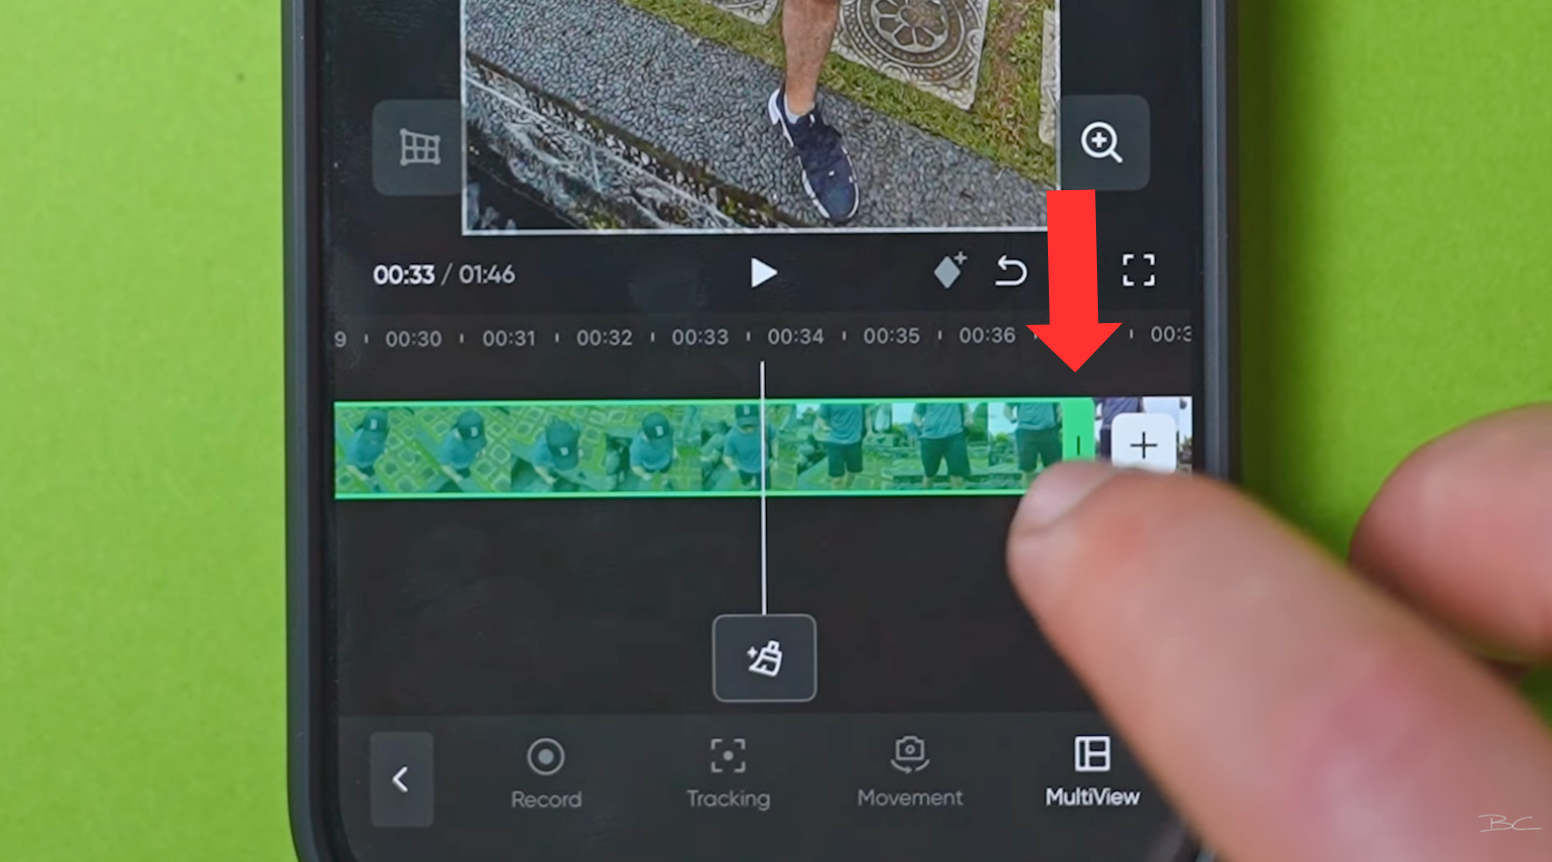
Using Object Tracking
If at some point you want the camera to automatically track you or another subject:
Tap the tracking button (at the bottom of the screen)
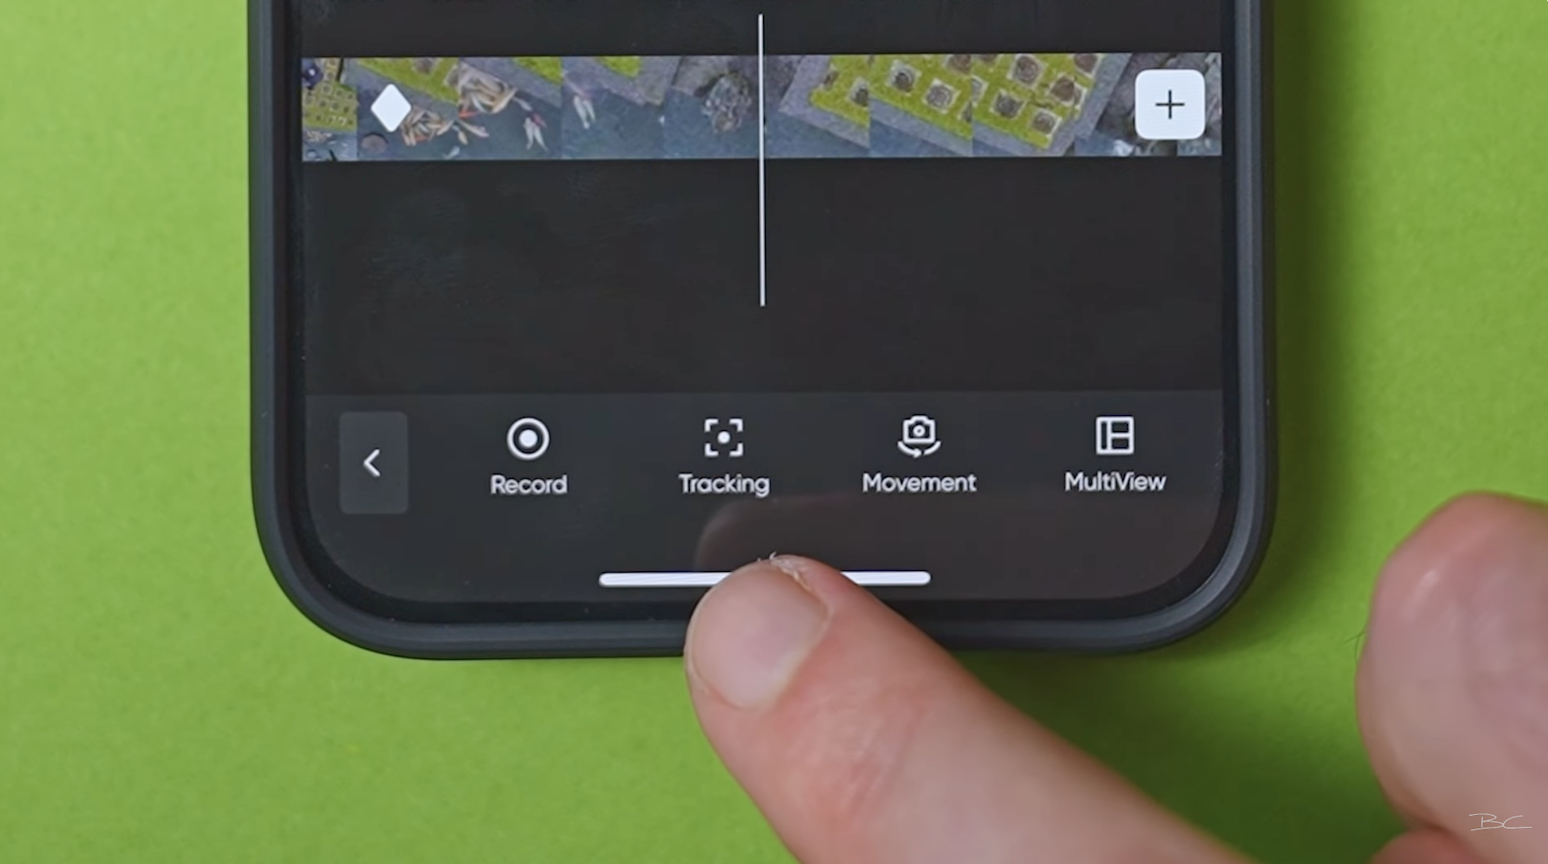
The app will try to identify your subject automatically. If it doesn’t, just move the viewpoint manually until the green tracking box appears correctly.
Tap Start Tracking, and the app will keep the subject centered in-frame.
![]()
Want to end the tracking? Just tap the edge of the green box and drag it to the desired endpoint. After that, you’re free to resume manual reframing.
Add Auto Movements for Extra Flair
You can also add pre-made movements using the Movement option:
-
Tap Movement, choose an effect (like Zoom Roll), and the app will animate a transition between your keyframed view and the selected motion.
-
Tap the ✔️ to confirm.
This adds a dynamic effect between points without needing to adjust every frame manually.

A few further things...🎬
Speed Adjustments
Tap Edit, then select Speed. You’ve got two choices here:
You can speed up the entire clip — just tap Continue, choose your desired speed (let’s say 6× speed), and boom — your exported clip will play that much faster.
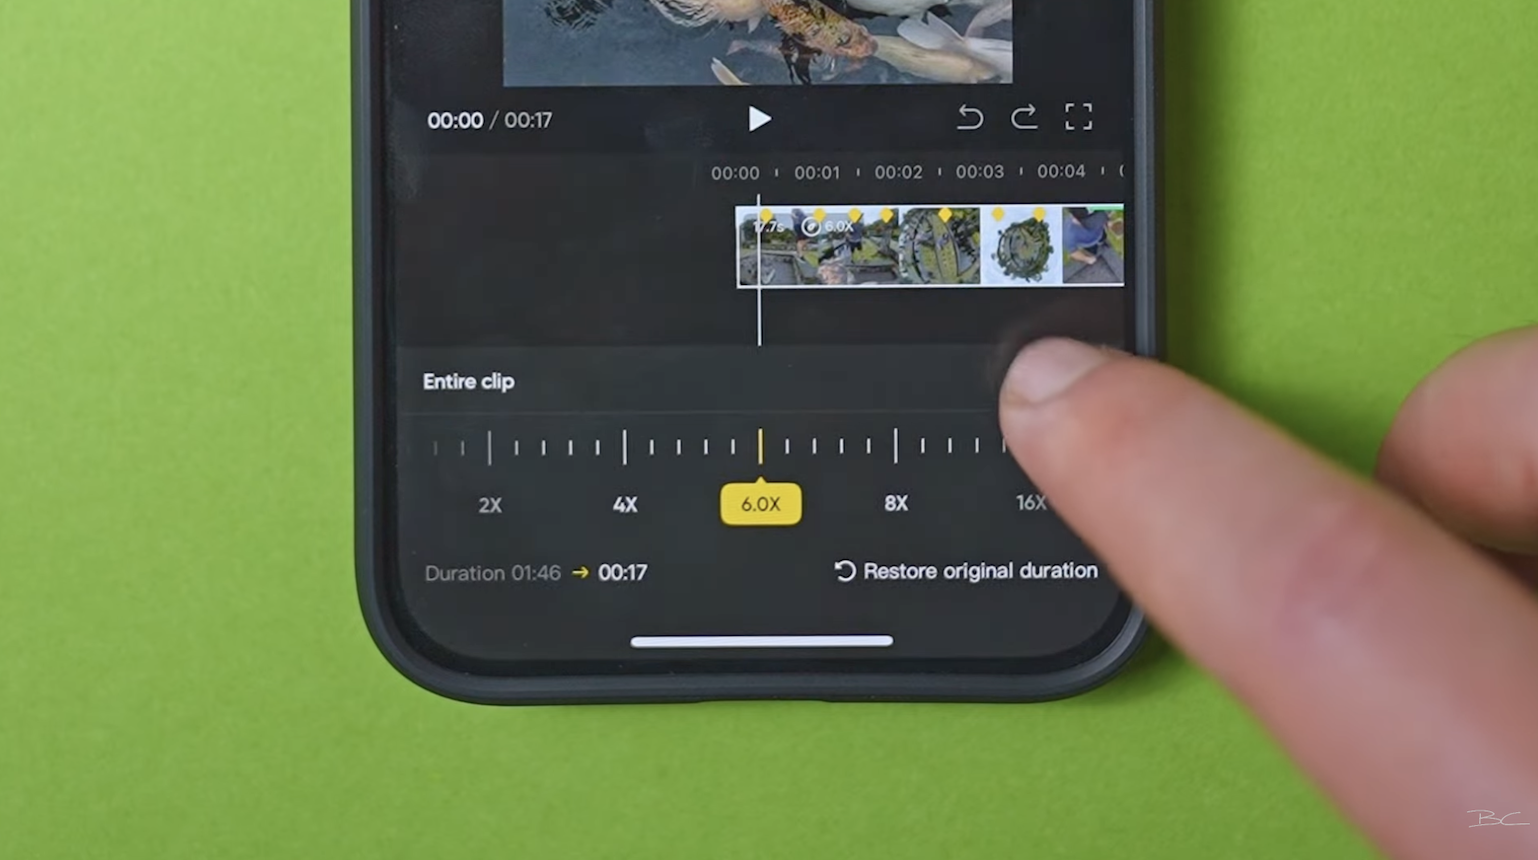
Or, you can speed up specific segments. This is great for trimming down any boring parts of your footage. Just tap the plus icon (+), drag across the timeline to highlight the section, and then tap the tick icon. It'll prompt you to choose the new speed — maybe 8× for example.

Now when you play it back, your video will run at normal speed, then speed up for that section, and return to normal. Keep in mind: you’ll only see the final result after export.
You can also slow down sections (to 0.5× or 0.25× speed) if you want a dramatic or cinematic effect.
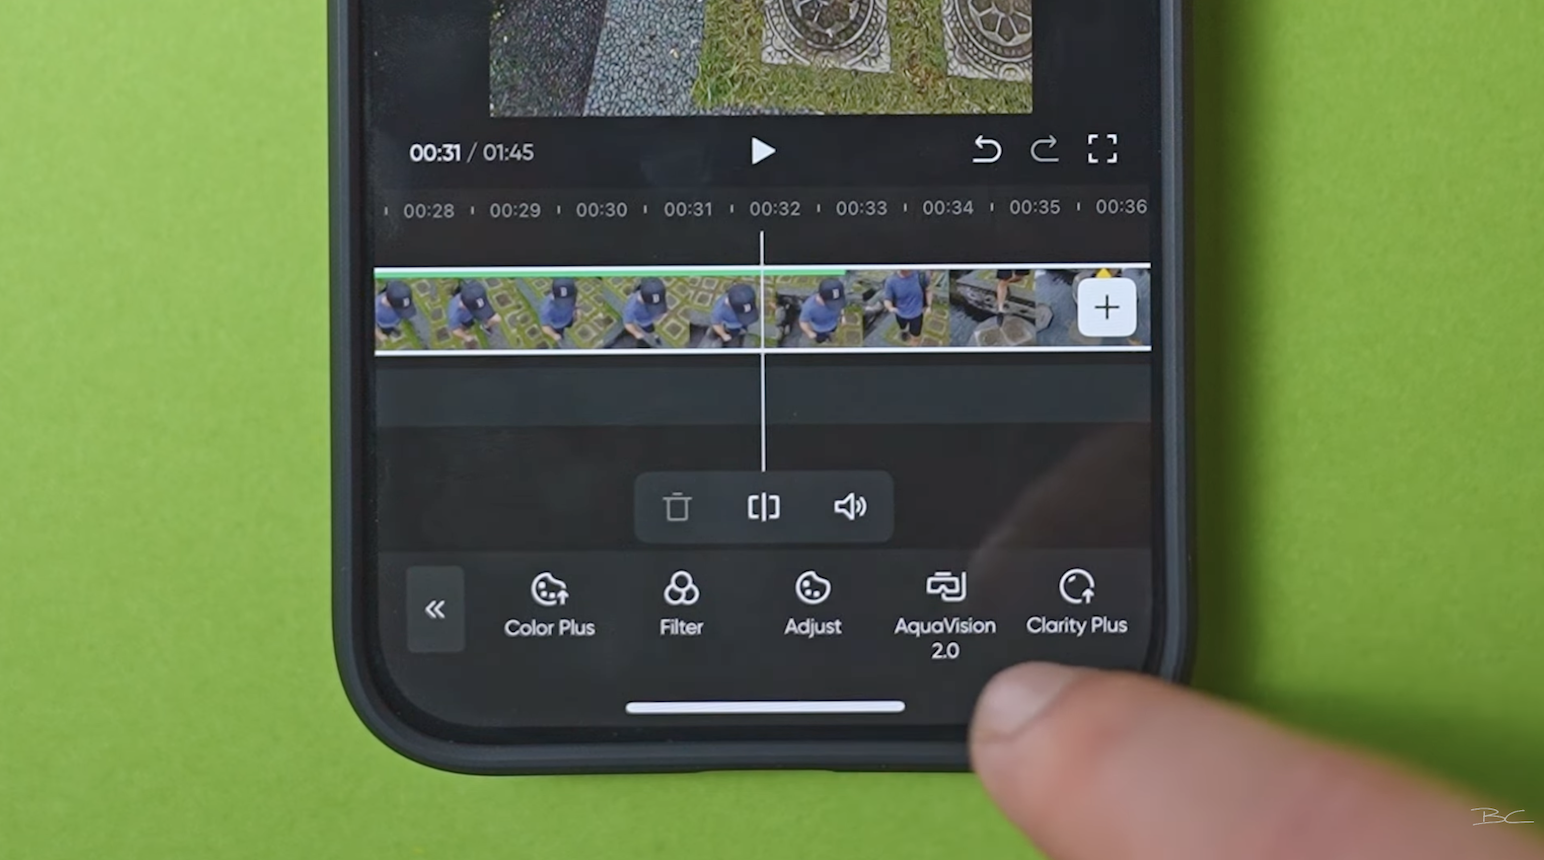
Color & Effects
Back in the main Edit menu, there are a few other tweaks you can make:
-
Color Plus – a quick color correction. Just drag the slider and hit tick if you like the result.
-
Motion ND – adds motion blur, especially useful during fast-forwarded clips.
-
GPS Stats, Face Filters, and Plate Blur – handy tools depending on your footage.
-
You can also duplicate your clip if you want to try editing it in multiple ways.
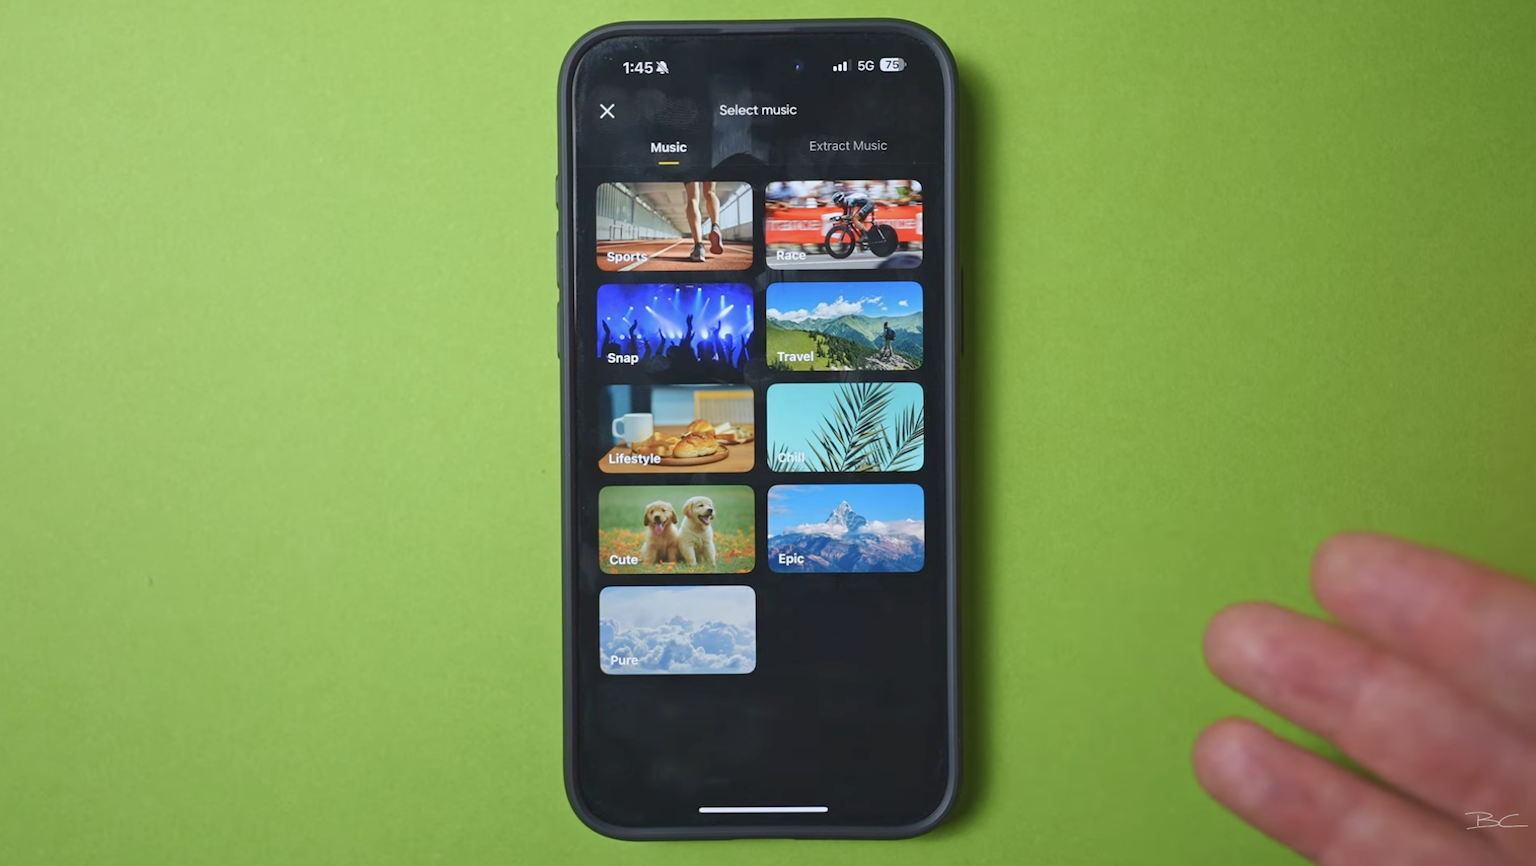
Music & Final Touches
Back in the main app menu, you can:
-
Add music from the in-app Insta360 library (although be cautious as some users have reported copyright strikes, so you might want to avoid it)
-
Add text effects
-
Enable Dolby Vision for enhanced color correction
Exporting Your Clip
To export, just tap the yellow Export button in the top right.
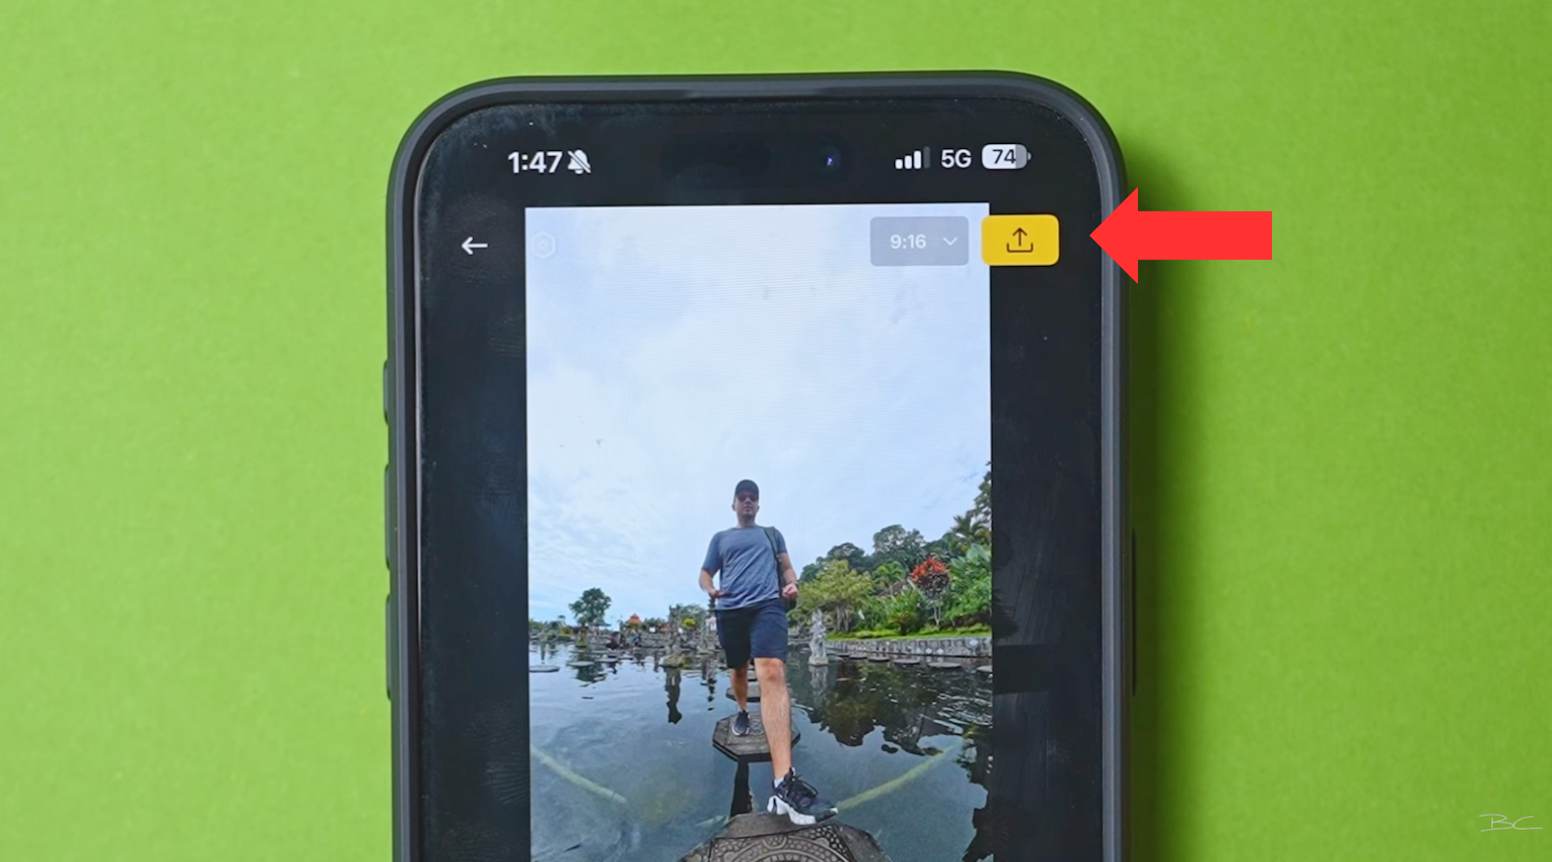
If you're keeping it simple, tap Export to Phone — quick and easy.

For maximum quality, tap the settings icon, then select Video Quality.
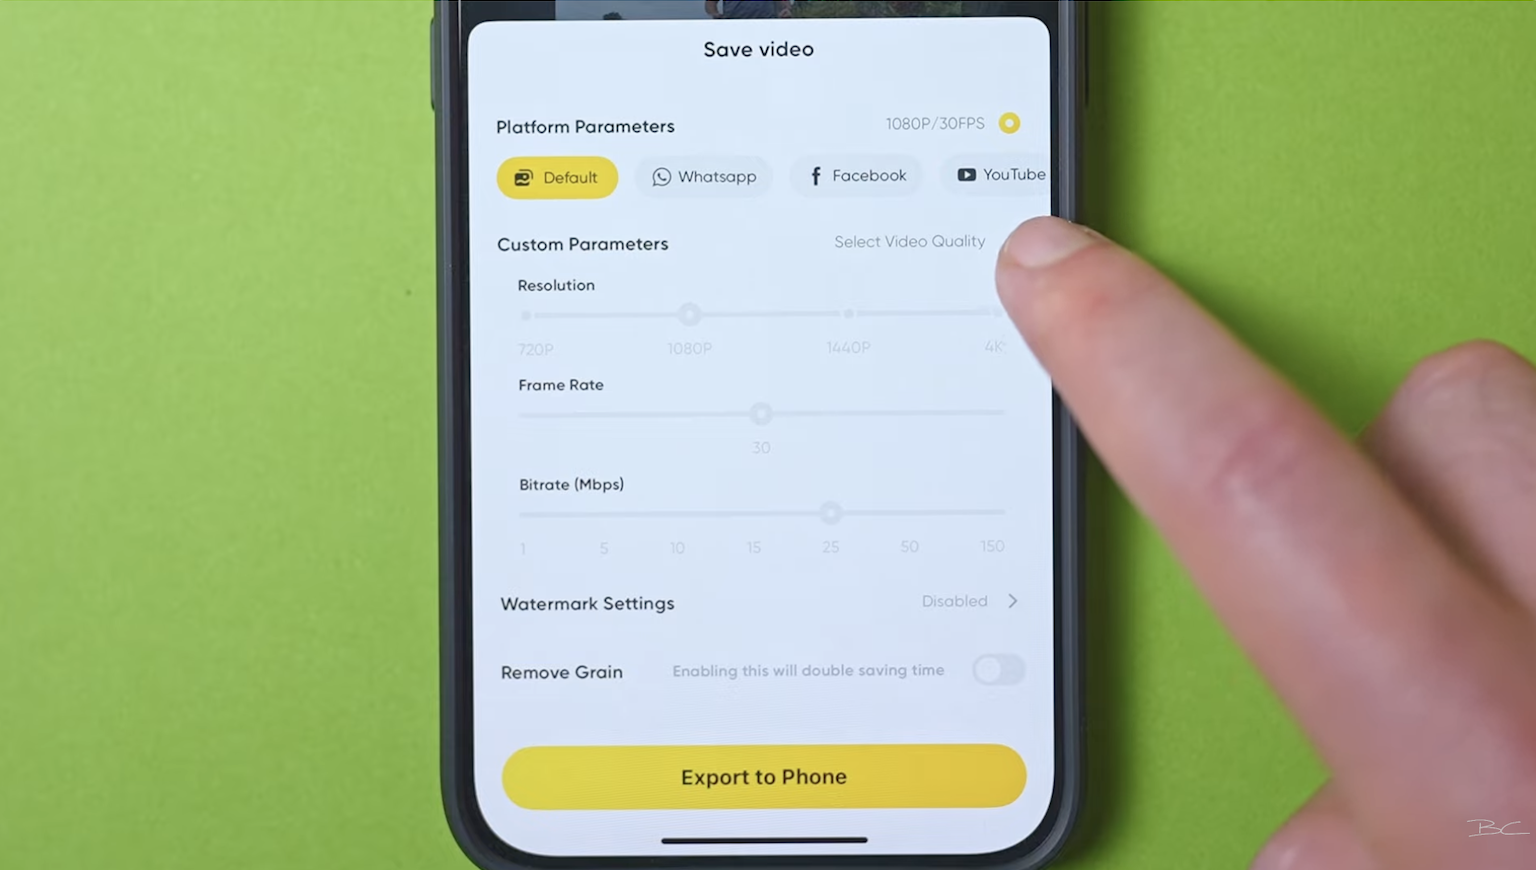
-
Choose between 1080p and 4K (depending on your original footage)
-
Set your frame rate to match your source clip
-
And max out the bitrate for top-tier visual quality (though this will increase file size)

If you’re just exporting for social media (like Instagram stories), you likely don’t need these high settings, they'll just take up more space on your phone.
Starting Over (If You Change Your Mind)
Let’s say you’ve spent time editing your clip, but you don’t like the final result. No worries — just tap Back, then tap the Keyframe button.
Then select New Draft.
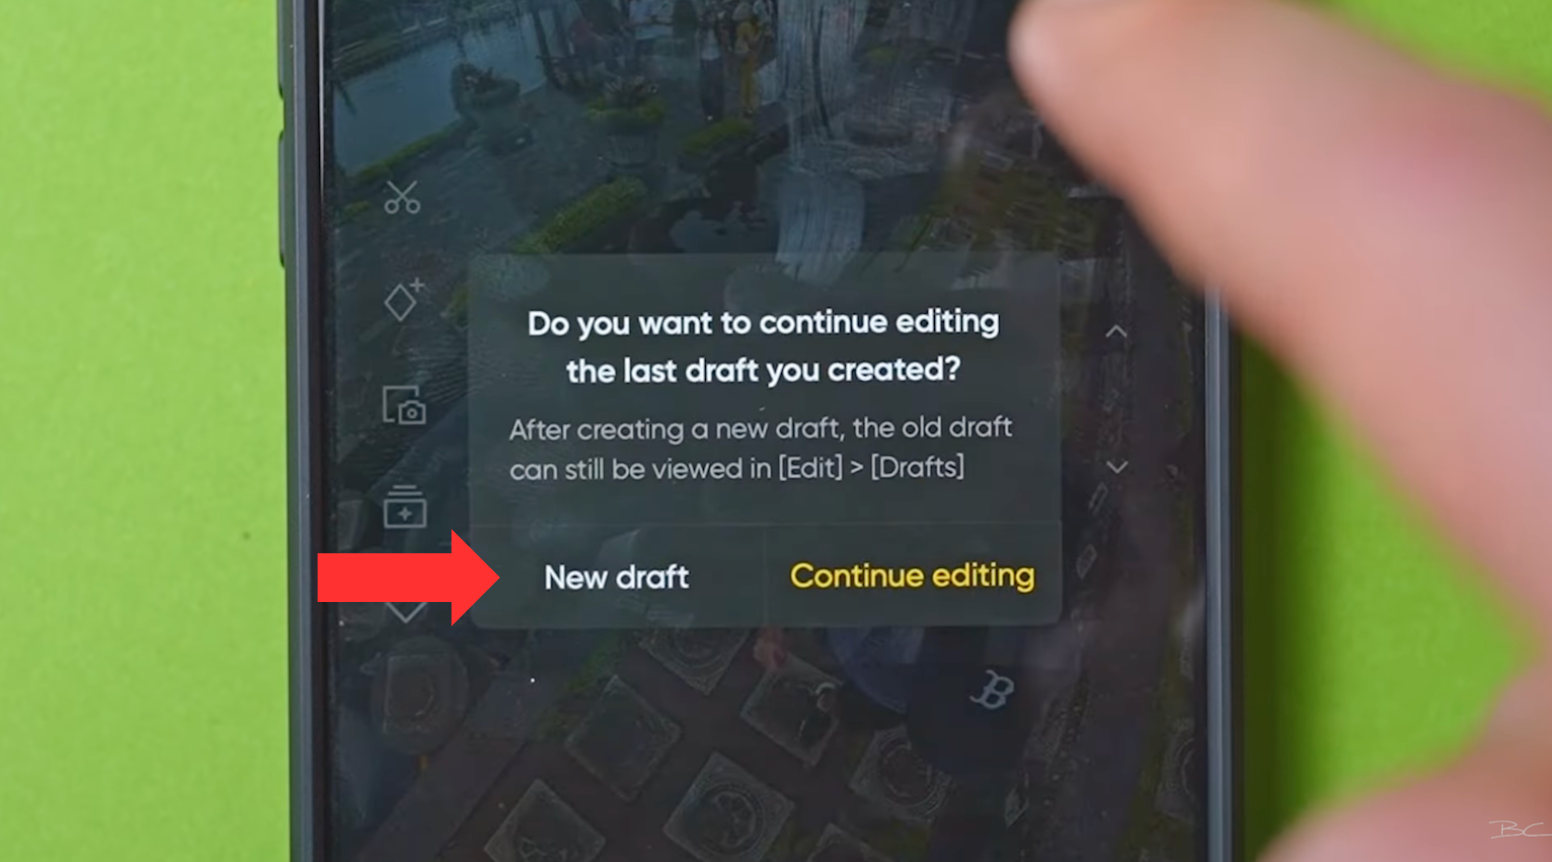
This wipes your current edit while still saving the original in your Drafts, so nothing is lost.
Final Thoughts: Reframing in the Insta360 App 📲✅
Yes, the new Insta360 app has changed and yes, it can be a bit overwhelming at first. But with just a little time and practice, these tools can help you create amazing flat video edits from your 360 footage, faster than ever.
Coming up next in Part Two of this tutorial which is dropping on my channel in the next week or two — I’ll dive deeper into the Insta360 mobile app. I’ll cover the Edit tab (perfect for stitching together multiple clips), how to use the Shot Lab for creating awesome effects, and walk you through some other advanced features that you need to know. So stay tuned that post is on the way soon!
If you found this helpful, trust me — this is just scratching the surface. Inside my 360 Video 101 Course, I teach everything you need to create your own scroll-stopping Insta360 videos — from the gear I use, to shooting techniques, to editing and mind-blowing effects. This course is designed to help you go from beginner to confident creator. Check it out by following the link above.
Blog Author