The Best Insta360 Settings for Fast & Slow Motion
Apr 24, 2026
Have you ever seen other creators post awesome fast-motion hyperlapses or captivating slow-motion shots and wondered… why doesn’t my footage look like that?
Fast and slow motion shots with Insta360 cameras can produce seriously epic results—but only if you combine the right frame rates with the right shot types. In this guide, you’ll learn exactly how to get both right so you can create those same cinematic effects with your own footage.
All shots referenced here were filmed on the Insta360 X5, but these tips apply just as well to older models and even future cameras with higher specs.
Understanding the Three Types of Motion
There are three main types of motion you’ll be working with:
- Normal motion
- Slow motion
- Fast motion (hyperlapse)
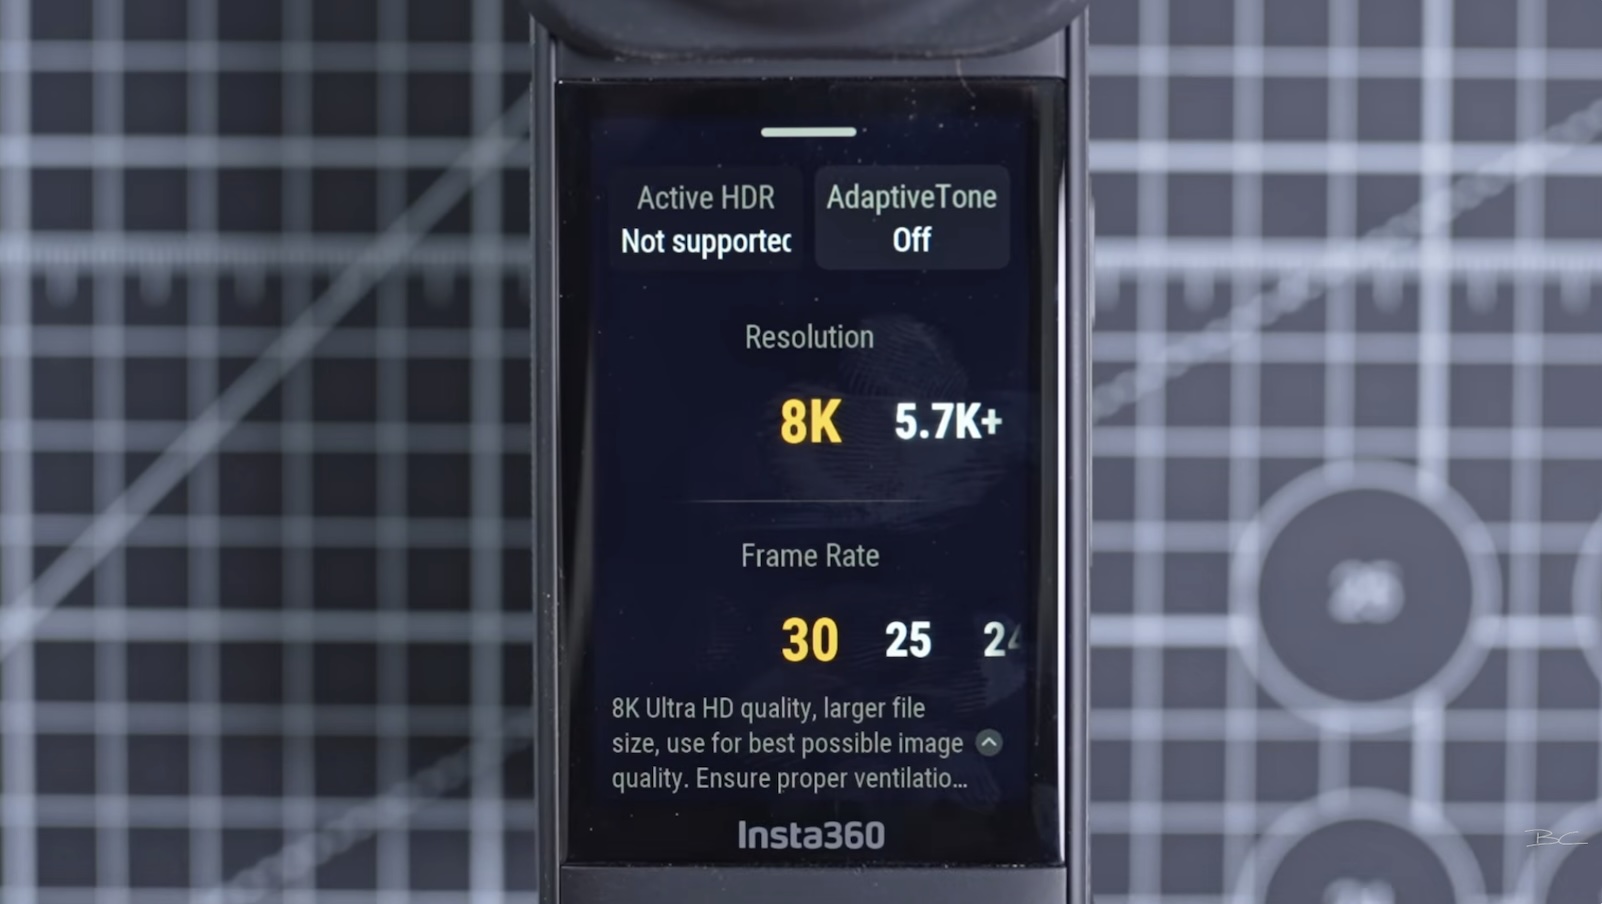
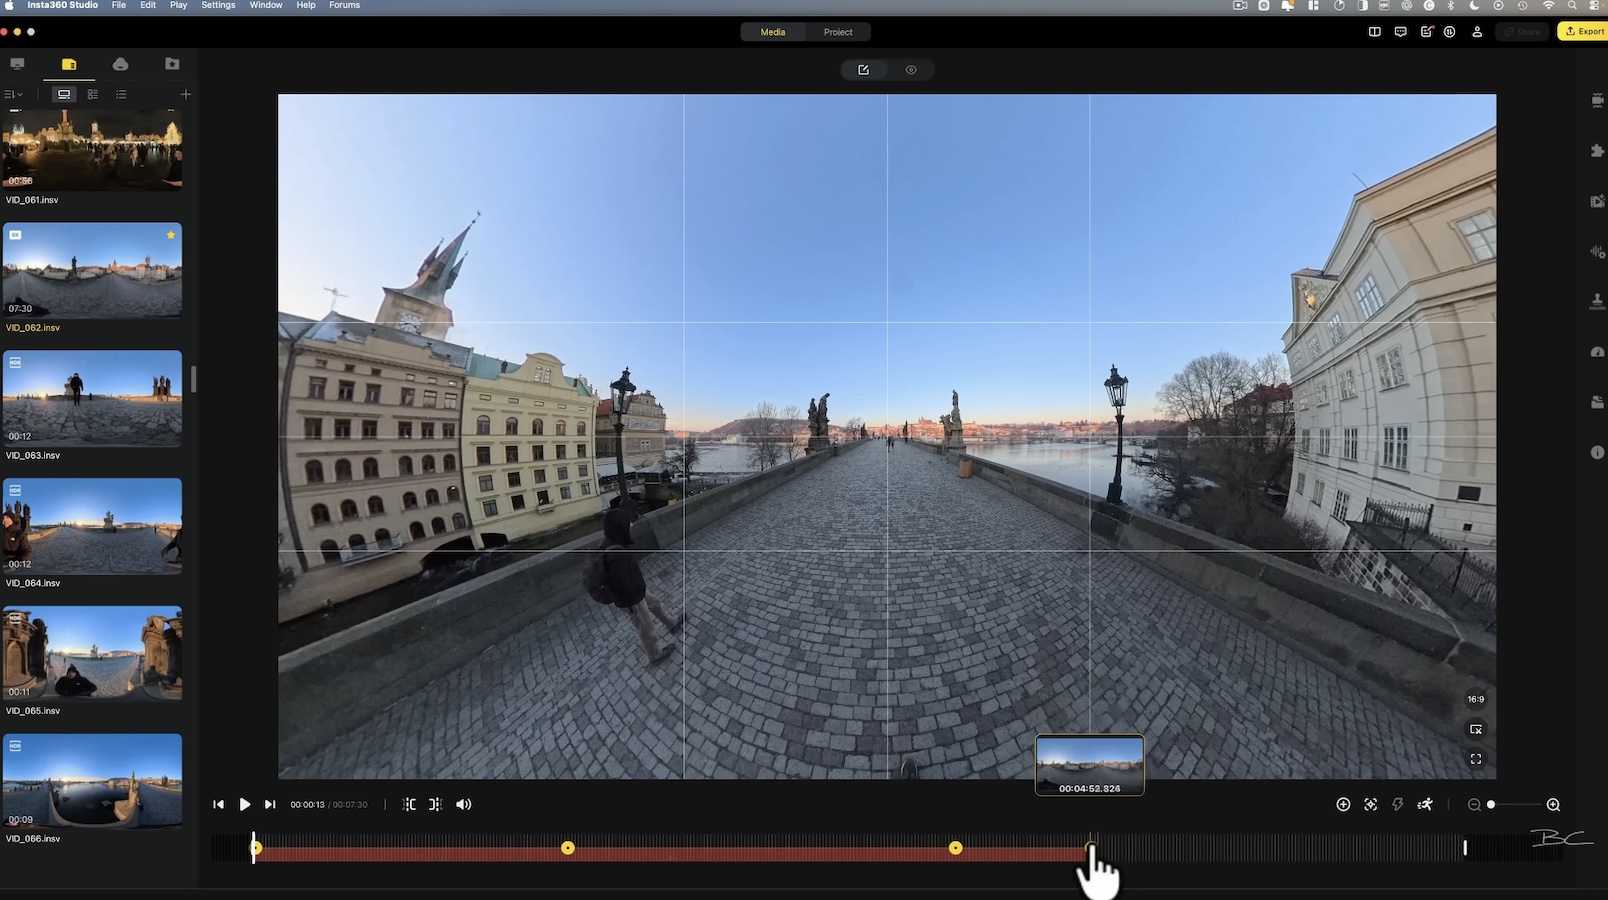
No matter which one you choose, always shoot at the highest resolution possible. This helps maintain quality when reframing your 360 footage into a flat 16:9 video.
Normal Motion: Your Default (30fps)
For most situations, 30 frames per second (fps) should be your go-to.
While 24 or 25fps are considered more cinematic, 30fps is better suited to everyday 360 shooting. That’s because most 360 footage involves some level of movement, and those extra frames help capture motion more smoothly.
Use 30fps for:
- Walking and talking shots
- Travel scenes
- General storytelling footage
It gives you natural-looking motion and works well for relaxed, real-life pacing. If you’re ever unsure which frame rate to use, just stick with 30fps—it’s your safest and most versatile option.
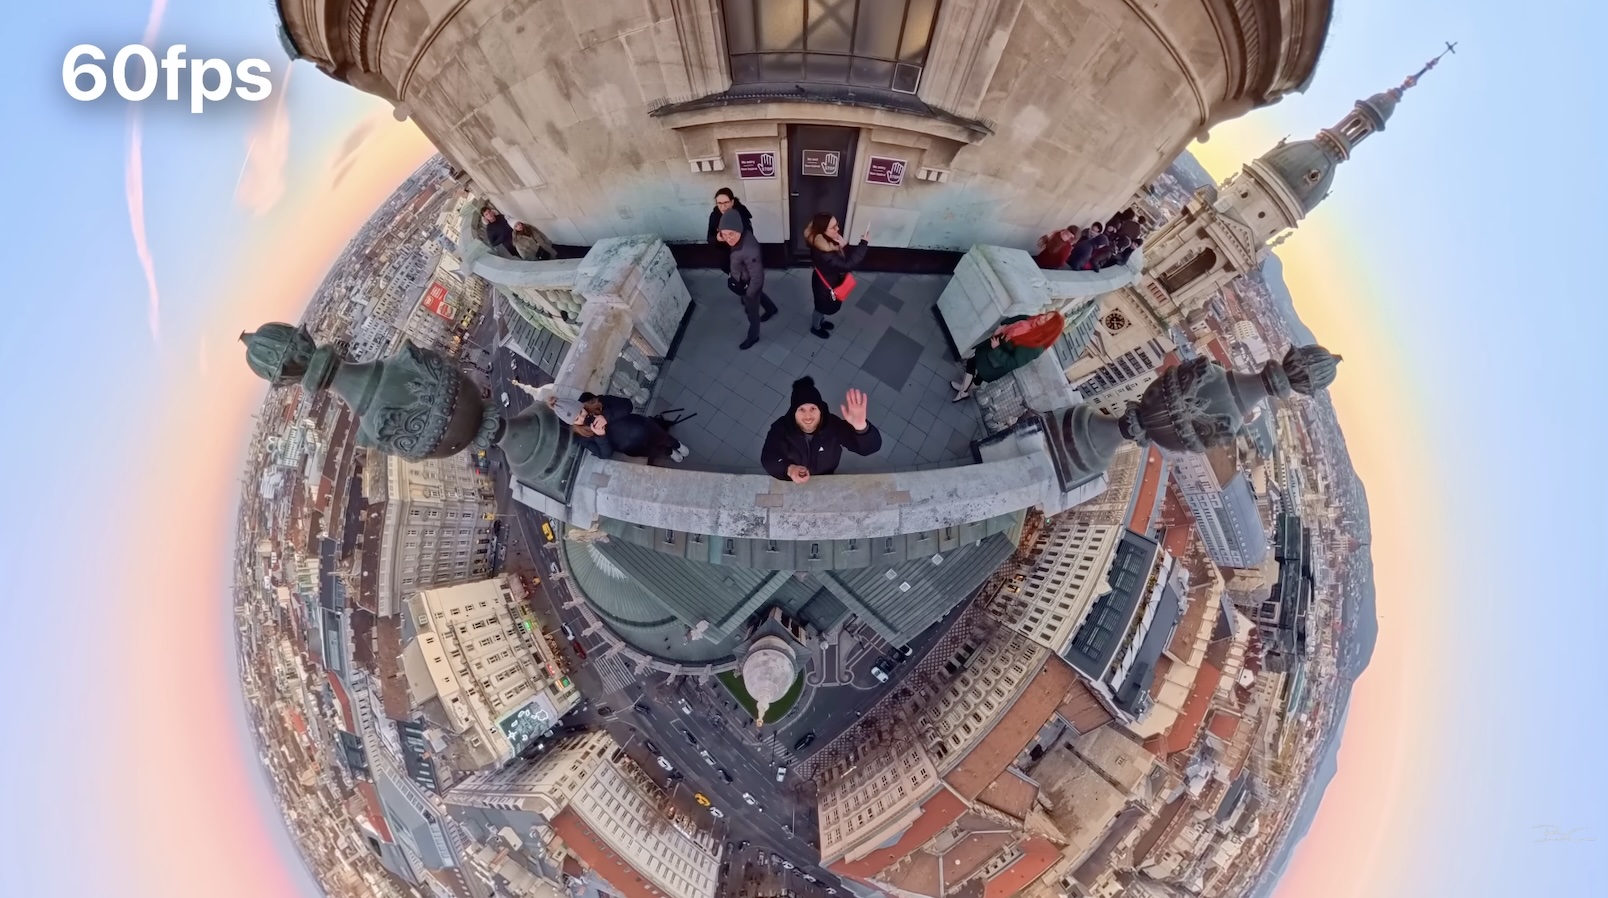
When to Use 60fps
If your scene involves more movement, it’s time to step things up to 60fps.
There are two main reasons to shoot at this higher frame rate.
1. Smoother Real-Time Footage
Even if you’re not planning to use slow motion, 60fps can make your footage look noticeably smoother.
This is especially useful when:
- You’re moving quickly
- You’re doing dynamic camera movements
- You plan to reframe your shot a lot
The extra frames reduce jitter and make camera motion feel much more fluid.

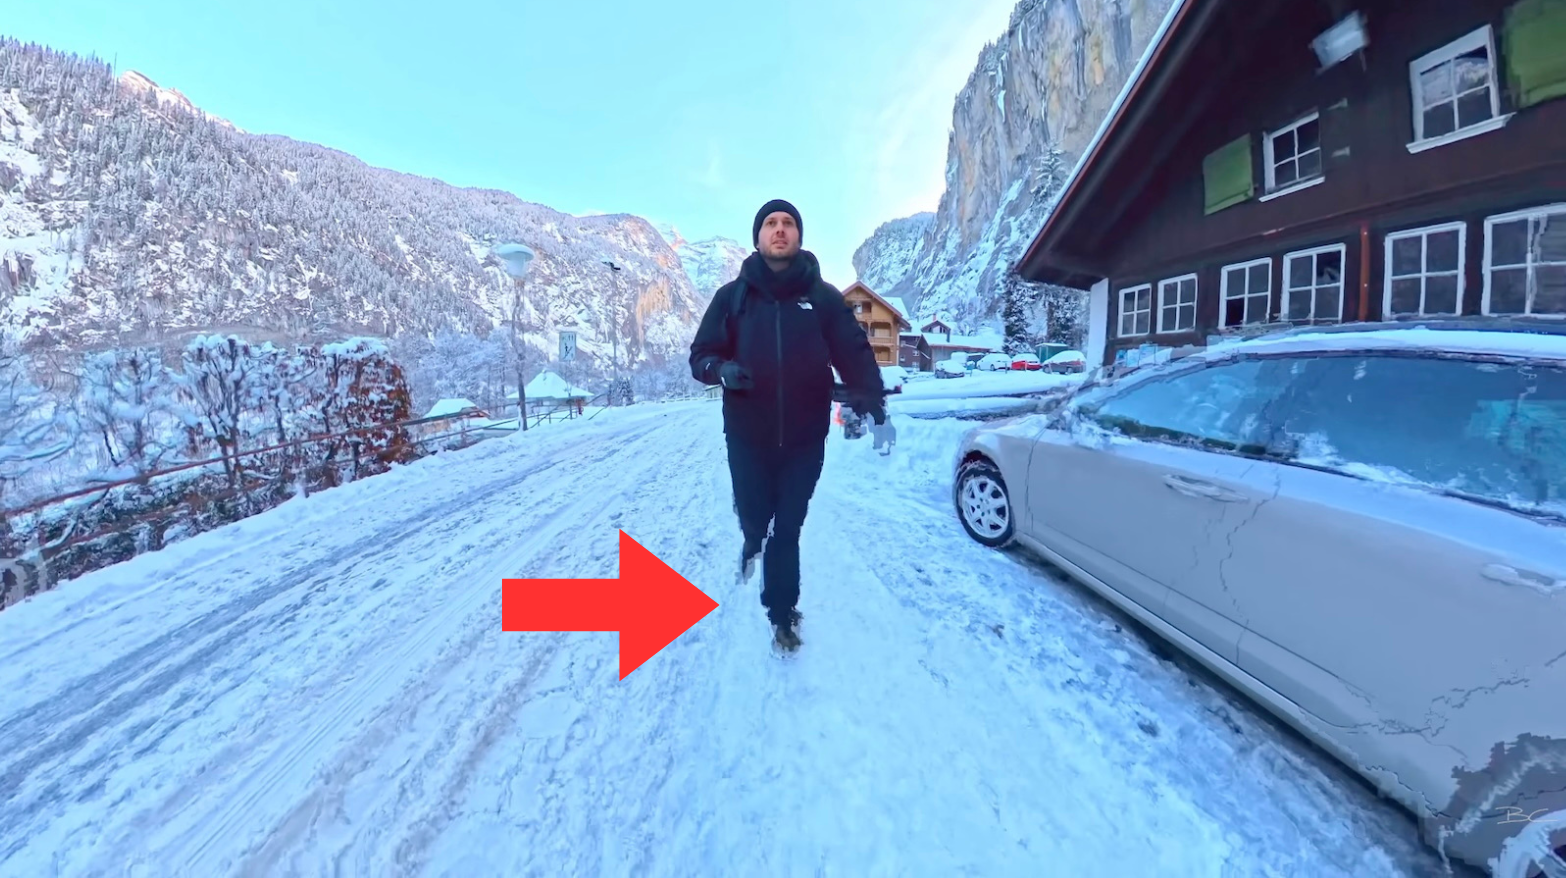
On my Europe trip, at least 50% of my shots were filmed at 60fps because the style of content I was capturing was fast-paced. I was often moving quickly, doing more dynamic camera movements with the X5 on a selfie stick, and shooting at 60fps helped smooth everything out and make the footage far more watchable.
2. Slow Motion
The second reason is slow motion—and this is where things get really fun.
60fps is the minimum frame rate for slow motion. It’s currently the sweet spot between resolution and frame rate on the X5.
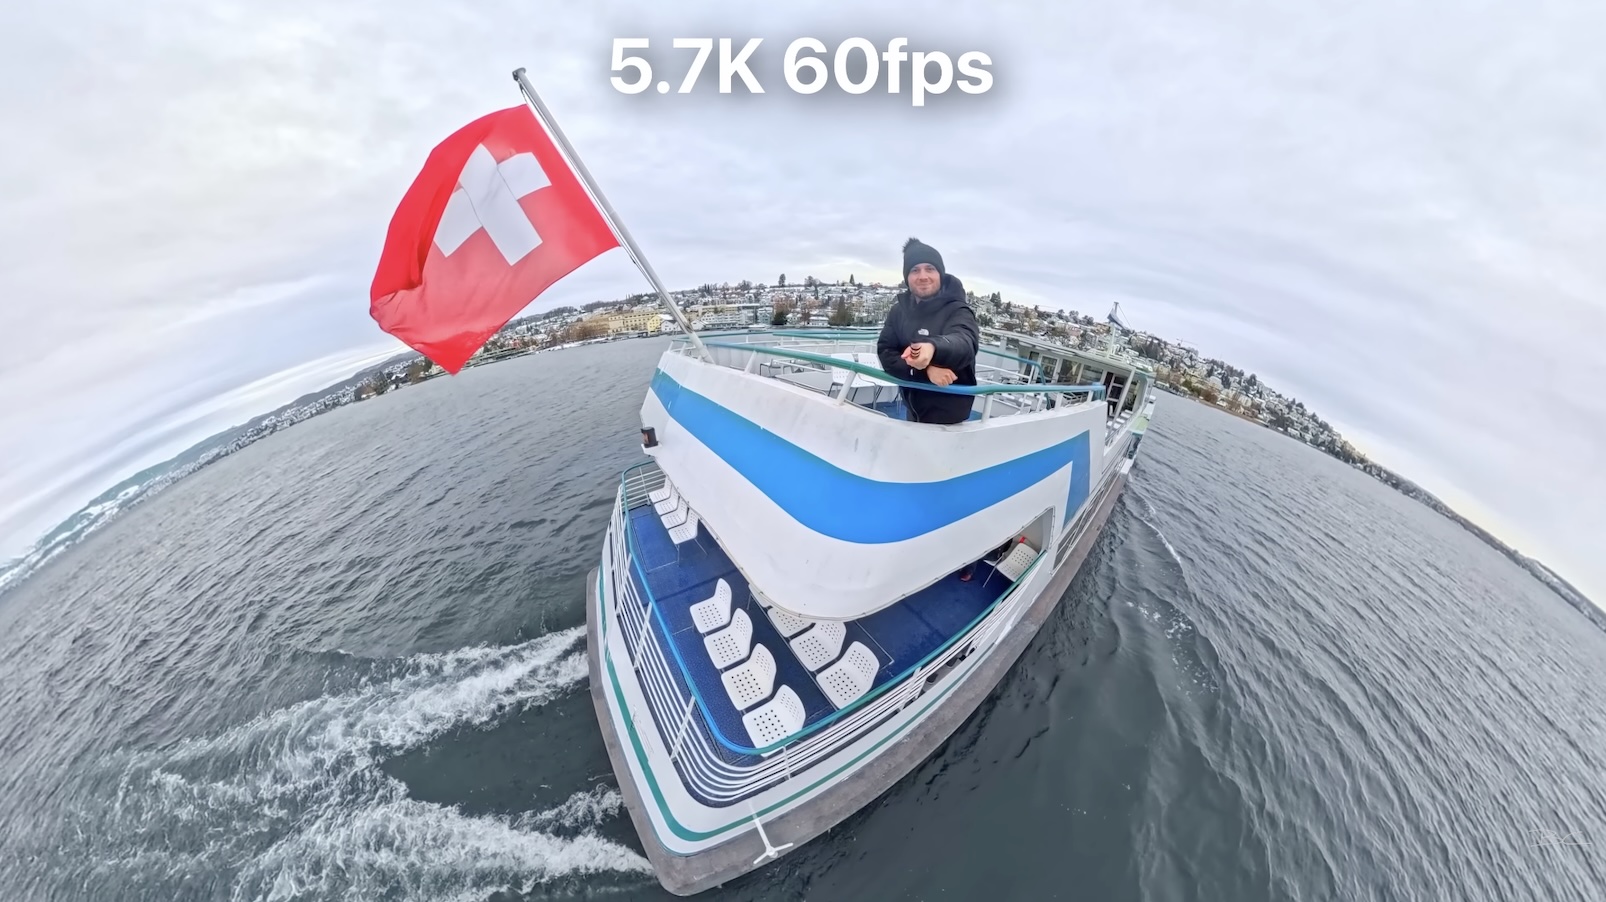
For best results:
- Shoot at 60fps
- Aim for at least 5.7K resolution
Because of cropping during reframing, 5.7K footage typically ends up around 720p to 1080p, which is perfect for social media—but going lower than that can hurt quality.
Higher frame rates like 100fps or 120fps do exist, but they usually require dropping down to 4K, which can reduce overall image quality.
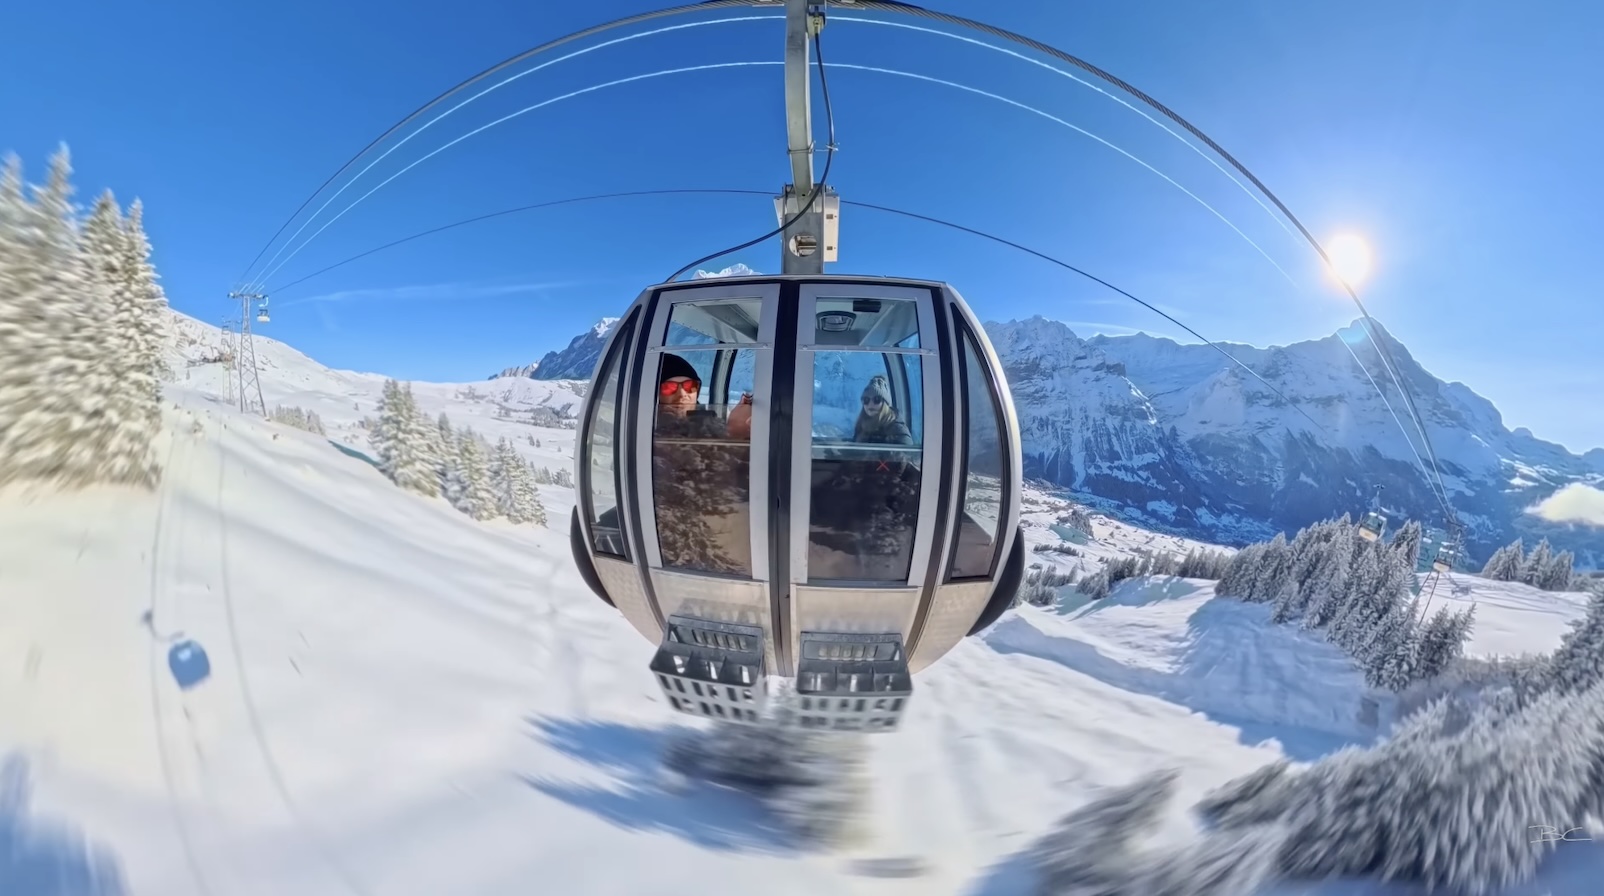
When to Use Slow Motion (and When Not To)
Slow motion works best when it enhances something already interesting.
Great use cases include:
- Epic locations
- Action or movement
- Creative camera motion
On my Europe trip, I captured so many slow motion shots that I was posting them daily to Instagram. It was one of the easiest ways to turn already great moments into something that felt more cinematic and polished.
Slow motion helps dramatise moments and adds a cinematic feel. It can also smooth out fast or shaky movements, making them feel more like controlled drone or dolly shots.
However, not everything benefits from slow motion. A simple walk down the street, for example, usually won’t become more interesting just because it’s slowed down.
When to Use Fast Motion (Hyperlapse)
Hyperlapses are one of the most powerful—and easiest—effects you can create with a 360 camera. There are two key scenarios where they really shine:
1. When There’s No “Money Shot”
Sometimes a location just isn’t that visually exciting. Playing it in real time can feel boring.
But when you speed it up into a hyperlapse, it transforms into something far more engaging—especially when combined with motion blur. It starts to feel like a cinematic drone shot.
These are great as transition shots, especially for:
- Long roads or pathways
- Travel vlogs
- City overviews
2. Orbiting a Subject
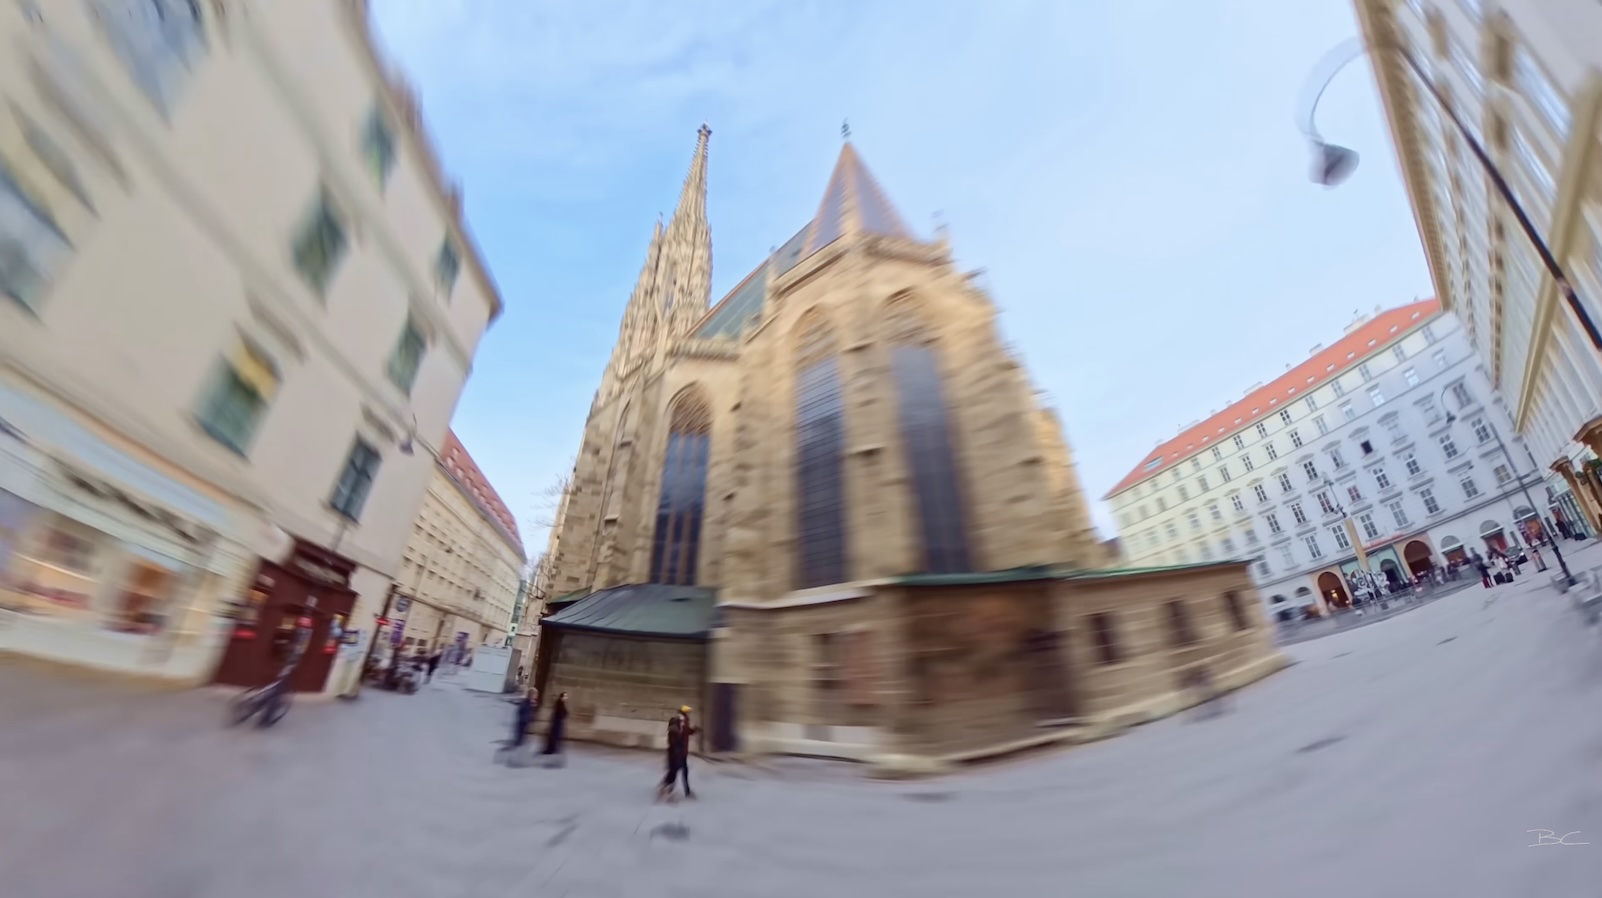
Another powerful technique is circling around a single subject—like a building or landmark.
Here’s how it works:
- Press record and walk around the subject in a circle
- Keep the subject centred when reframing
- Speed it up (e.g. 16x) and add motion blur
This creates a dynamic pivot effect, where the subject stays locked in place while the background moves rapidly.
I used this technique while travelling in Vienna, and it created such a fun, cinematic way to capture the architecture—especially when doing multiple rotations to exaggerate the parallax effect.
How to Film Hyperlapses
While Insta360 has a dedicated TimeShift mode, it’s not always the best option. Filming in standard 360 video at maximum resolution gives you more flexibility.
With TimeShift, the files are going to be smaller on your SD card, and it automatically applies the fast-forward effect by default. However, I don’t love using it for most situations because it removes that flexibility later on. You can’t revert the clip back to normal speed, and if you try to slow it down, the shot is going to be unusable since those extra frames weren’t captured to begin with.
With standard 360 video, you can decide later how you want to use the footage—whether that’s turning it into a hyperlapse or keeping it as a normal motion clip. And if those files are massive on your SD card, you can always just delete them after you’ve reframed your hyperlapse.
That said, if you’re planning to shoot a really long hyperlapse—anything over 10 minutes—then TimeShift mode is totally justifiable.
How to Create a Hyperlapse
The process is simple:
1. Record 360 video for 1–10 minutes
2. Import into the Insta360 app
3. Speed it up (16x, 32x, or 64x)
4. Add motion blur
That’s it.
It doesn’t require much creativity while filming—but after reframing, the results can look incredibly polished and cinematic.
Final Thoughts
Most of your shots will likely be filmed at 30fps, but knowing when to use 60fps for smoother motion or slow motion, and when to use hyperlapses, can take your footage to the next level.
If you’re at an amazing location and not sure which to choose—try all three. It doesn’t take long, and chances are one of them will turn out to be a standout shot.
Blog Author