Every Insta360 X6 Shooting Mode Explained
Aug 27, 2026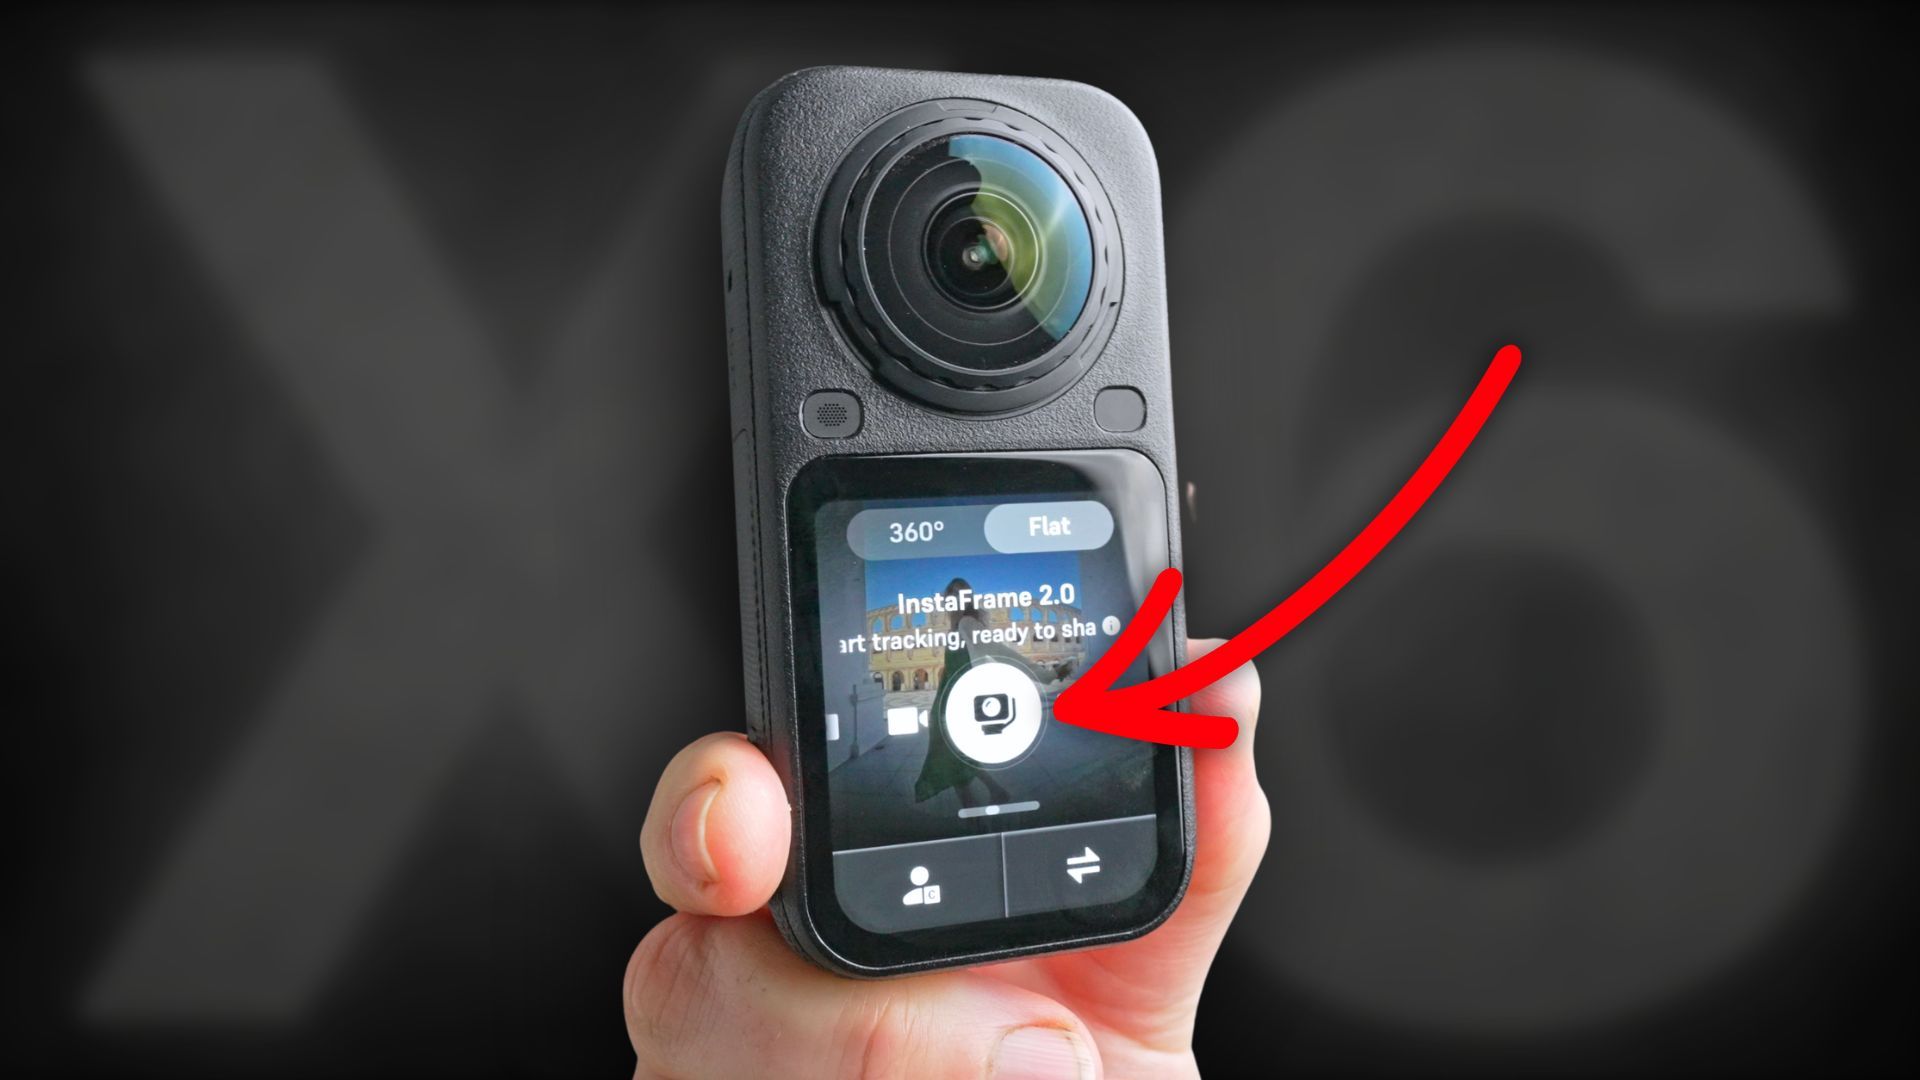
The Insta360 X6 is like having five cameras packed into one small device. It can be a 360 camera, an action camera, a vlogging camera, a dash cam and it can even capture drone-like shots.
But all that versatility comes with one problem: there are 16 different shooting modes inside the camera.
So, which ones should you actually use?
In this blog, I’ll walk through every shooting mode on the Insta360 X6, what it does, when you might want to use it and which modes you can probably ignore.
If you’re considering buying an X6, this should also give you a better idea of what the camera can do and whether it’s the right fit for you. Feel free to follow my link for a free double lens replacement kit with every purchase of the X6.
360 shooting modes
Let’s start with the X6’s 360 shooting modes. Working from left to right through the camera menu, here’s what each mode does and when you might want to use it.
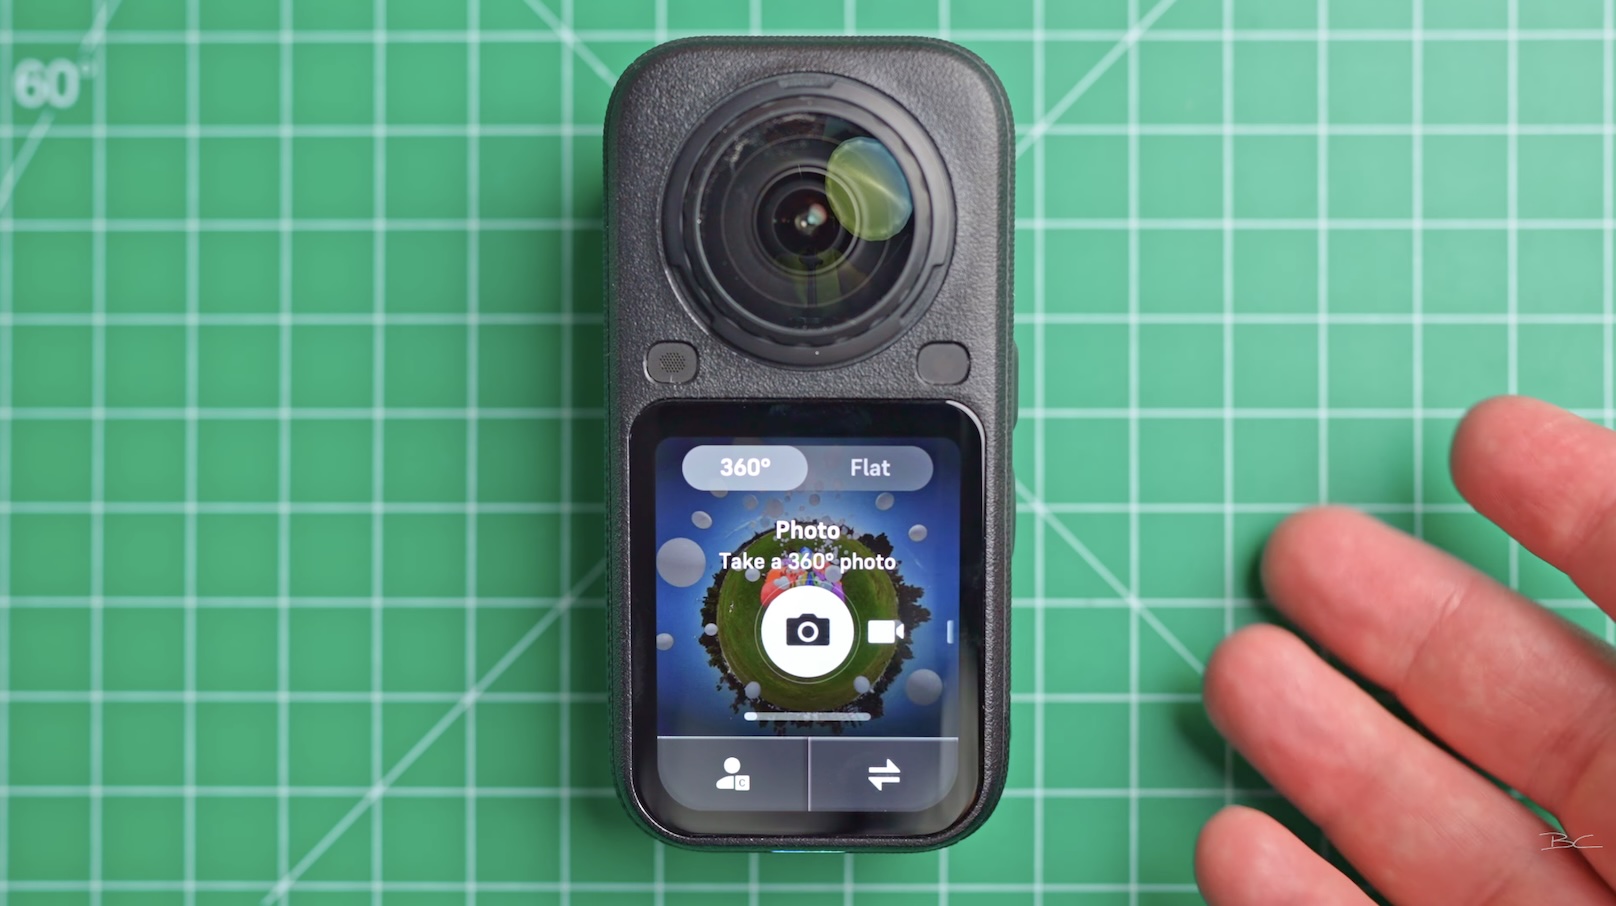
360 Photo
If you want to capture a 360 photo, either to post as a 360 image or turn into a reframed photo, this is the mode to use.
The X6 shoots photos at up to 120 megapixels, which is the resolution I’d recommend using.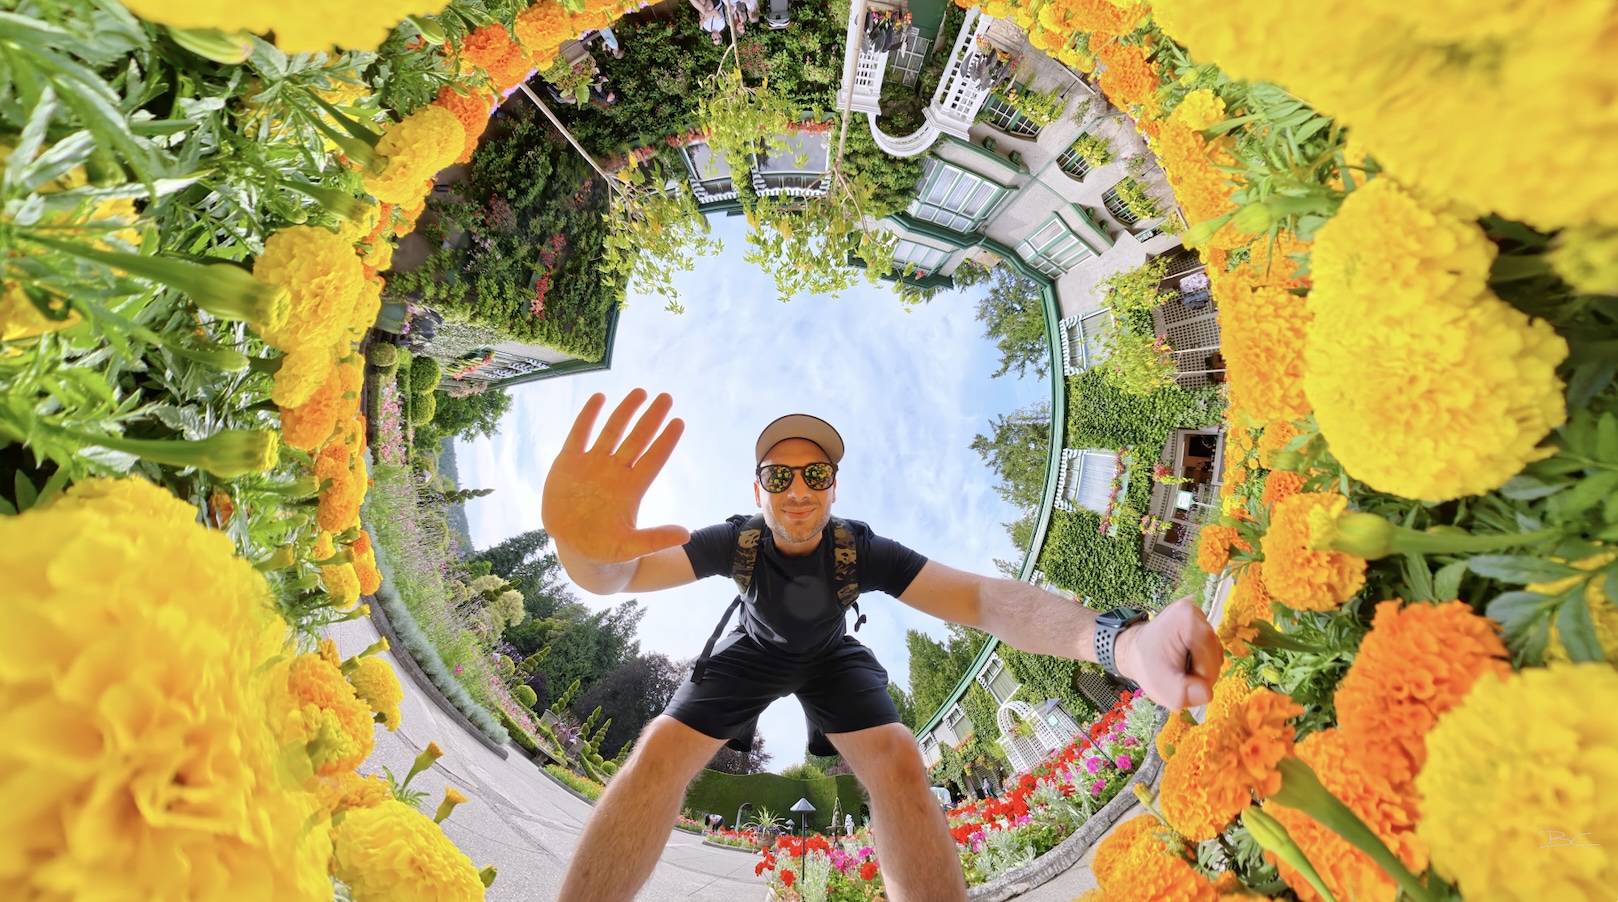
There’s also a timer of up to 15 seconds, HDR Photo and auto exposure bracketing for more advanced shoots where you plan on combining bracketed photos into one image. For most scenes, though, I’d recommend leaving HDR Photo off.
You can also choose between PureShot, which produces a high-quality JPEG, or PureShot + RAW, which gives you a secondary RAW file for editing in software such as Photoshop, Lightroom or Affinity.
360 Video
This is the shooting mode you’ll probably use the vast majority of the time.
360 Video gives you the flexibility to choose your angle later rather than having to frame your shot while filming.
I like shooting at 8K 50fps. However, you can drop to 30, 25 or 24fps if you need to match the frame rate of your project.
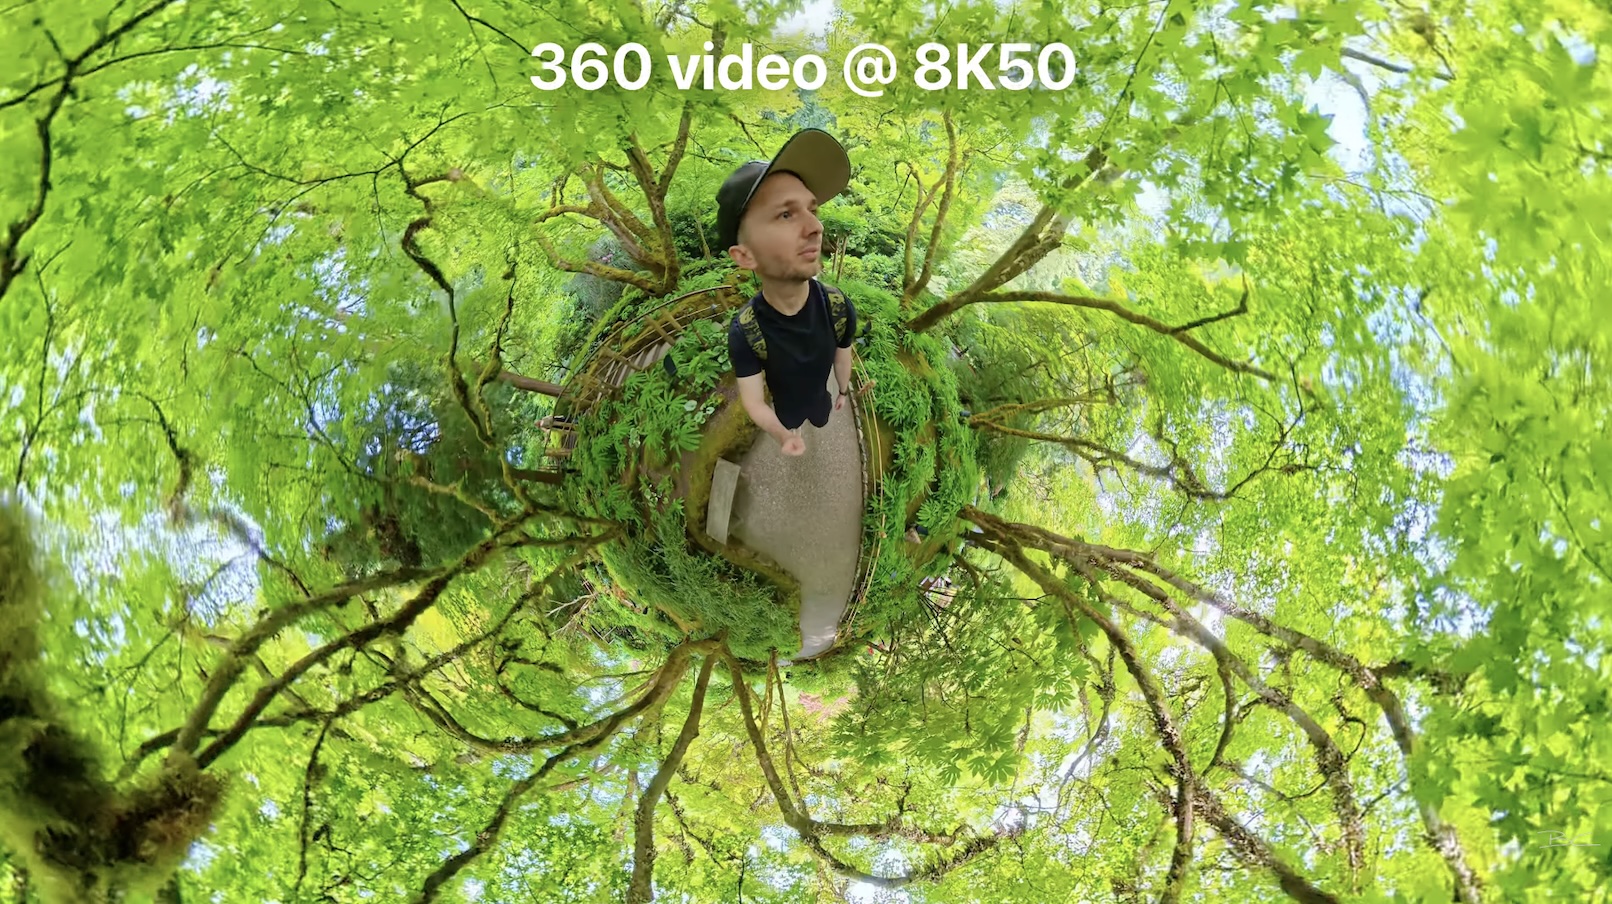
For slow motion, you can use 6K 60fps or 4K 100fps. Generally, I’ve found the best results come from 8K 50fps or 6K 60fps when slowing shots down by around two to three times.
PureVideo
PureVideo is Insta360’s dedicated low-light shooting mode.
It helps reduce noise while optimising the X6’s settings to capture the cleanest and most natural image possible in darker environments.
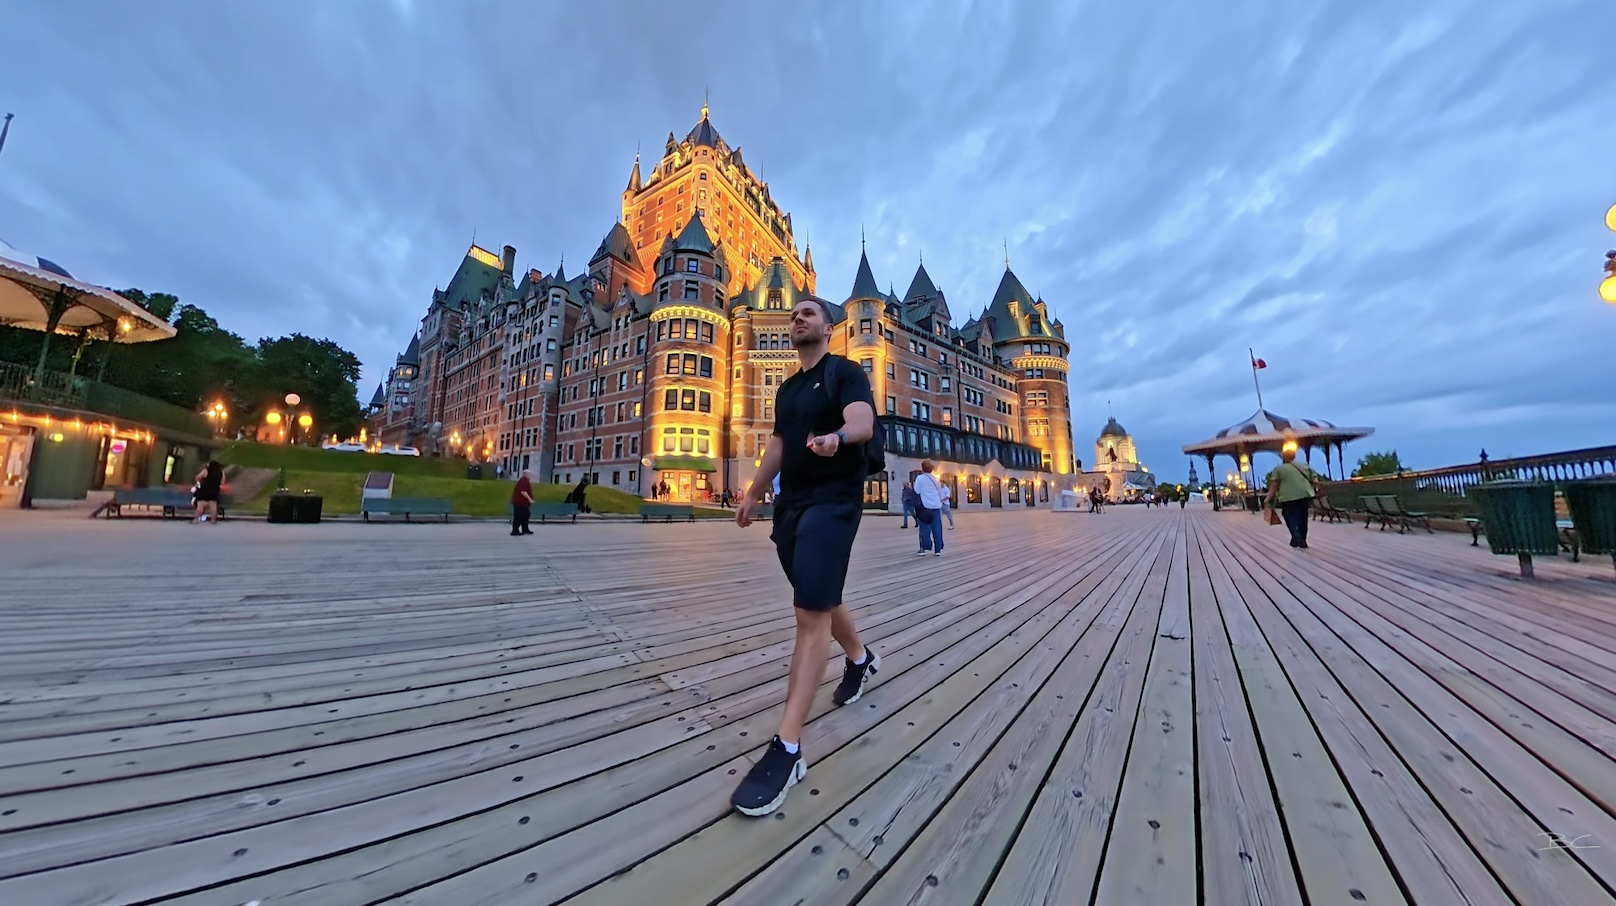
The X6 is really impressive at night, so I’d recommend switching to PureVideo whenever you’re shooting in a dark location.
The maximum resolution and frame rate is 8K 30fps, with 30, 25 and 24fps available depending on your project.
Time-lapse
360 time-lapses can create some amazing results because you can combine a dramatic time-lapse with camera movement that looks almost like a pan or dolly. The X6 can capture time-lapses at up to 16K resolution.
Because the camera takes individual photos and stitches them together into a longer-form video, you’ll need to choose an interval. Insta360 provides several suggested intervals depending on the scene, going all the way up to 60 seconds.
Personally, I think 60 seconds is too long. At 30fps, it would take 30 minutes just to create one second of time-lapse footage.
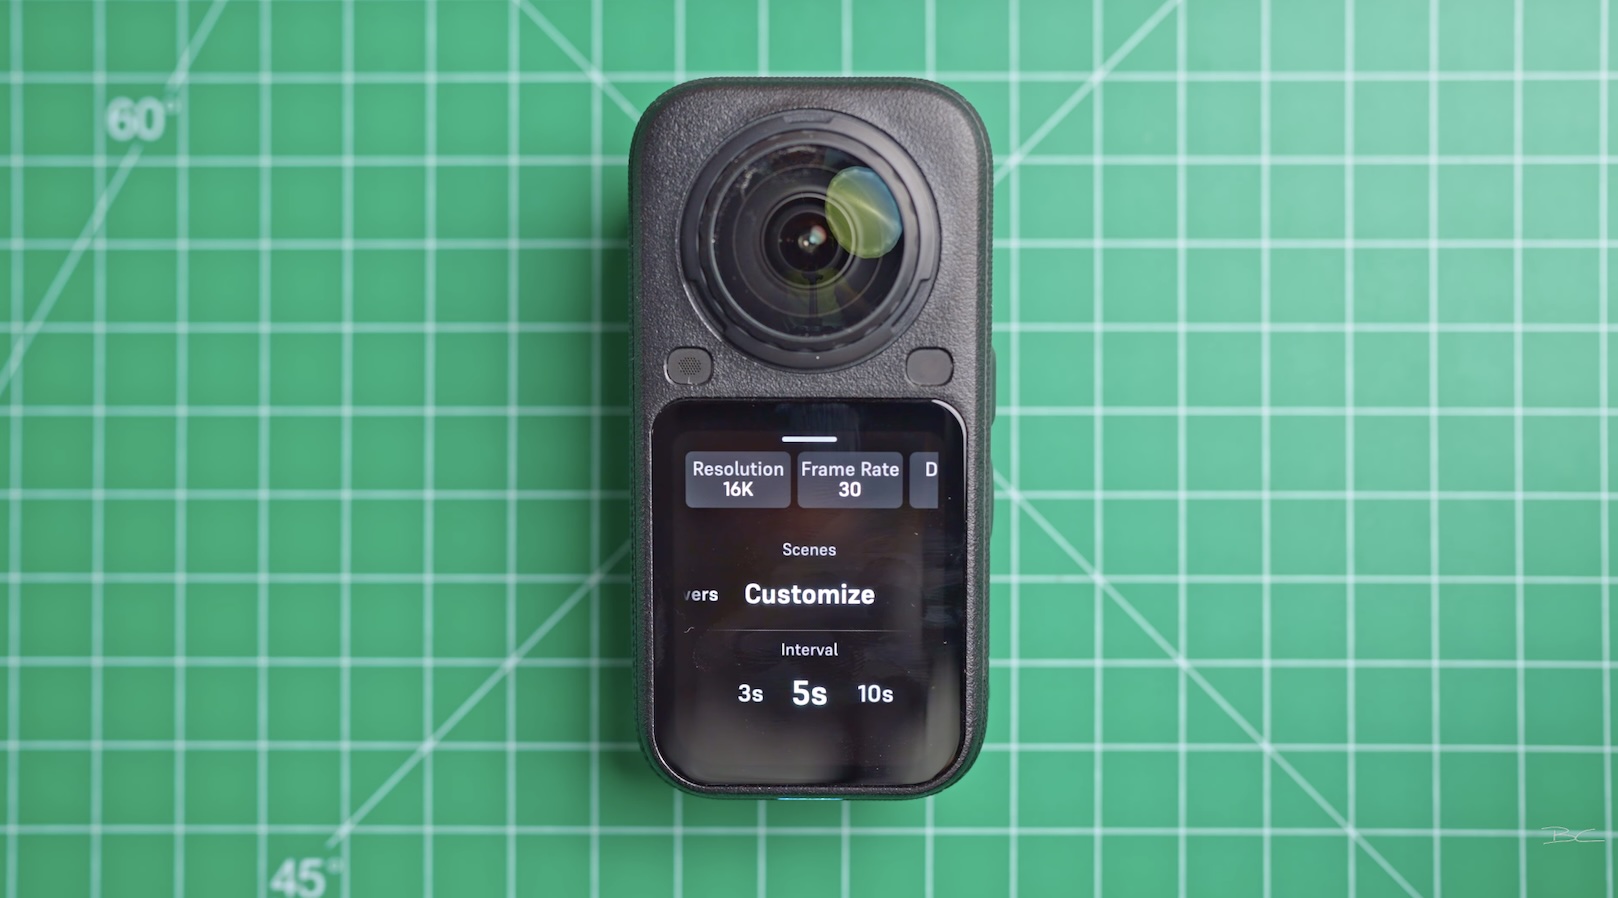 An interval of around 5–10 seconds gives you much more footage to work with and allows you to create a longer final clip.
TimeShift
TimeShift is designed specifically for creating a hyperlapse effect, which is one of my favourite effects you can achieve with a 360 camera.
Instead of capturing 50 frames every second like regular video, TimeShift substantially reduces the number of frames captured. This creates a much smaller file and produces a finished hyperlapse as soon as you stop recording.
That means no editing is required – you can take the finished clip straight from the SD card.
There is a downside, though.
I’ve found the stabilisation isn't as good in TimeShift because the camera isn't capturing enough frames to stabilise the shot properly. If you don't deliberately keep the camera steady while walking or travelling, the result can look bumpy.
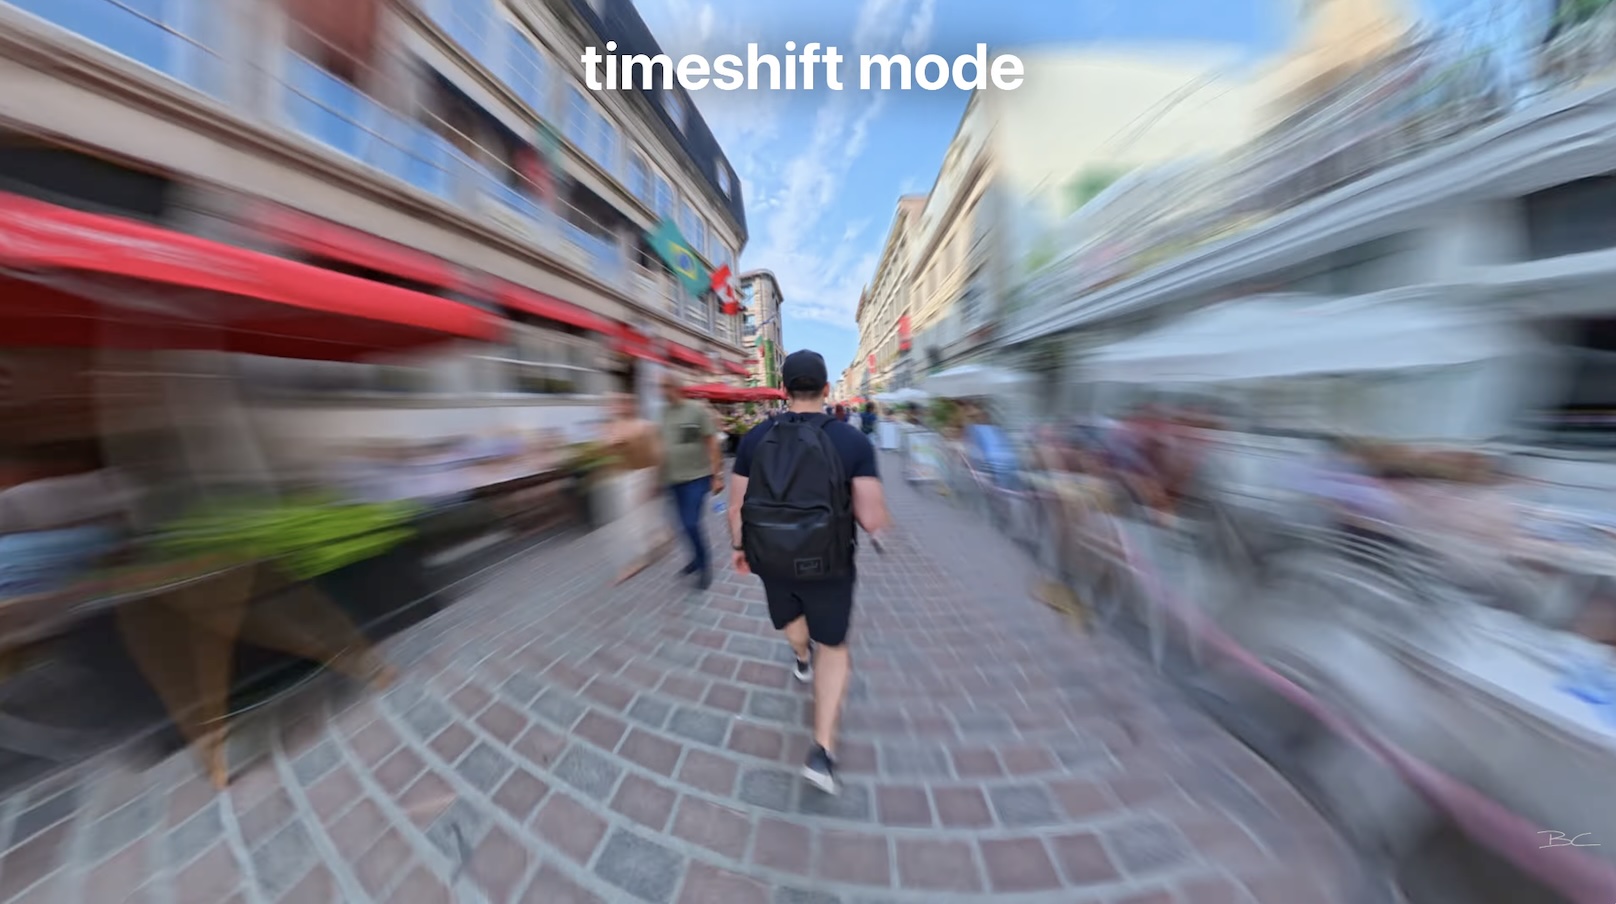
For that reason, I prefer shooting hyperlapses in standard 360 Video mode, which captures more frames and does a better job of stabilising the horizon.
Bullet Time
Bullet Time is another iconic 360 camera effect, where you swing the camera around your head using a Bullet Time selfie stick or string. The advantage of using the dedicated Bullet Time mode rather than standard 360 Video is the frame rate.
To capture 100fps in standard 360 Video, you need to drop the resolution to 4K. In Bullet Time mode, you can shoot at 8K 100fps.
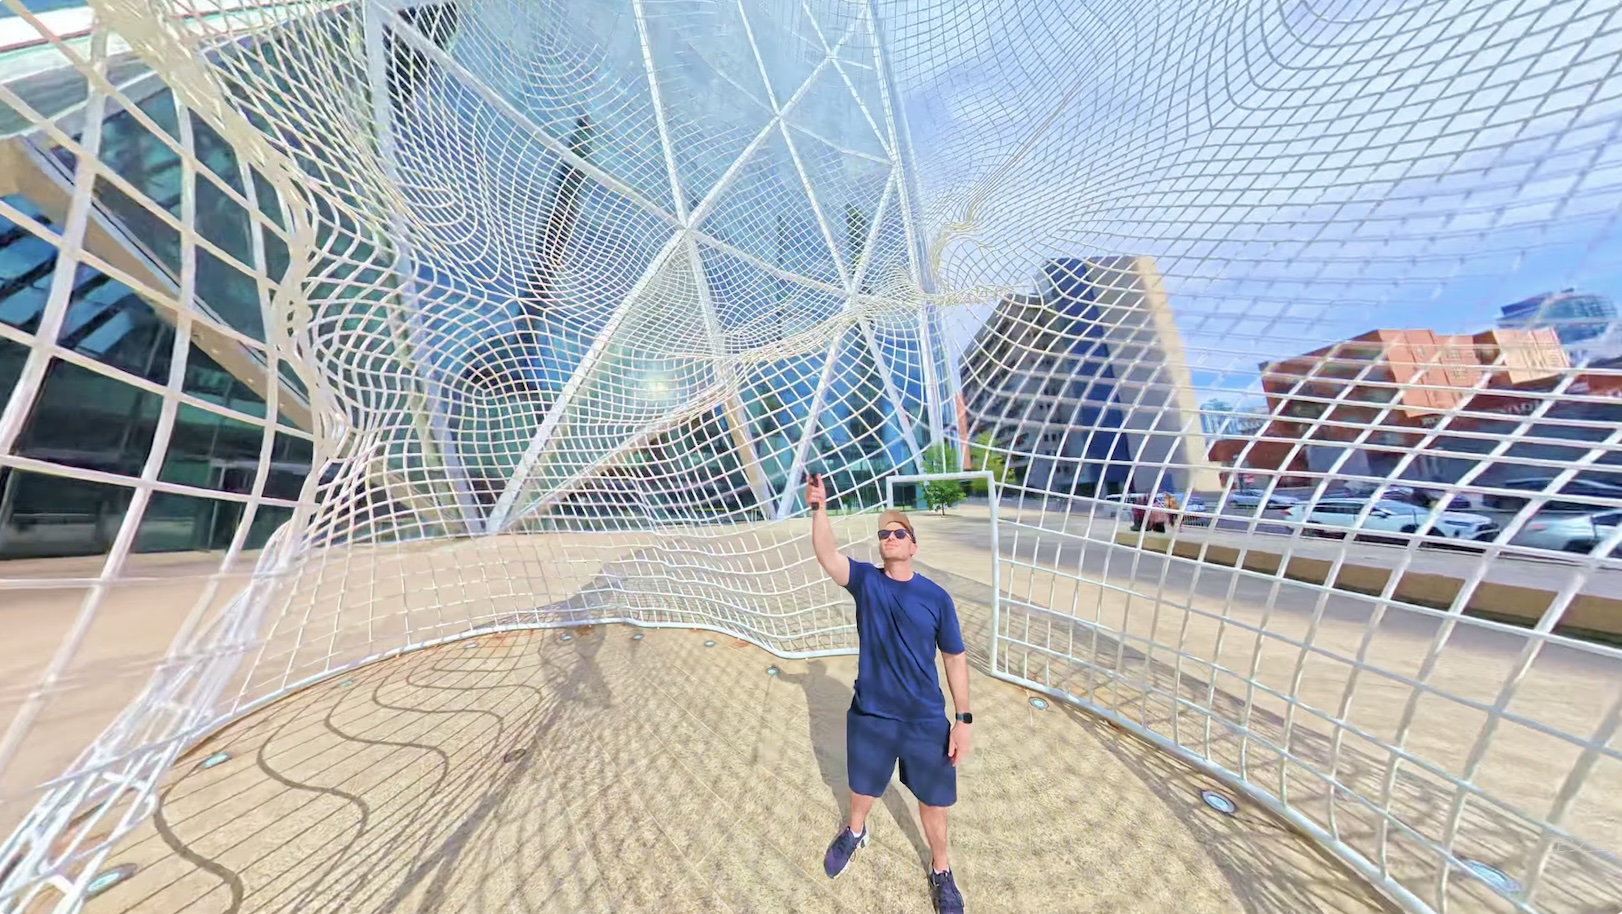
Whether it actually looks like 8K 100fps is another question – personally, I don't think it does.
However, if you’re shooting Bullet Time, I’d still recommend using this mode because it applies the slow motion and reframing automatically. When you download the shot, the Bullet Time effect is already applied with no further editing required.
Loop Recording
Loop Recording is useful when you’re waiting for something to happen but don't want to fill your SD card with hours of footage. You simply choose how long you want the camera to record. Once it reaches that duration, it goes back to the beginning and starts recording over the oldest footage.
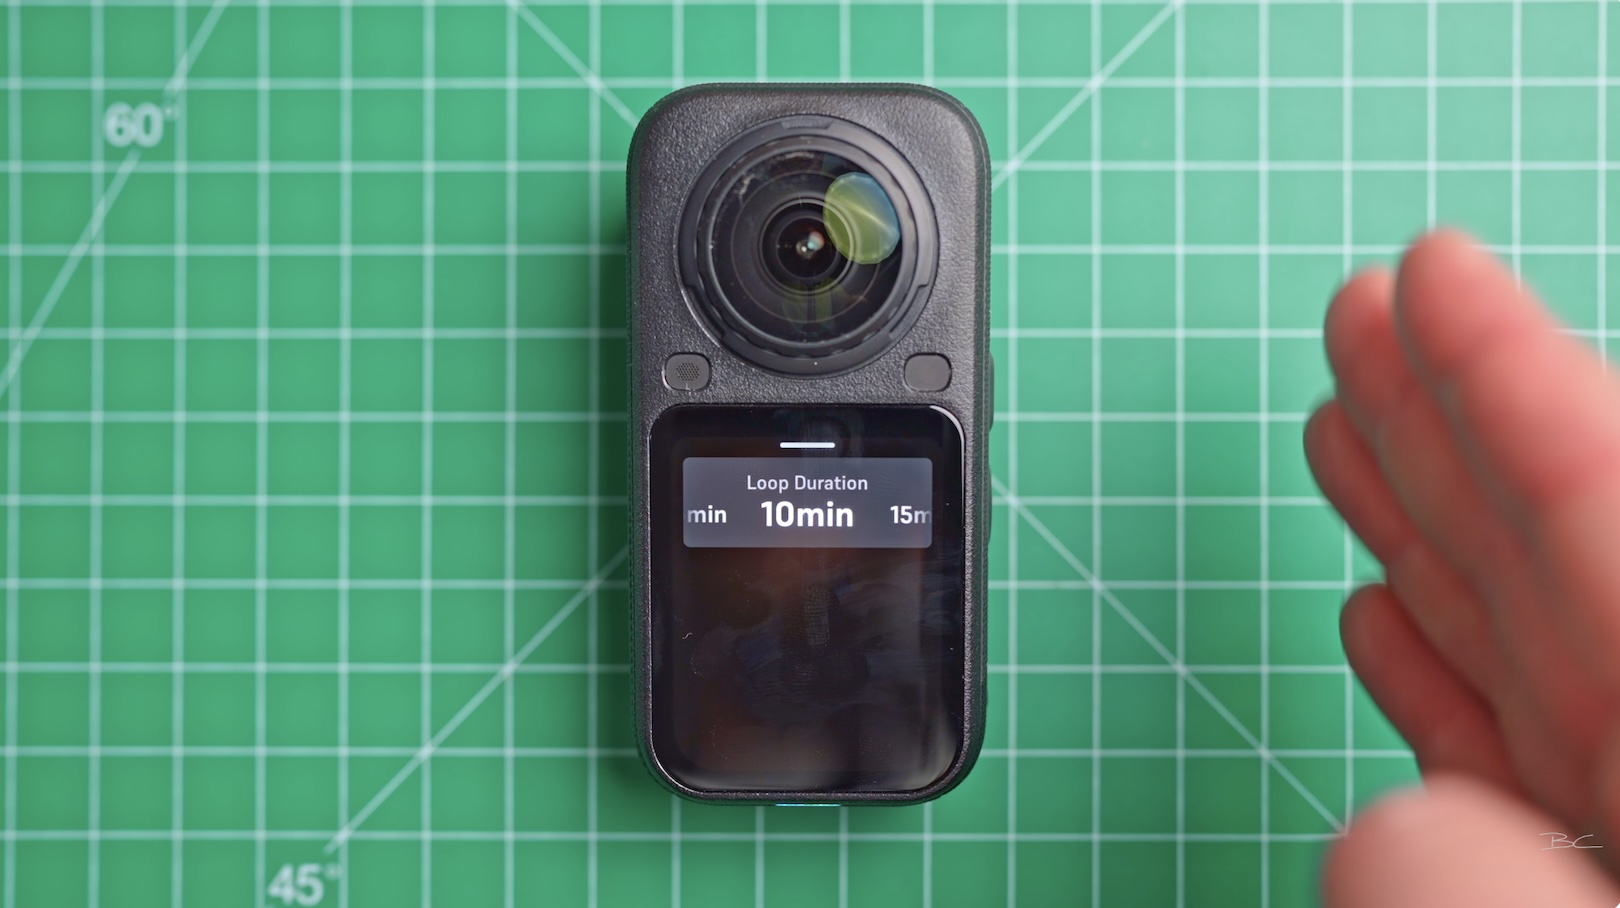 For example, if you set a 10-minute loop, the camera continuously retains the previous 10 minutes. Once the moment you’re waiting for happens, stop recording and those 10 minutes are saved to the SD card.
Road Mode
Road Mode works similarly to Loop Recording but is more optimised for car capture, whether you’re using the X6 as a dash cam or recording a long trip. Instead of setting a specific recording duration, you allocate a certain amount of storage.
For example, you could dedicate 40GB of your SD card to dash cam footage. The X6 will then continuously loop footage within that allocated storage.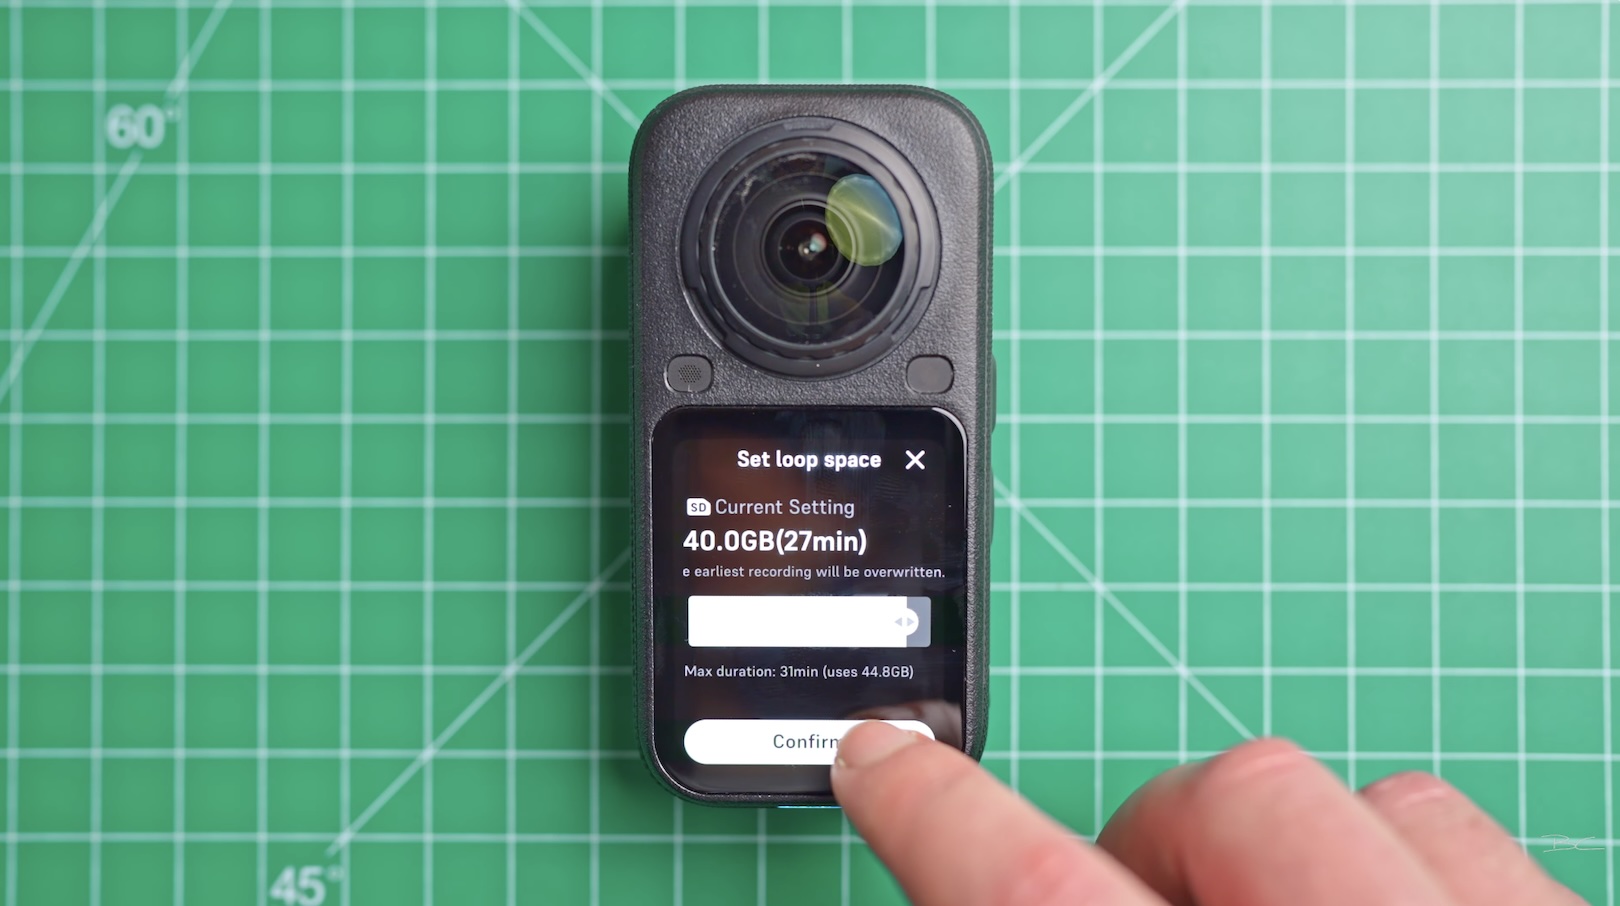
Your recording settings also affect how much footage can be stored. Dropping from 8K 50fps to 6K 30fps or 4K 25fps increases the available recording time.
Starlapse
If you’ve seen videos of star trails or the night sky moving dramatically, Starlapse lets you create that effect in 360. You can create either a Starlapse or star trail video.
A Starlapse works more like a traditional time-lapse, while star trails create visible trails in the sky as the stars move with the rotation of the Earth.
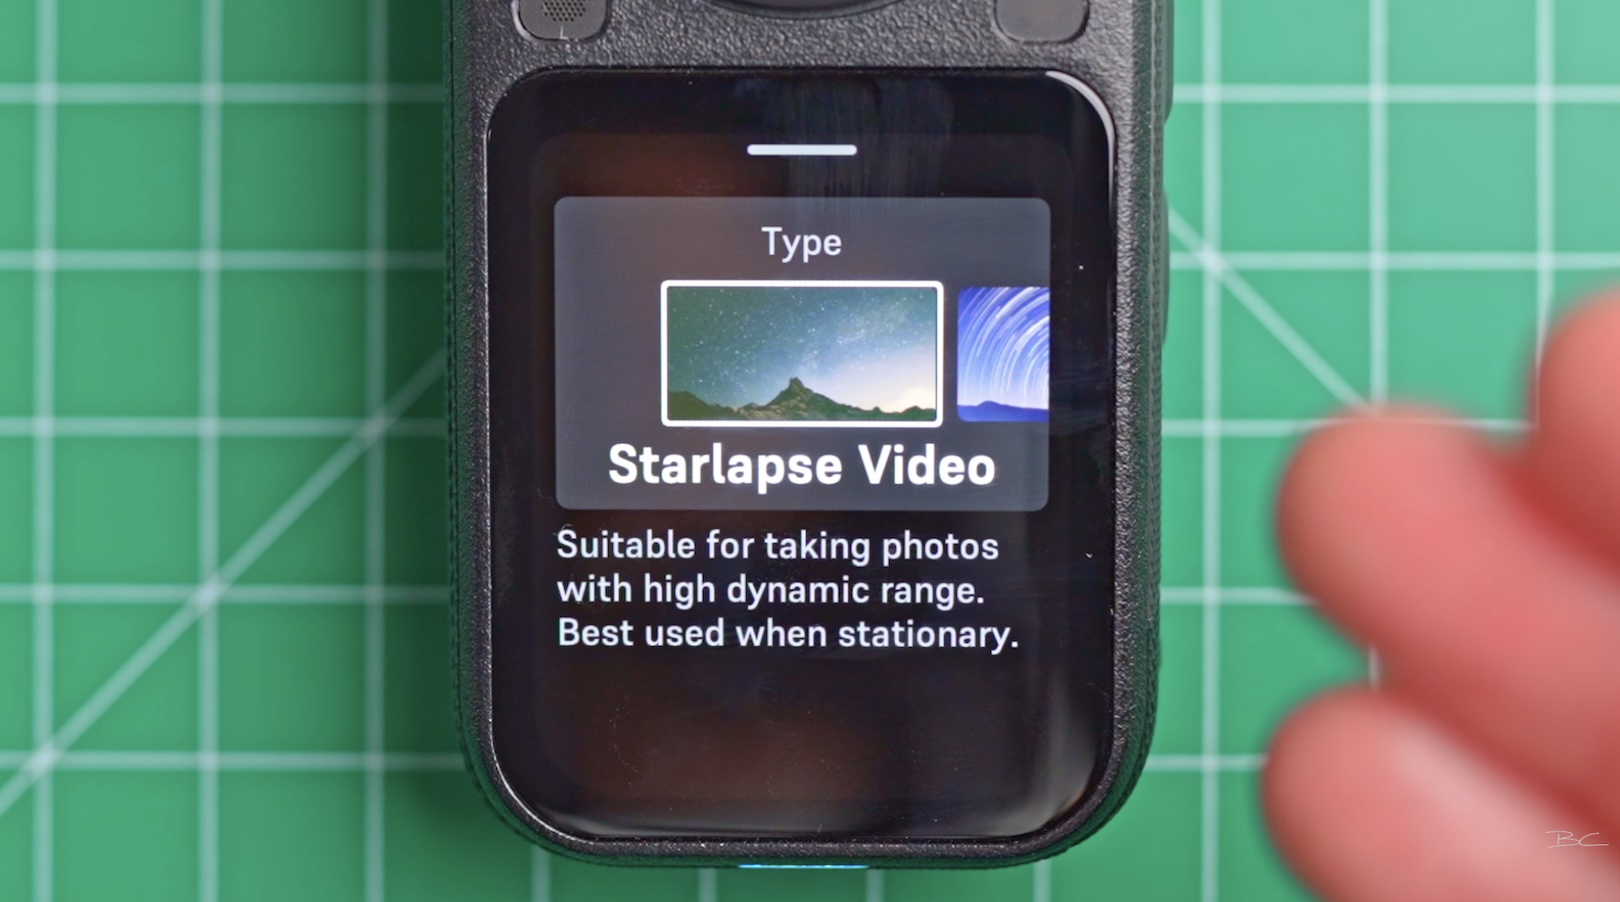
Just be prepared to wait – these shots take a long time and require plenty of patience.
Interval
Interval is a photo mode that lets the X6 automatically capture 360 photos at regular intervals over a longer period. For example, you could place the camera in the middle of an event and have it capture a photo every 60 seconds for two hours.
You can customise the interval, countdown and whether you want to capture the photos in RAW.
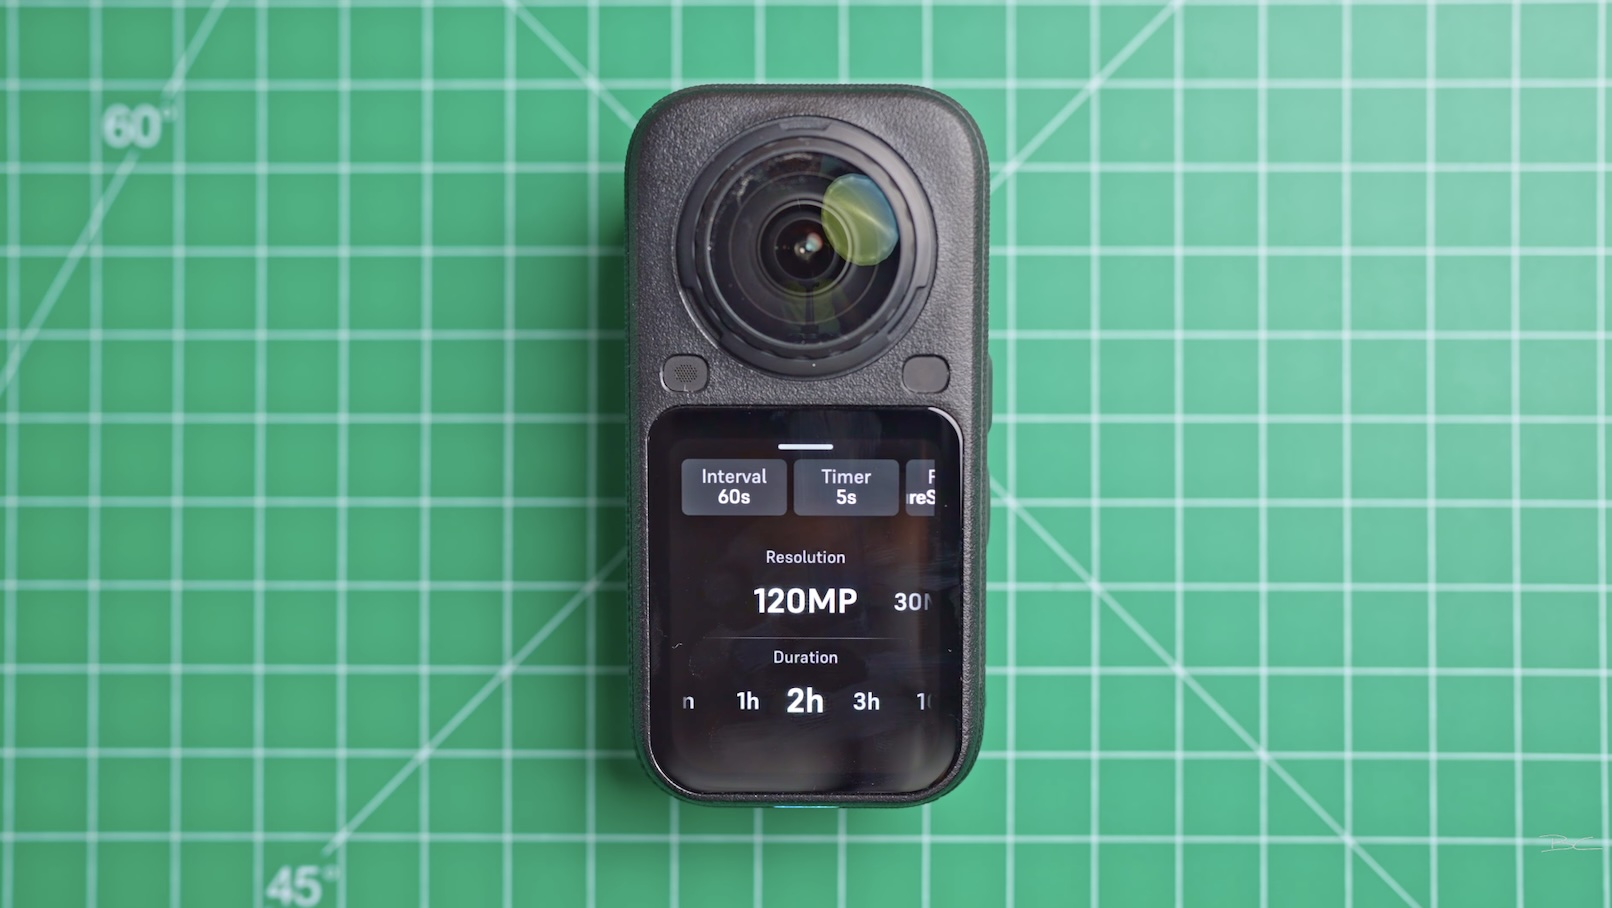
It may also be possible to use this for Google Street View when the camera is connected to your phone to record GPS data, although I haven't confirmed this yet and plan to test it further.
Flat shooting modes
The X6 also has a separate Flat menu for shooting traditional non-360 photos and videos.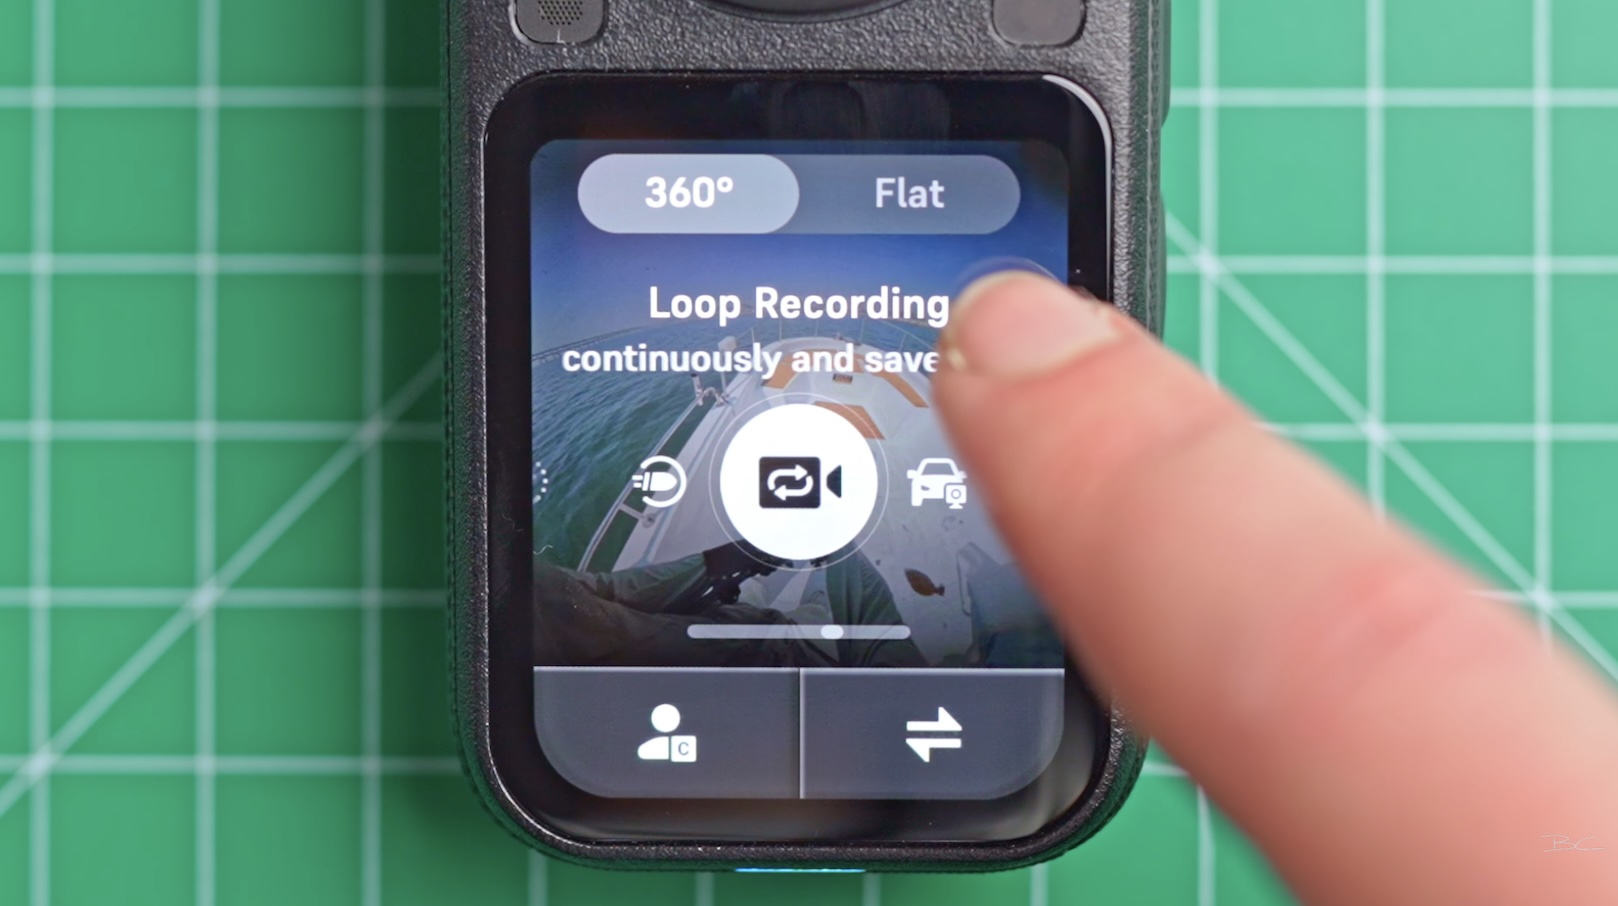
Flat Photo
The flat photos from the X6 are surprisingly good. You can shoot 16:9 or 9:16 at 24MP, while choosing a 1:1 aspect ratio increases the resolution to 42MP.
There are additional customisation options available, but the default settings should be more than enough for taking everyday photos while travelling.
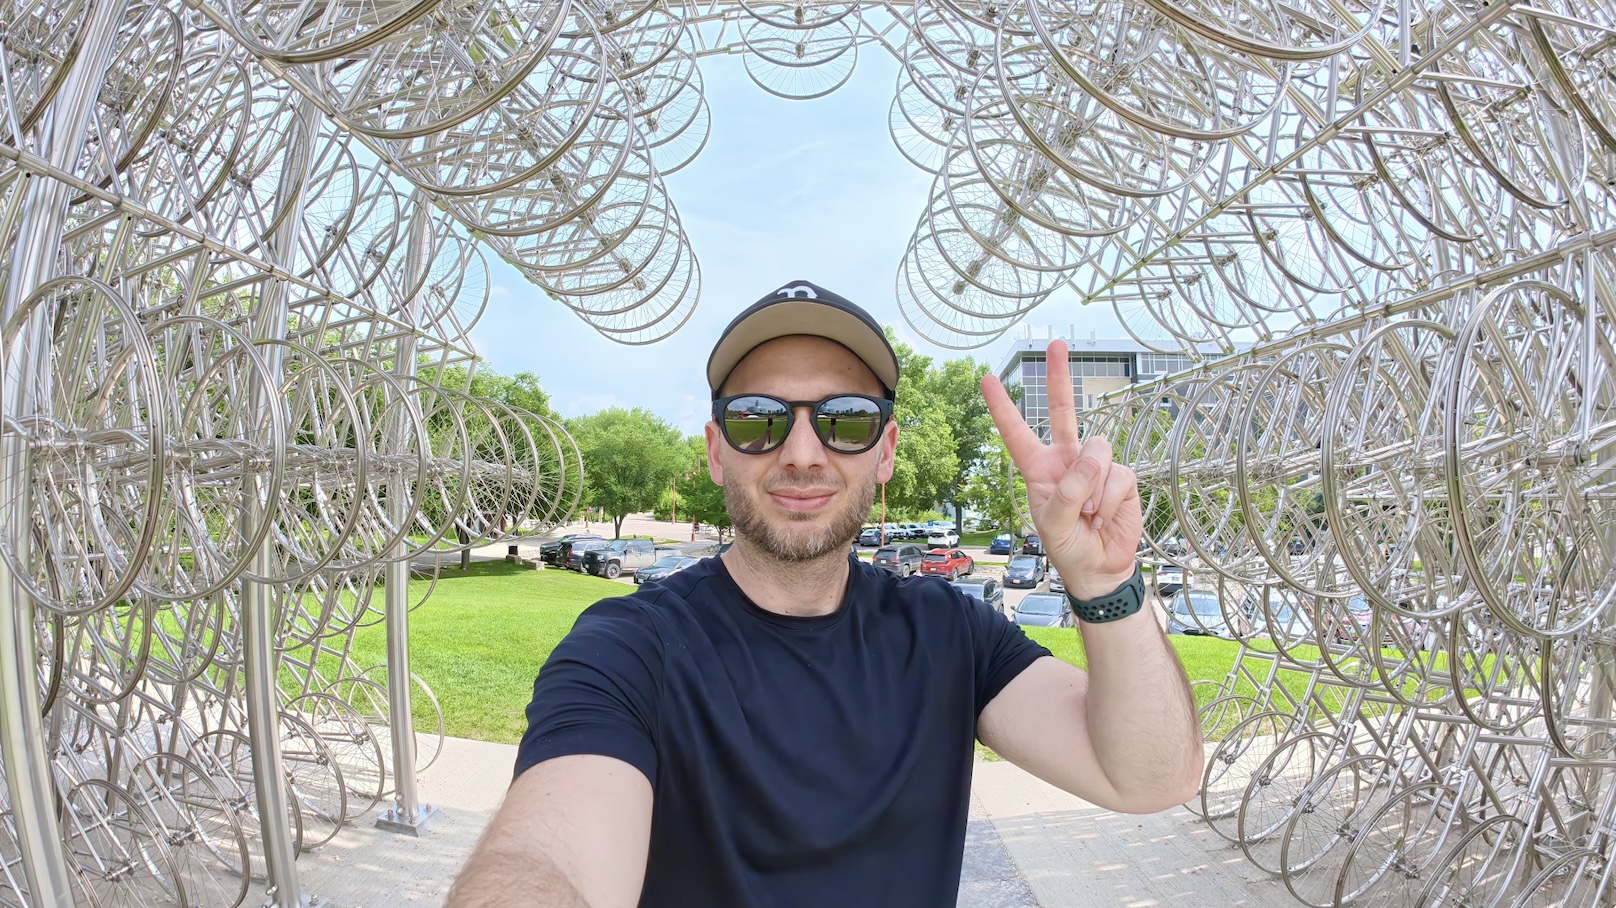
You can also switch between the front and back lenses and adjust the field of view depending on whether you want something flatter or wider.
Flat Video
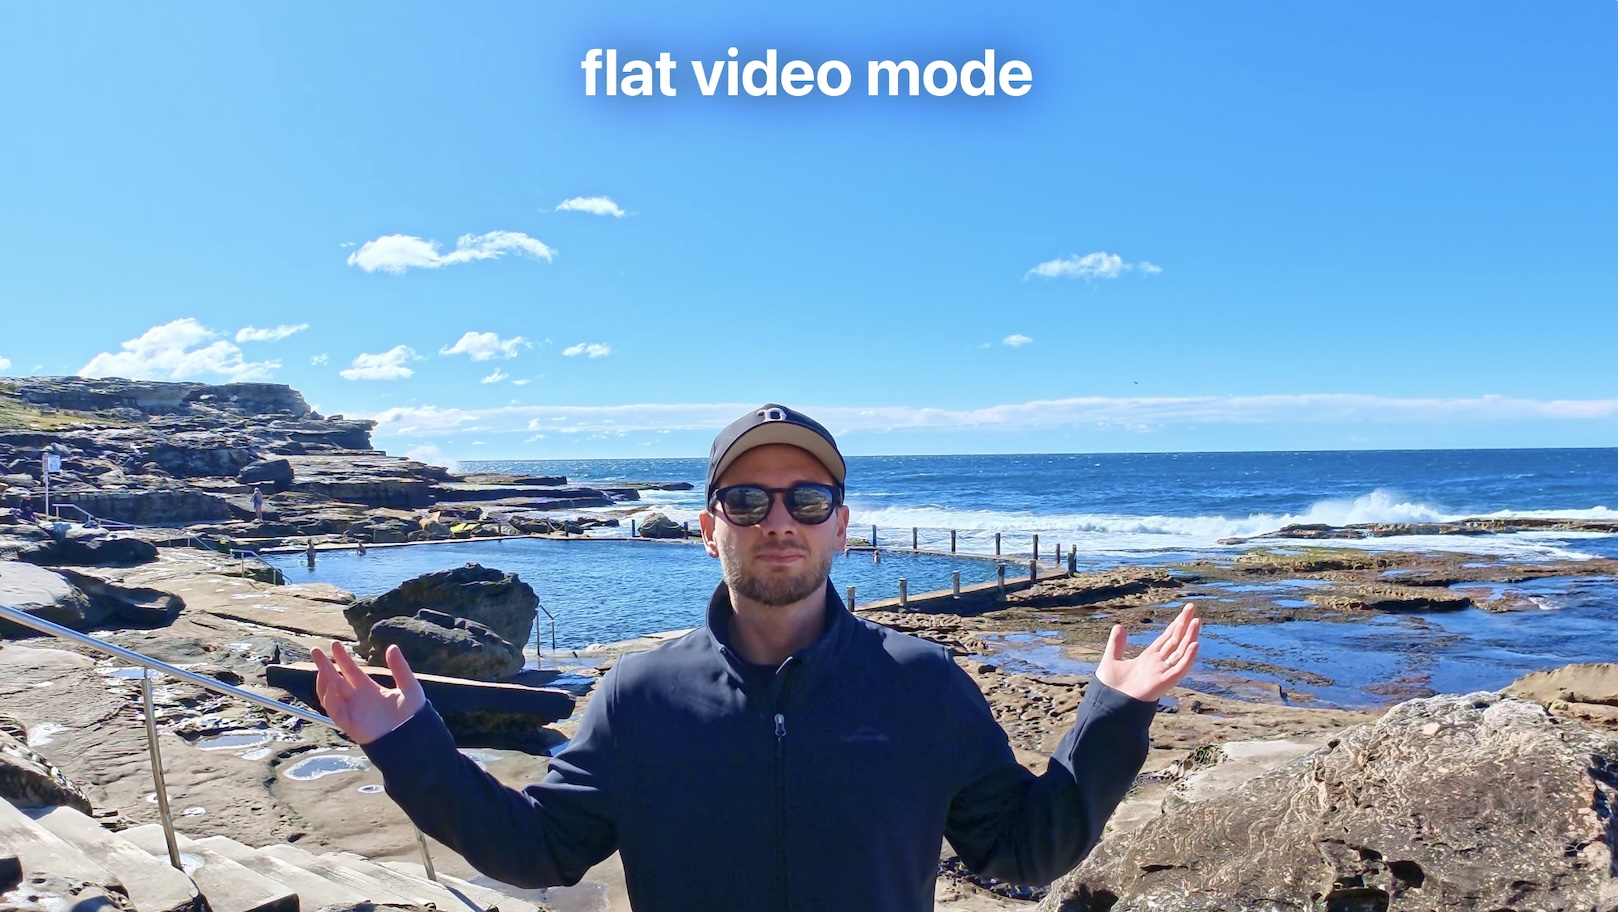
Flat Video uses just one of the X6’s lenses to capture a traditional locked-off video. It records at up to 5K 60fps and supports 9:16, 16:9, 4:3 and 3:4 aspect ratios. For YouTube, I’d recommend 16:9. For Reels and vertical social media content, I’d use 9:16.
While the results can be decent, I’ve found footage can sometimes look too warped when moving around, particularly when the horizon is visible.
Because of that, I’d mainly use Flat Video for static scenes where you can set up the camera and leave it in position.
InstaFrame 2.0
If you’re going to be moving around with the camera, InstaFrame 2.0 is a better option. InstaFrame lets you track a subject simply by double-tapping the screen. As you move around, the camera follows you and keeps you in the centre of the frame.
This makes it a particularly useful mode for vloggers who want the camera focused on them without having to worry about reframing afterwards.
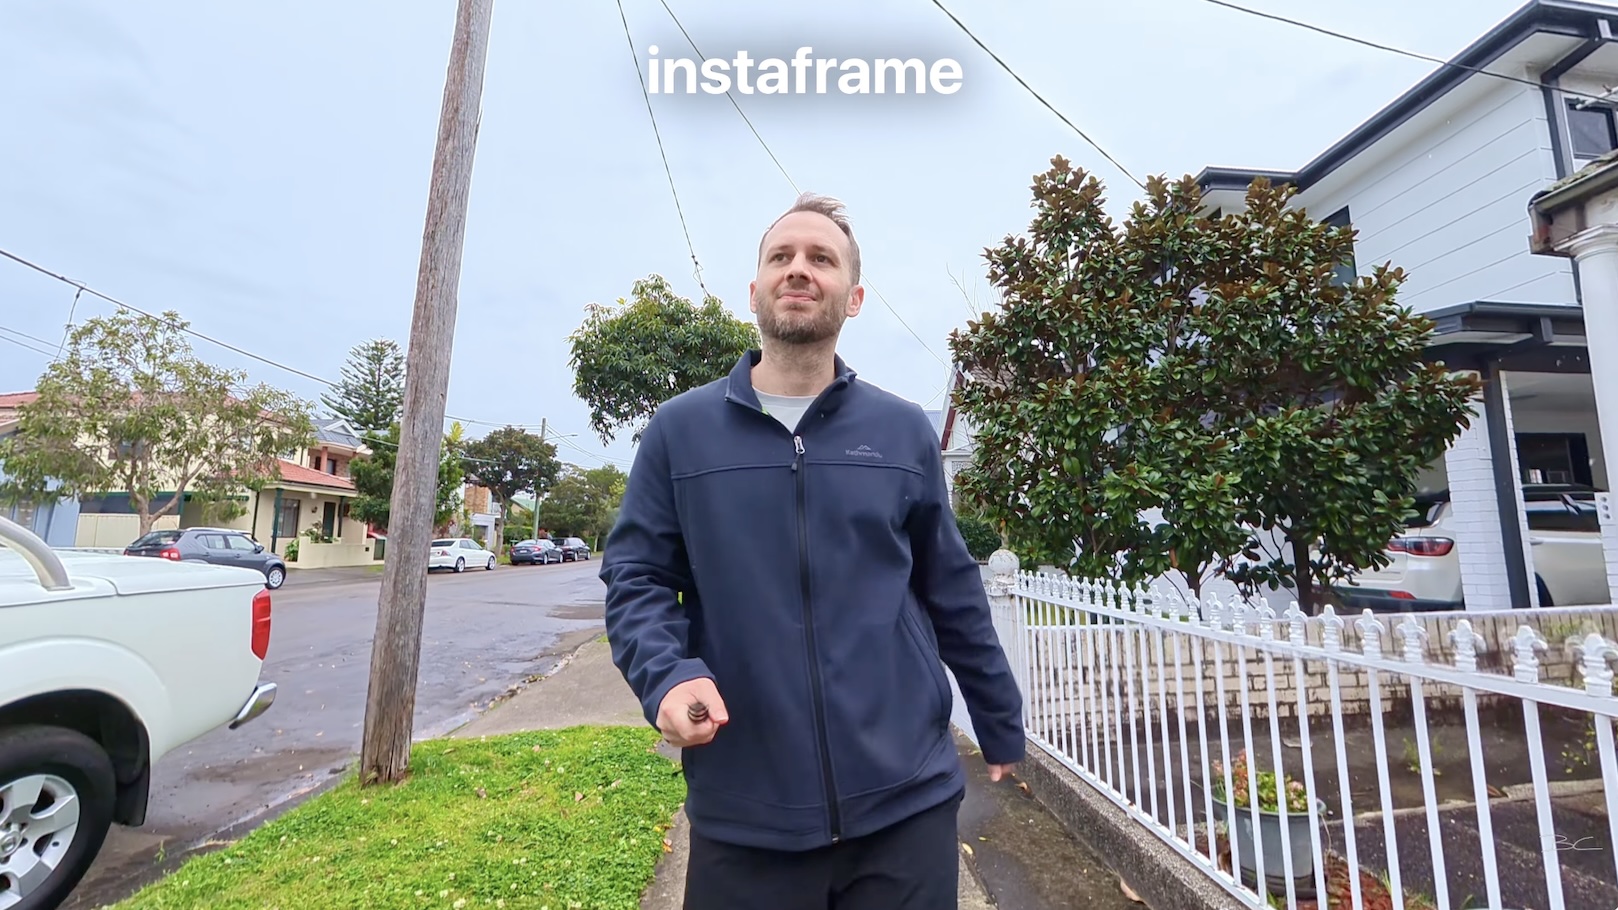
There are also automatic movements, including a barrel roll and 360 spin. They're a little gimmicky in my opinion, but they're there if you want them.
InstaFrame records at 4K 30fps, but it can also simultaneously capture an 8K 360 video backup. This gives you the finished flat InstaFrame video as well as a full 360 version that you can reframe yourself later if you change your mind.
Just keep in mind that processing both files is a lot of work for a small camera, so it could cause the camera to get hot and you'll need a fast SD card.
PureVideo – Single Lens
PureVideo is also available when shooting with a single lens.
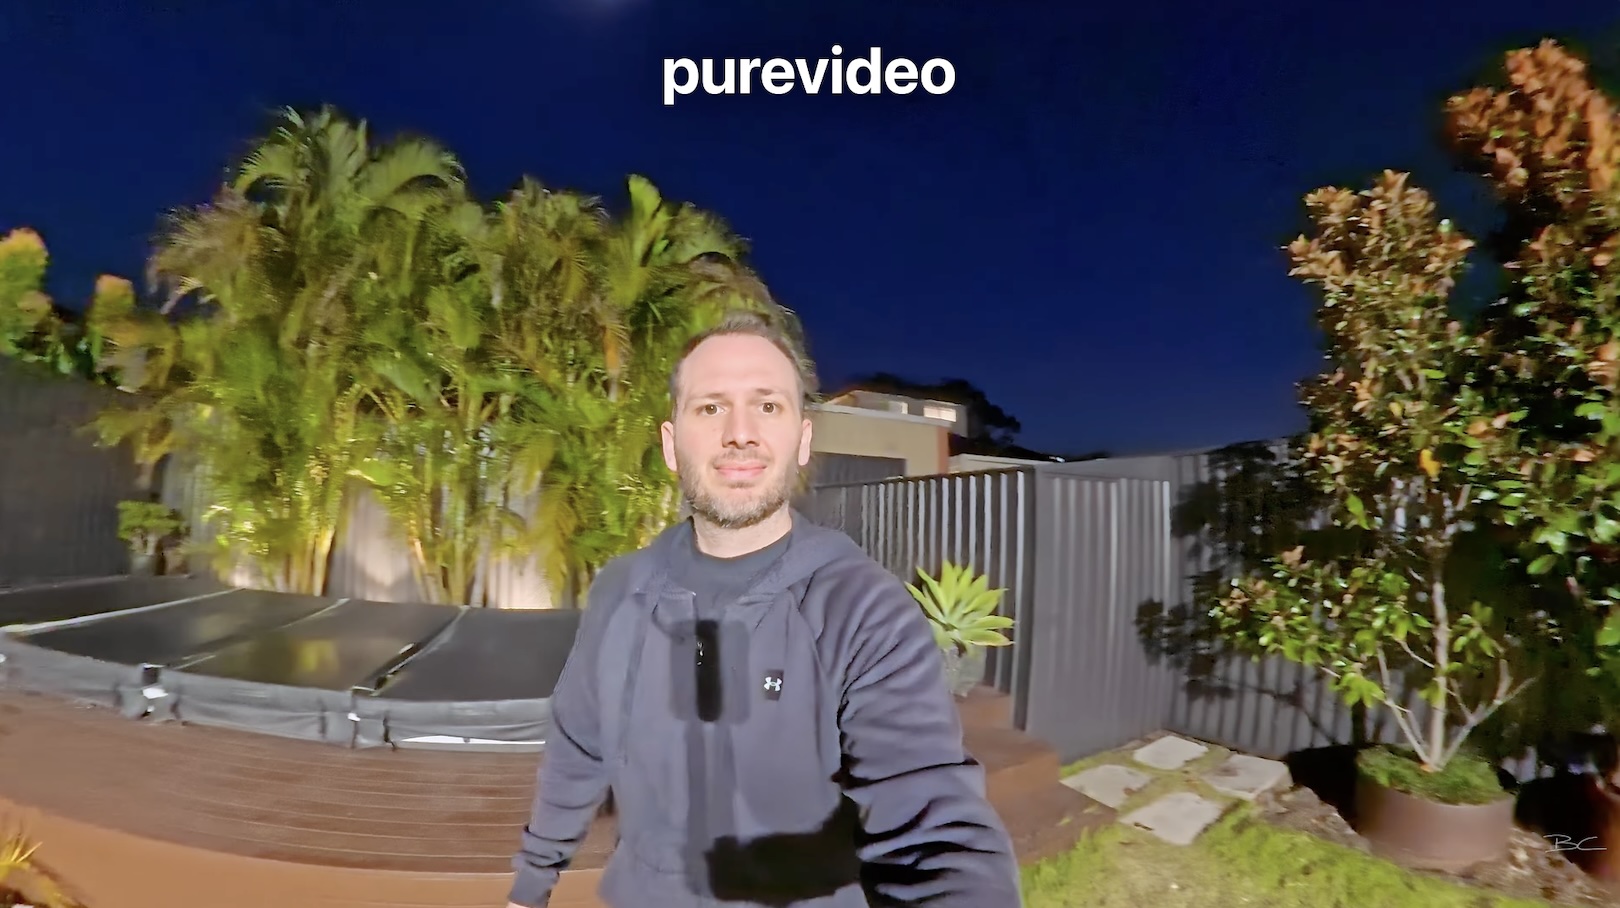
It works in the same way as the 360 version, automatically adjusting the camera settings to achieve the best possible video quality when shooting in low light.
FreeFrame Video
FreeFrame Video gives you additional flexibility when choosing your aspect ratio later. The camera records footage that can be used for both 16:9 and 9:16, allowing you to decide which format you want during editing – or use both versions across different social media platforms.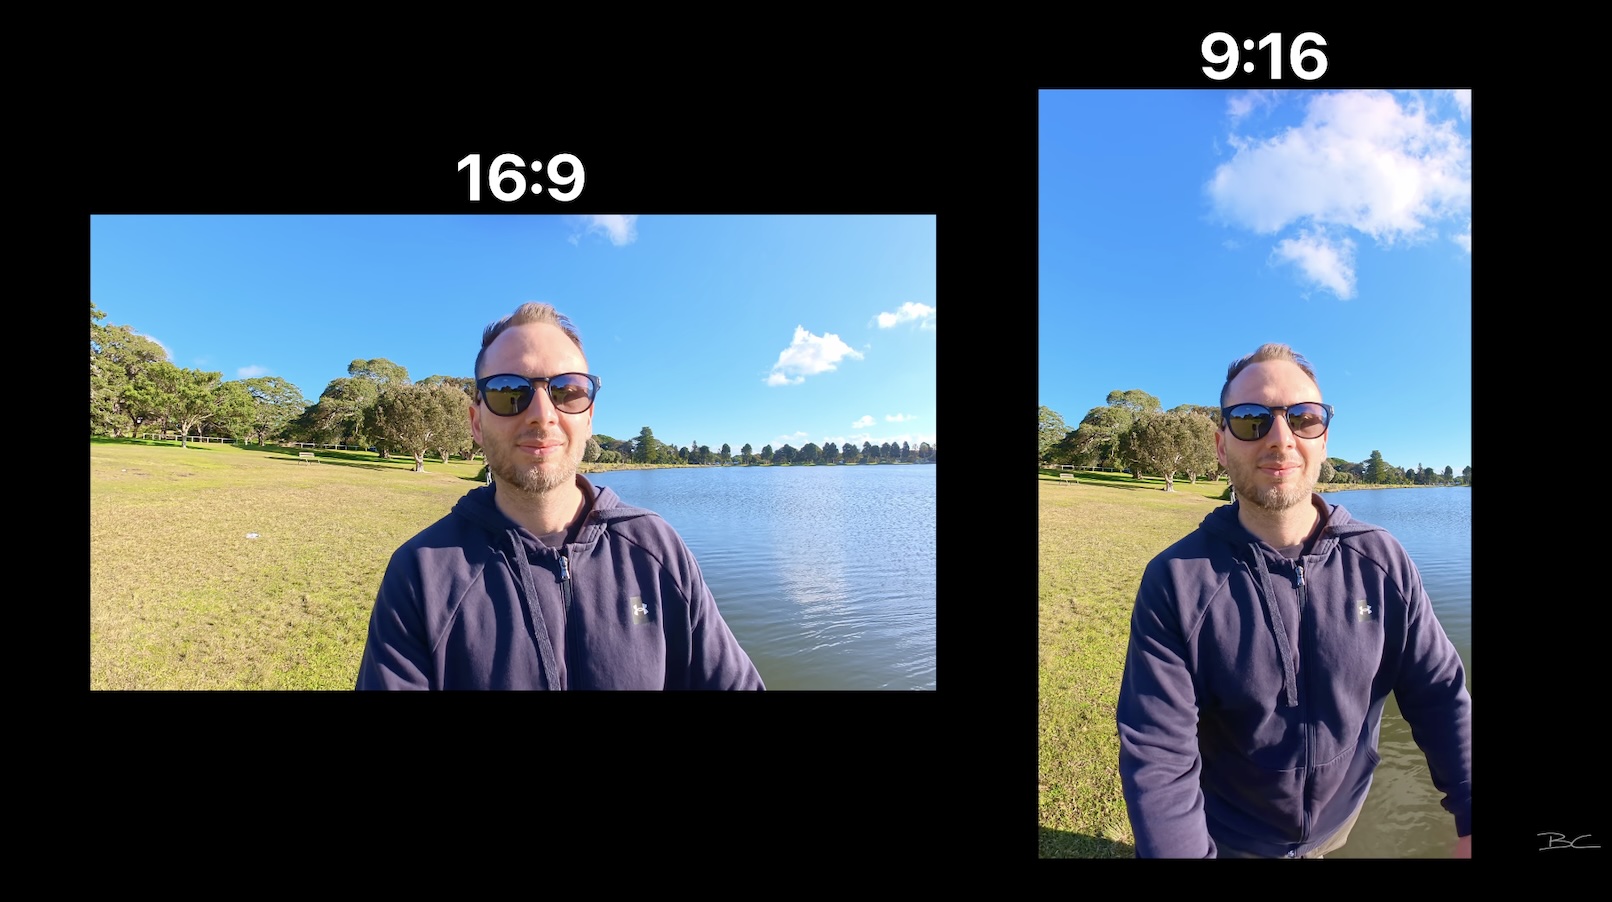 FreeFrame Video records at up to 6K 30fps.
I'd recommend keeping the important action within the centre of the frame so nothing gets chopped off when you choose your final aspect ratio.
Loop Recording – Single Lens
Finally, Loop Recording is also available for flat 16:9 video. It works in the same way as the 360 version but only records forwards using a single lens, making it another option for using the X6 as a dash cam.
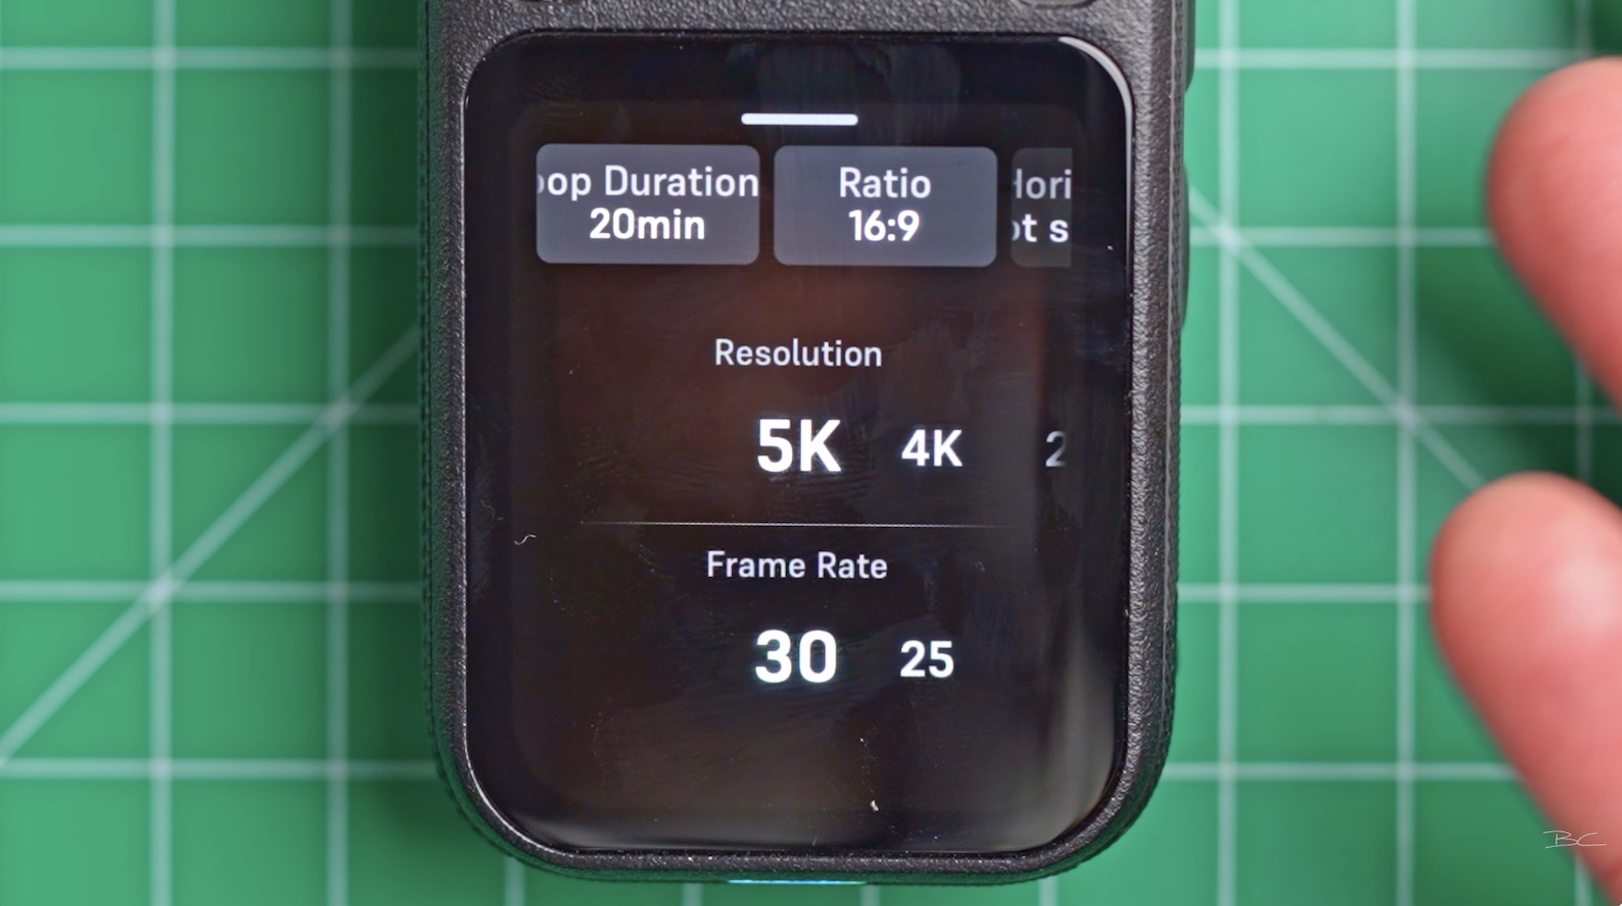
In single-lens mode, it records at up to 5K 30fps.
Which Insta360 X6 shooting mode should you use?
With 16 different modes, there’s a lot to choose from. But if I had to pick just one shooting mode to use forever, it would be 360 Video. The reason is simple: a 360 video captures everything.
Even if you ultimately only want footage pointing in one direction, you can easily create that shot by reframing your 360 footage later in the mobile app or desktop software.
For me, that's the whole reason to buy a 360 camera. You have the versatility of capturing everything around you and deciding on the exact shot afterwards, rather than having to make that decision while filming.
It's also much harder to completely mess up a shot when you're capturing everything in 360. The X6 can even be set to automatically switch to PureVideo when it gets dark, saving you from having to remember to change from standard 360 Video mode yourself.
Ultimately, while the X6 has plenty of specialised shooting modes, standard 360 Video is the one I’d recommend starting with – and the one you’re likely to use most often.
If you do decide to pick up an X6 for yourself, follow my link here and receive a free double lens replacement kit with your purchase.
Blog Author