Google Street View Workflow With Insta360 X3!
Dec 21, 2022
The Google Street View app is going away, so if you've been using it for your uploads, you're going to need to find a new workflow!
In this article, I'm going to show you the new best workflows for uploading to Google Street View.
Now, let's get started. 👇
If you don't own a 360 camera yet, you're going to need one!
I think that Insta360's new camera, the X3, is the best choice for Street View for beginners to intermediates. In this article, I will cover workflows for all 360 cameras, but before I do, I want to share 10 reasons why I think the X3 is the best choice.

#1: Price 💸
The first reason is the price. It's $450, which is around half the price of the other higher-end 360 cameras for virtual tours. While it doesn't deliver better photo quality than, say, the Z1, it does produce better video.
#2: GPS Tracking & Workflow📍
The second reason is that it has GPS, as do most recent Insta360 cameras. If you're planning on uploading to Google Street View, you will need a camera with GPS because without it, your workflow and your life are going to be a nightmare.
GPS basically tags the map, showing the exact locations of every photo and video you capture with the camera, making the placement on Street View super accurate.
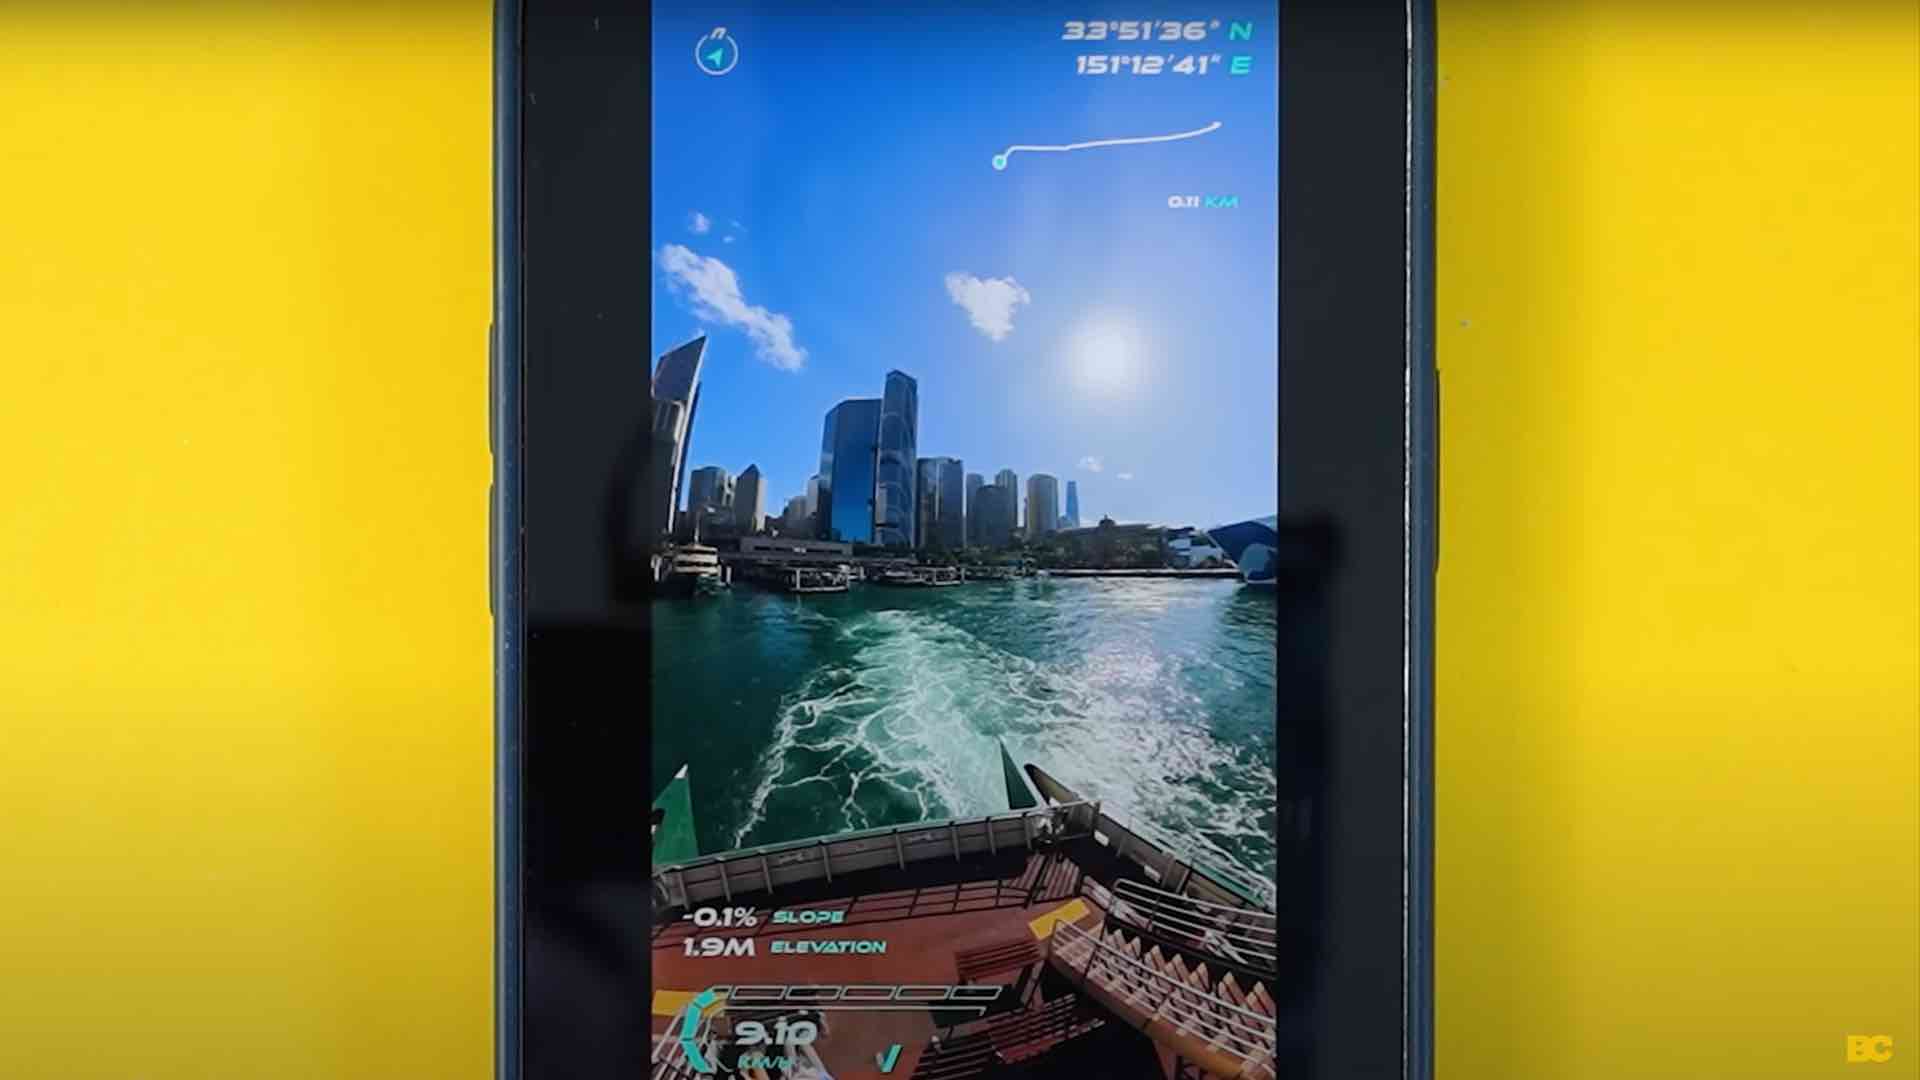
While GPS doesn't really matter for most other types of 360 photos and videos, I can't stress enough how important it is for Google Street View.
Also, they have released a GPS remote, which is compatible with the X3 and the one-inch and a couple of the other recent Insta360 cameras. This thing should guarantee that you get accurate GPS coordinates.
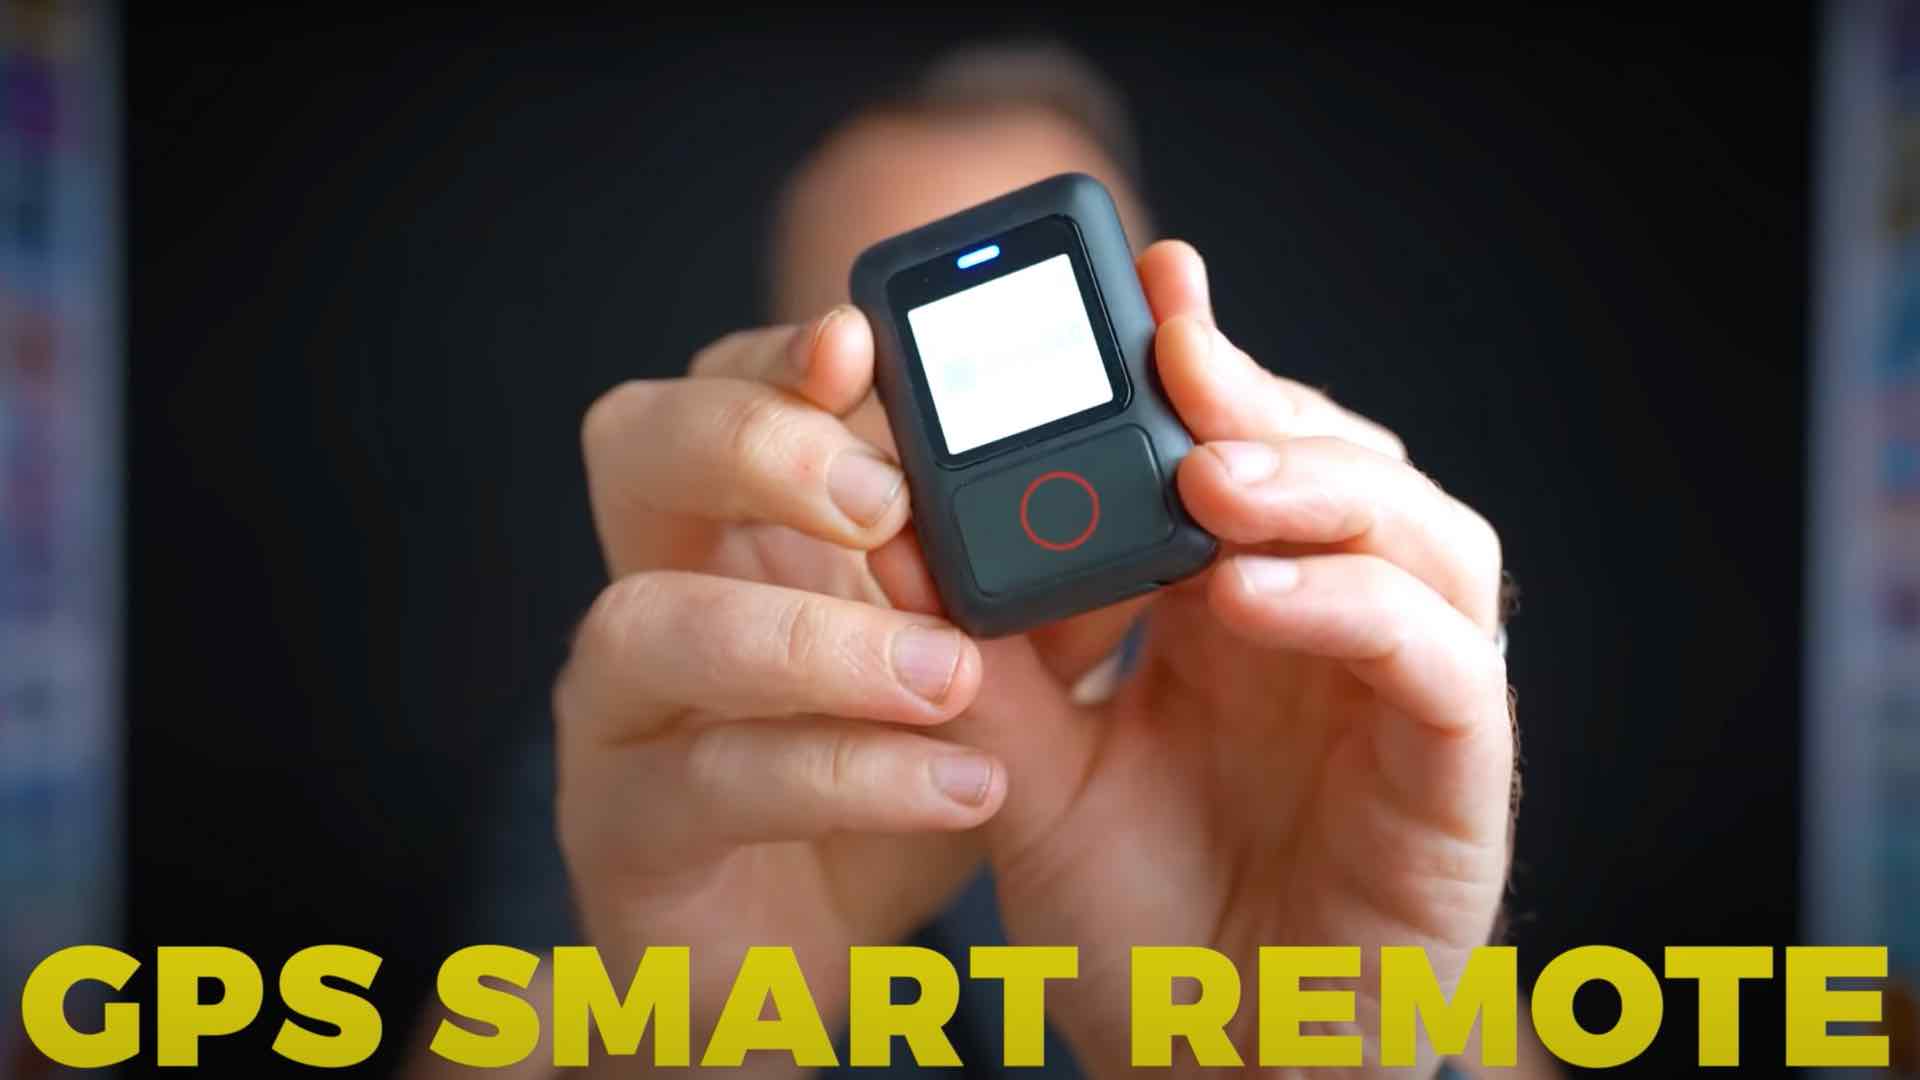
So, if you shoot a lot of Street View, you will want to consider getting one.
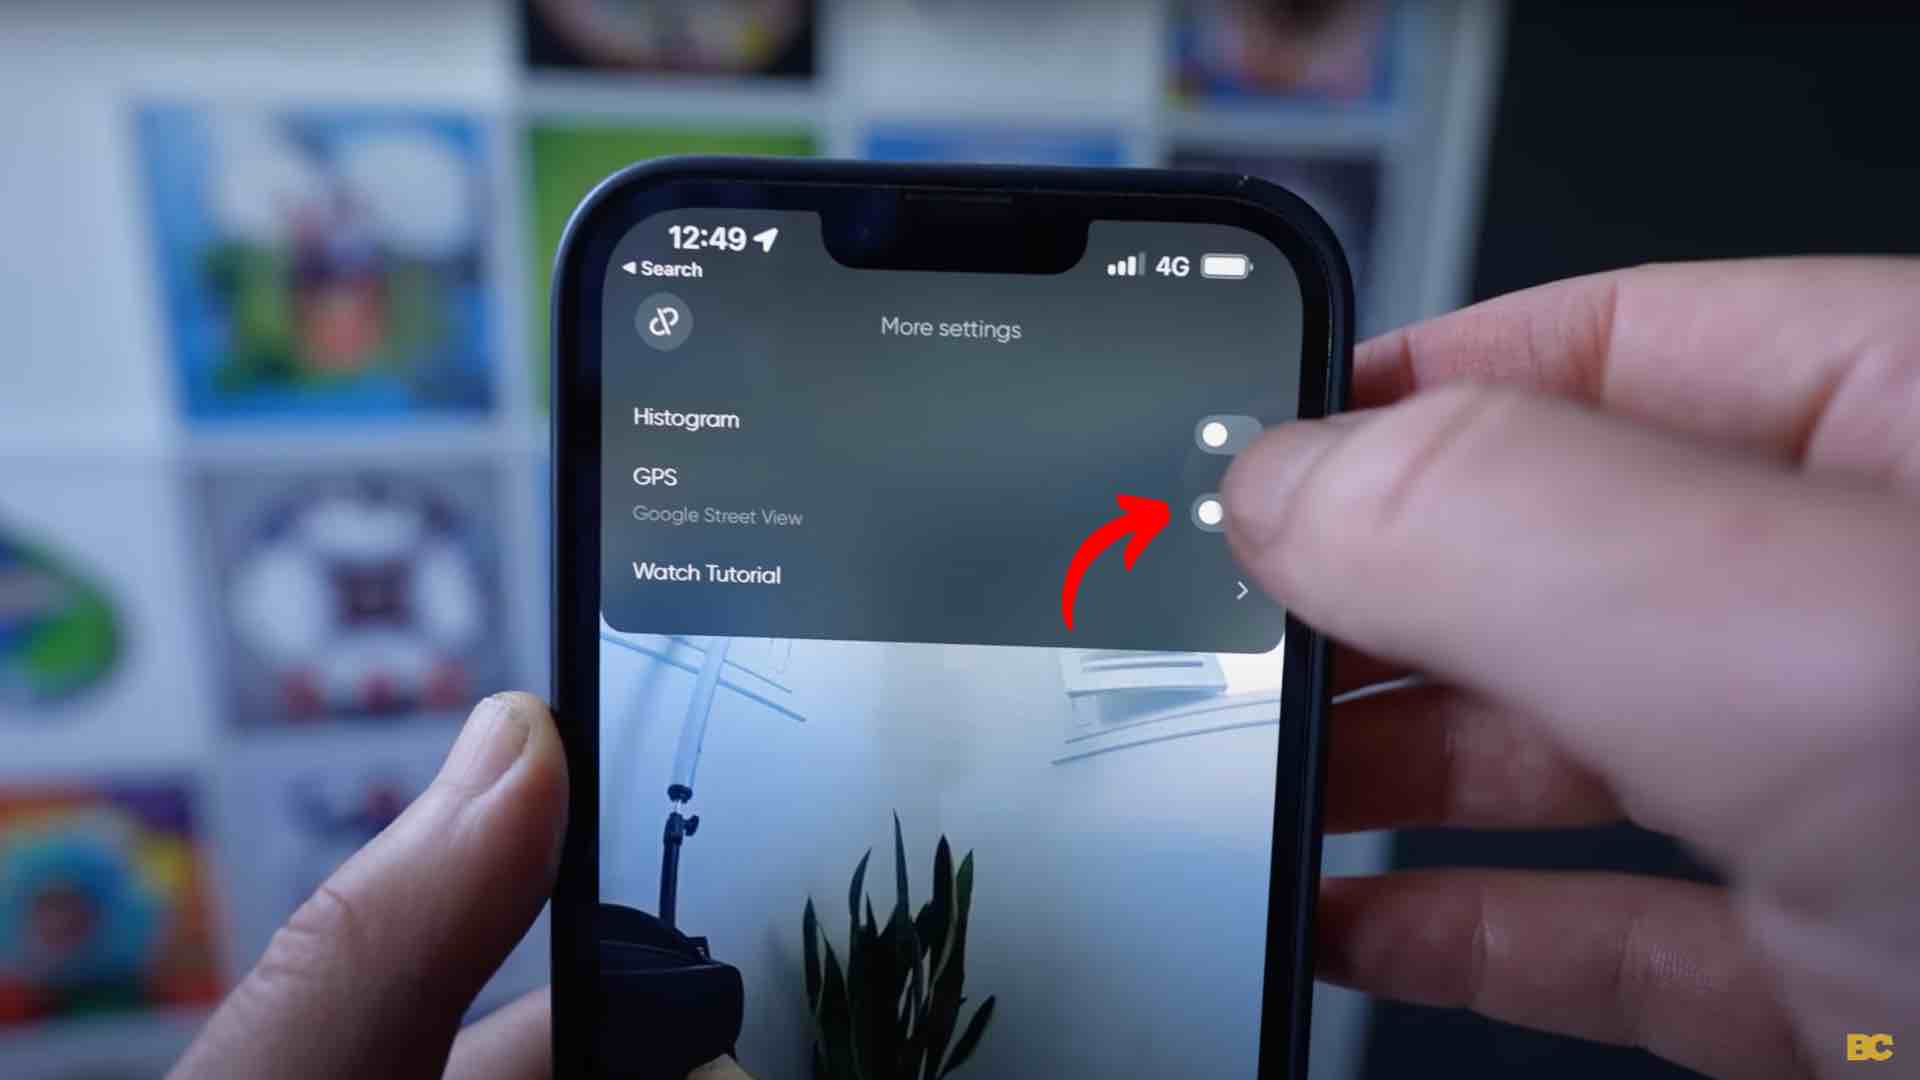
However, you don't need it to capture GPS data with most Insta360 cameras. Just tap the three dots at the top right and make sure GPS is switched on before you start recording.
You will want to make sure your phone screen is unlocked for the entire capture; otherwise, the GPS data may cut out mid-shoot.
#3: Active HDR Video Capture 🎥
The next reason the X3 is a great choice is because it has active HDR 360 video. I know it might seem strange that I'm mentioning a video feature, and Google Street View is about photos.
However, Google prefers that you upload a video to Street View. This is because of the frequent amount of snapshots you see all the way along a Google blue line. If they were taken with photos, the distances would likely be too far.
So, most of the Google Street View platforms are actually optimized for 360 video, not 360 photos.
That's why I think features like active HDR are great because it's HDR video, which means you get the maximum amount of dynamic range from your camera.
The X3 has 5.7K quality, which is currently the industry standard.
This shooting mode will be the best choice in most situations, especially when your priority is making your workflow as fast as possible. While there are higher-quality 360 video cameras, it's probably overkill for Google Street View since there are billions and billions of photos on Street View, and the standard for those shots is not super high.
So, there's no need to spend thousands of dollars on a fancy camera when something simple like this with 5.7K video is good enough.
Also, higher-quality still cameras are impractical for Blue Line Street View captures since most of them have a much longer workflow, which can be impractical when shooting hundreds, if not thousands, of photos.

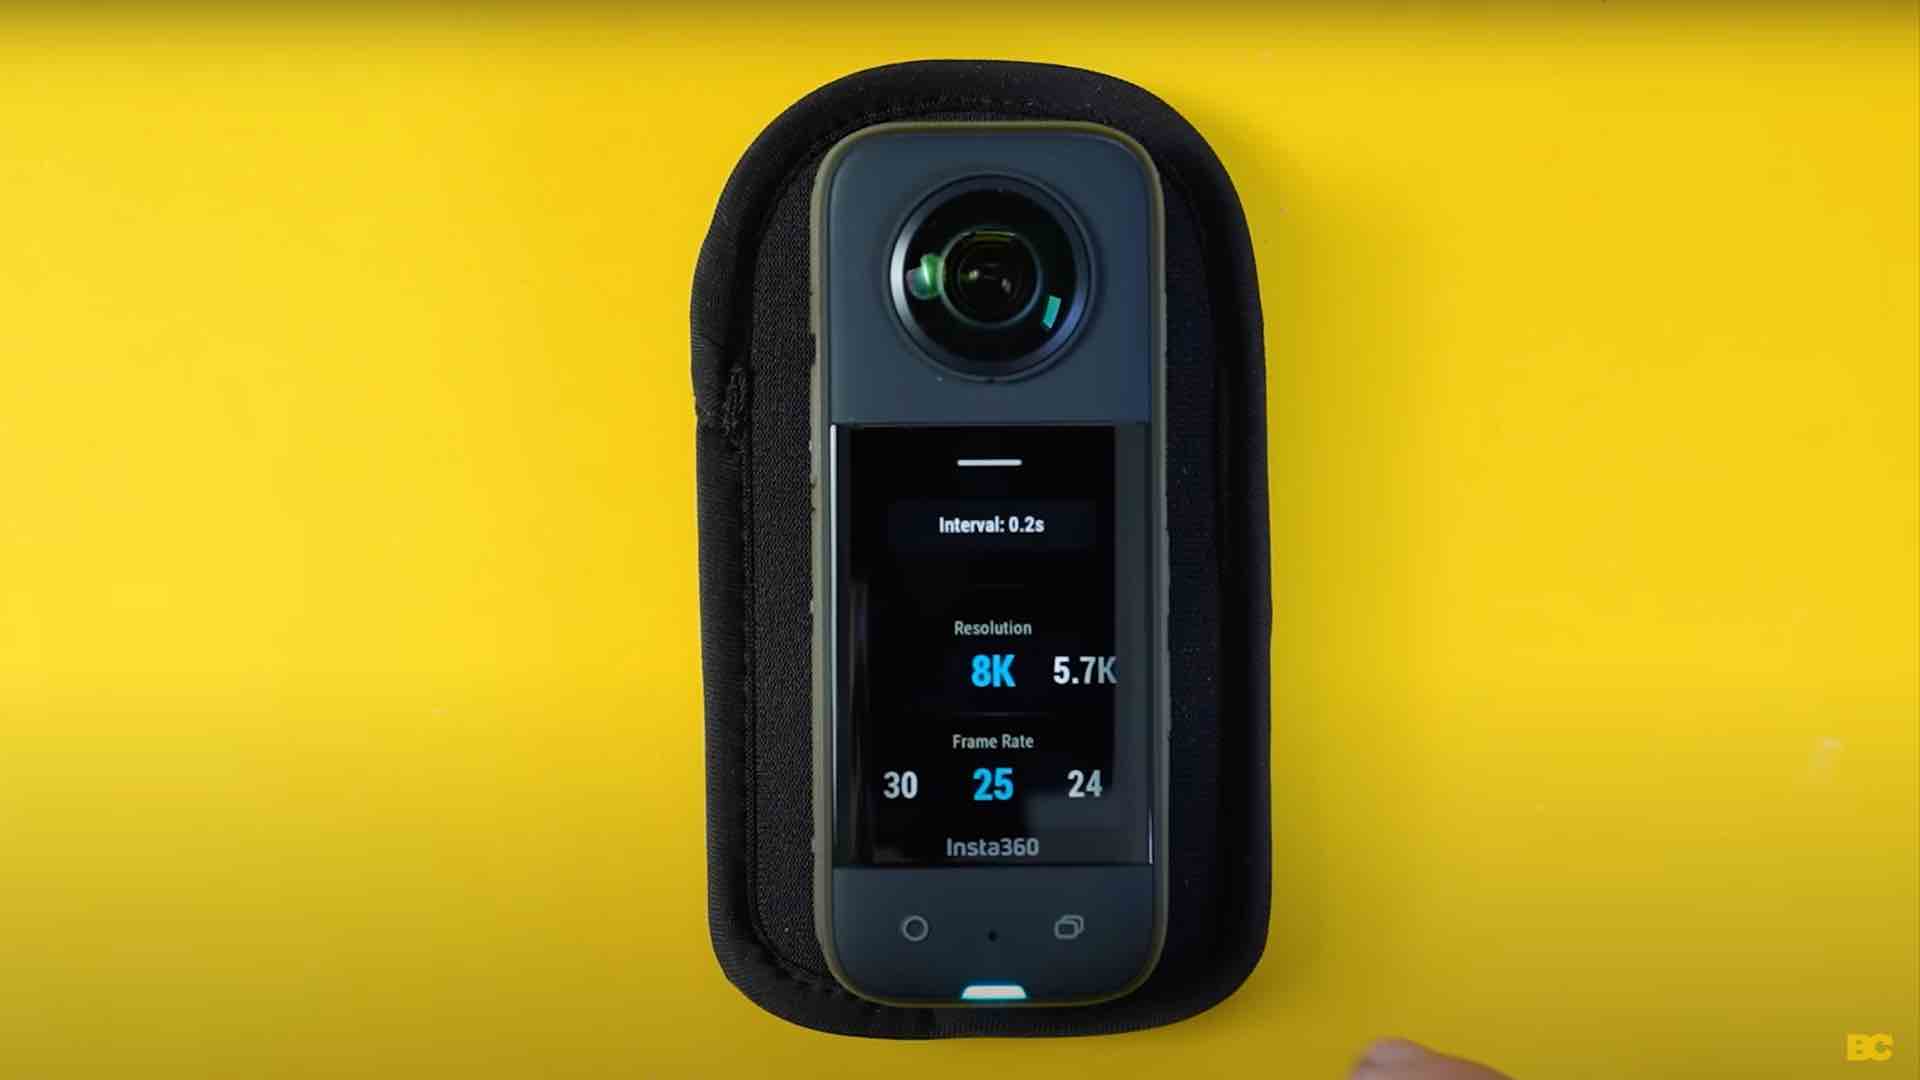
#4: 8K Time-Lapse Mode ⏰
Another feature you may remember from the X3 when it launched was the 8K time-lapse mode. If you think about it, since Google prefers videos, and the 8K time-lapse is an 8K video, it means that this camera is capable of shooting 8K videos for Google's Street View.
In early 2023, they added reliable GPS capture or horizon levelling, meaning 8K time-lapse mode will be the best choice for high-quality Street View uploads, as long as you're shooting in bright exterior lighting where HDR isn't needed.
On the downside, this may create a longer workflow since Google isn't used to time-lapse videos. So, it may take a few attempts to get the upload through.
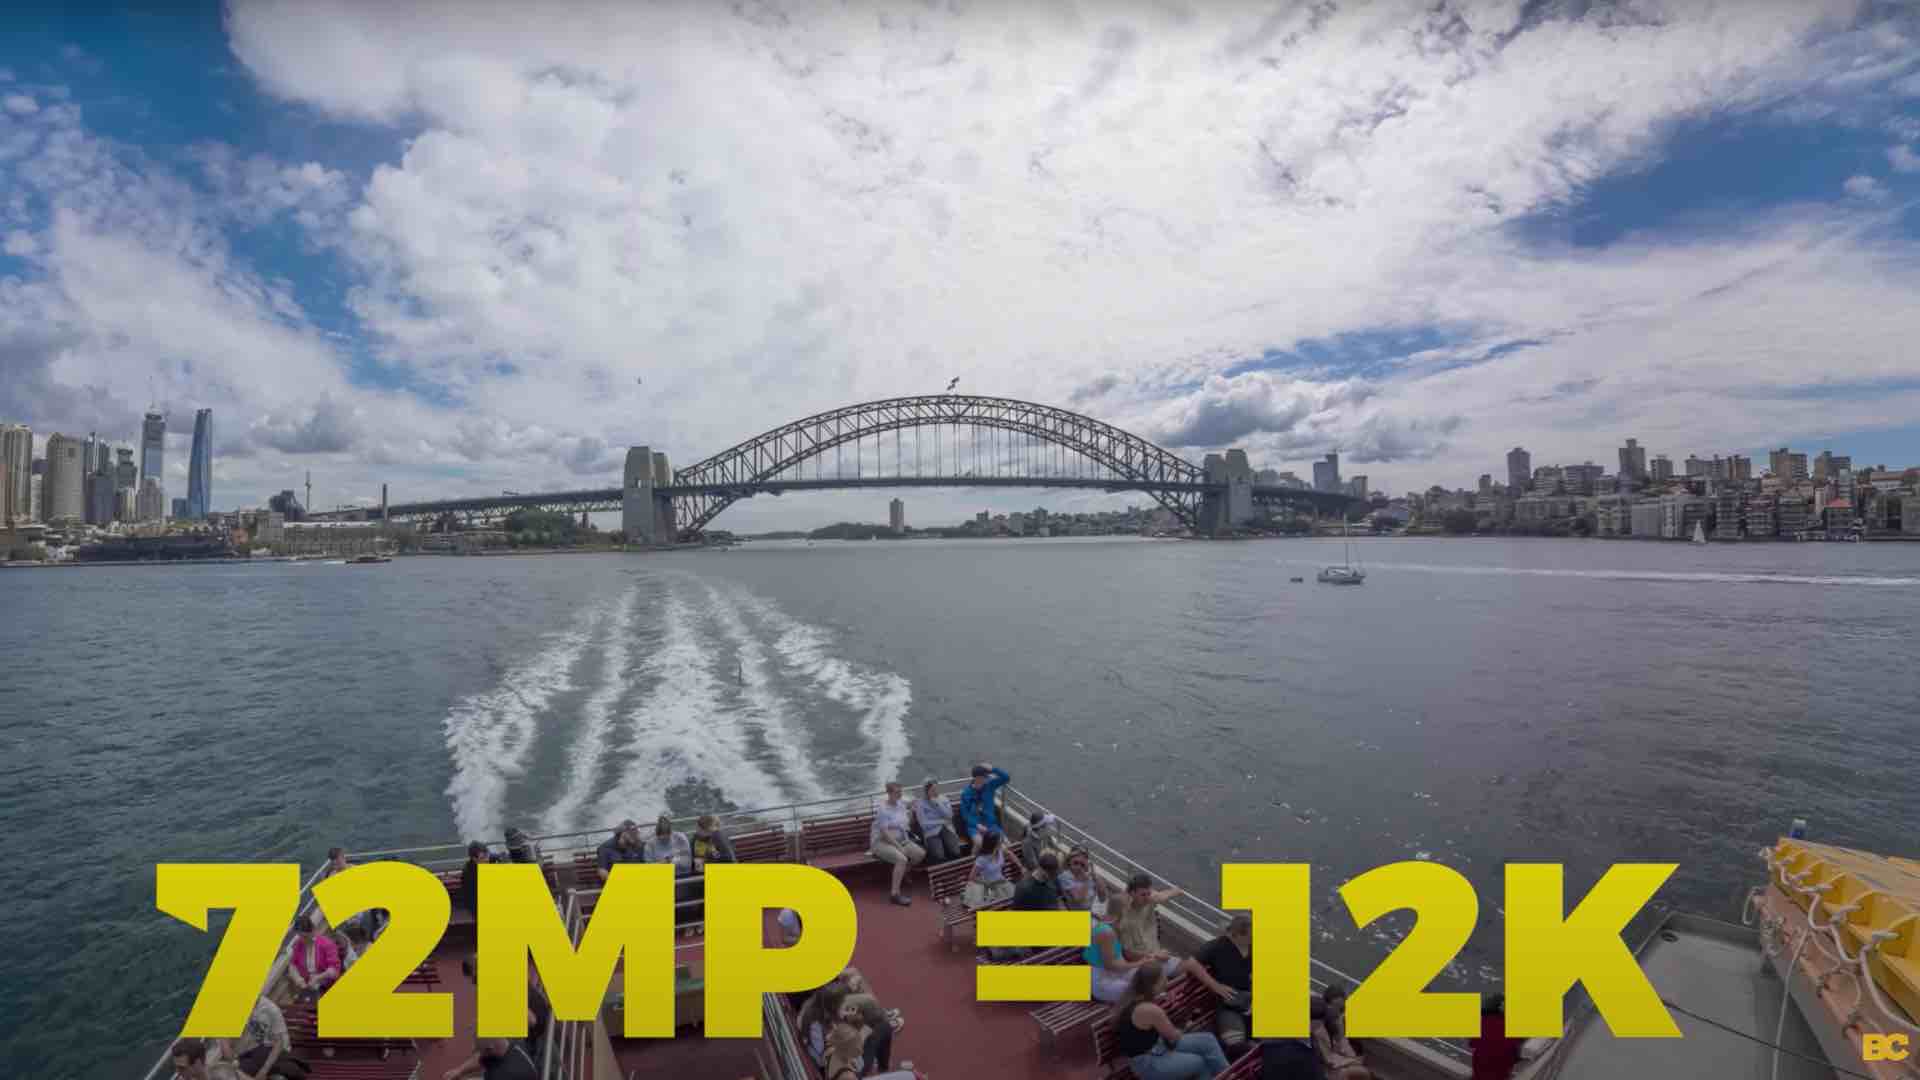
#5: 72-Megapixel Photos 📷
Another feature of the X3 that you may recall is that it shoots 72-megapixel photos. And while they're definitely not up to speed in interior virtual tour situations where high dynamic range is needed, outside, these images are much sharper due to better lighting conditions, which, if you convert 72 megapixels to K, is 12K. Meaning you can shoot anywhere from 5.7K to 12K Google Street View images with the X3.
There is a caveat though, and that is because, they're photos. One, you need to make sure your shots are close together, ideally three meters apart or less. Two, You'll need to manually connect them later in software like GoThru in order to publish them to Street View as a Blue Line.

This is a longer workflow, but it comes with the benefits of:
👉 A) higher quality
👉 B) the ability to color correct.
So, I'd only shoot in photo mode if it's an interior virtual tour or it's a Blue Line outside that isn't super long. Otherwise, it will take forever to edit and connect everything up. Again, just a reminder, make sure you've got GPS turned on.
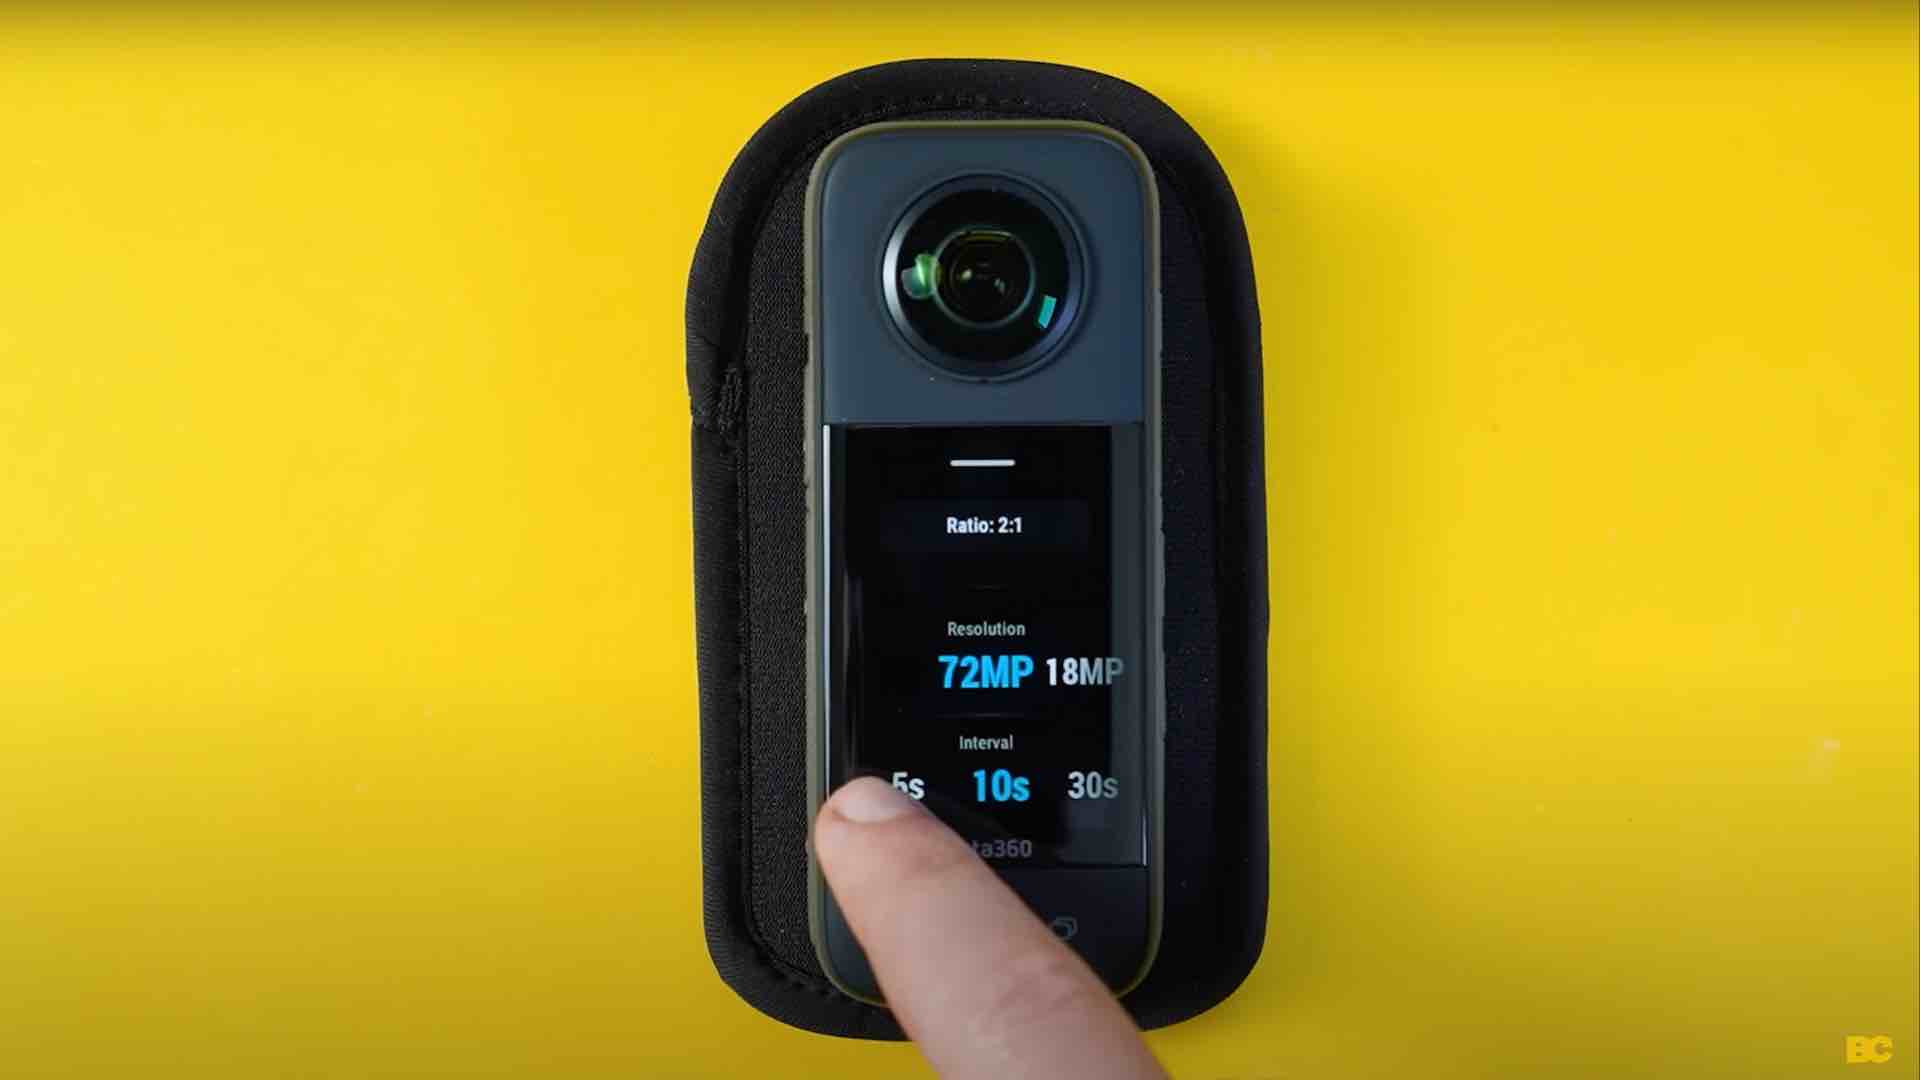
#6: Interval Mode 📹
Something that will make this workflow even better is using interval mode, where you can set intervals for shooting 72-megapixel photos. So, it fires them off at every step of your Blue Line.
You can't go too fast though; again, make sure your intervals are of 3 meters or less. Additionally, these individual shots within your interval should have GPS coordinates, which will make it that extra bit easier to piece together in GoThru or whichever software you choose to use.
#7: Large Touchscreen 📱
It's got a super bright and big touchscreen, which means you can operate it without needing a smartphone. Although personally, I do prefer using my iPhone because it's slightly bigger and means I can operate it from a distance.
#8: Battery Life 🔋
The battery performance is really good. I captured Street View for two-plus hours with this camera, and the battery still had more than 25% charge.
#9: Heat Resistance 🔥
In most situations, the X3 shouldn't overheat. However, it will if you push it too far. For example, recording 8K time-lapse with intervals of 0.2 of a second is practically guaranteed to make it overheat. And while I haven't tested it in super hot conditions, I have tested it here in Sydney where it's summer right now, and it didn't overheat in 28 to 30 degrees Celsius temperatures.
#10: Mobile Workflow 📲
Number 10 is potentially the biggest advantage of getting an Insta360 camera like the X3 if you're shooting for Google Street View, and that is, now that the Street View app is going away, it doesn't even matter because you can upload to Street View directly within the Insta360 app.
As you probably know, Insta360 cameras have a really fast workflow due to the app being so good, where you can download your shots in seconds and even do color correction and other edits within the mobile app.
From your 360 video, simply hit export 360, tap the Google Street View icon, connect your account, and follow the prompts to upload.

For uploading single photos to Street View, the Insta360 app has the exact same capability. If you follow the same workflow on your photos. The main downside of this workflow, which has to be mentioned, is that the Insta360 app will downscale your video quality to 4K to upload to Street View.
For higher quality, I'd recommend uploading on desktop using the workflow I'm about to show you. Now, for older Insta360 cameras that don't have the native Street View upload or any other 360 camera out there, you'll want to follow a slightly different workflow as follows.
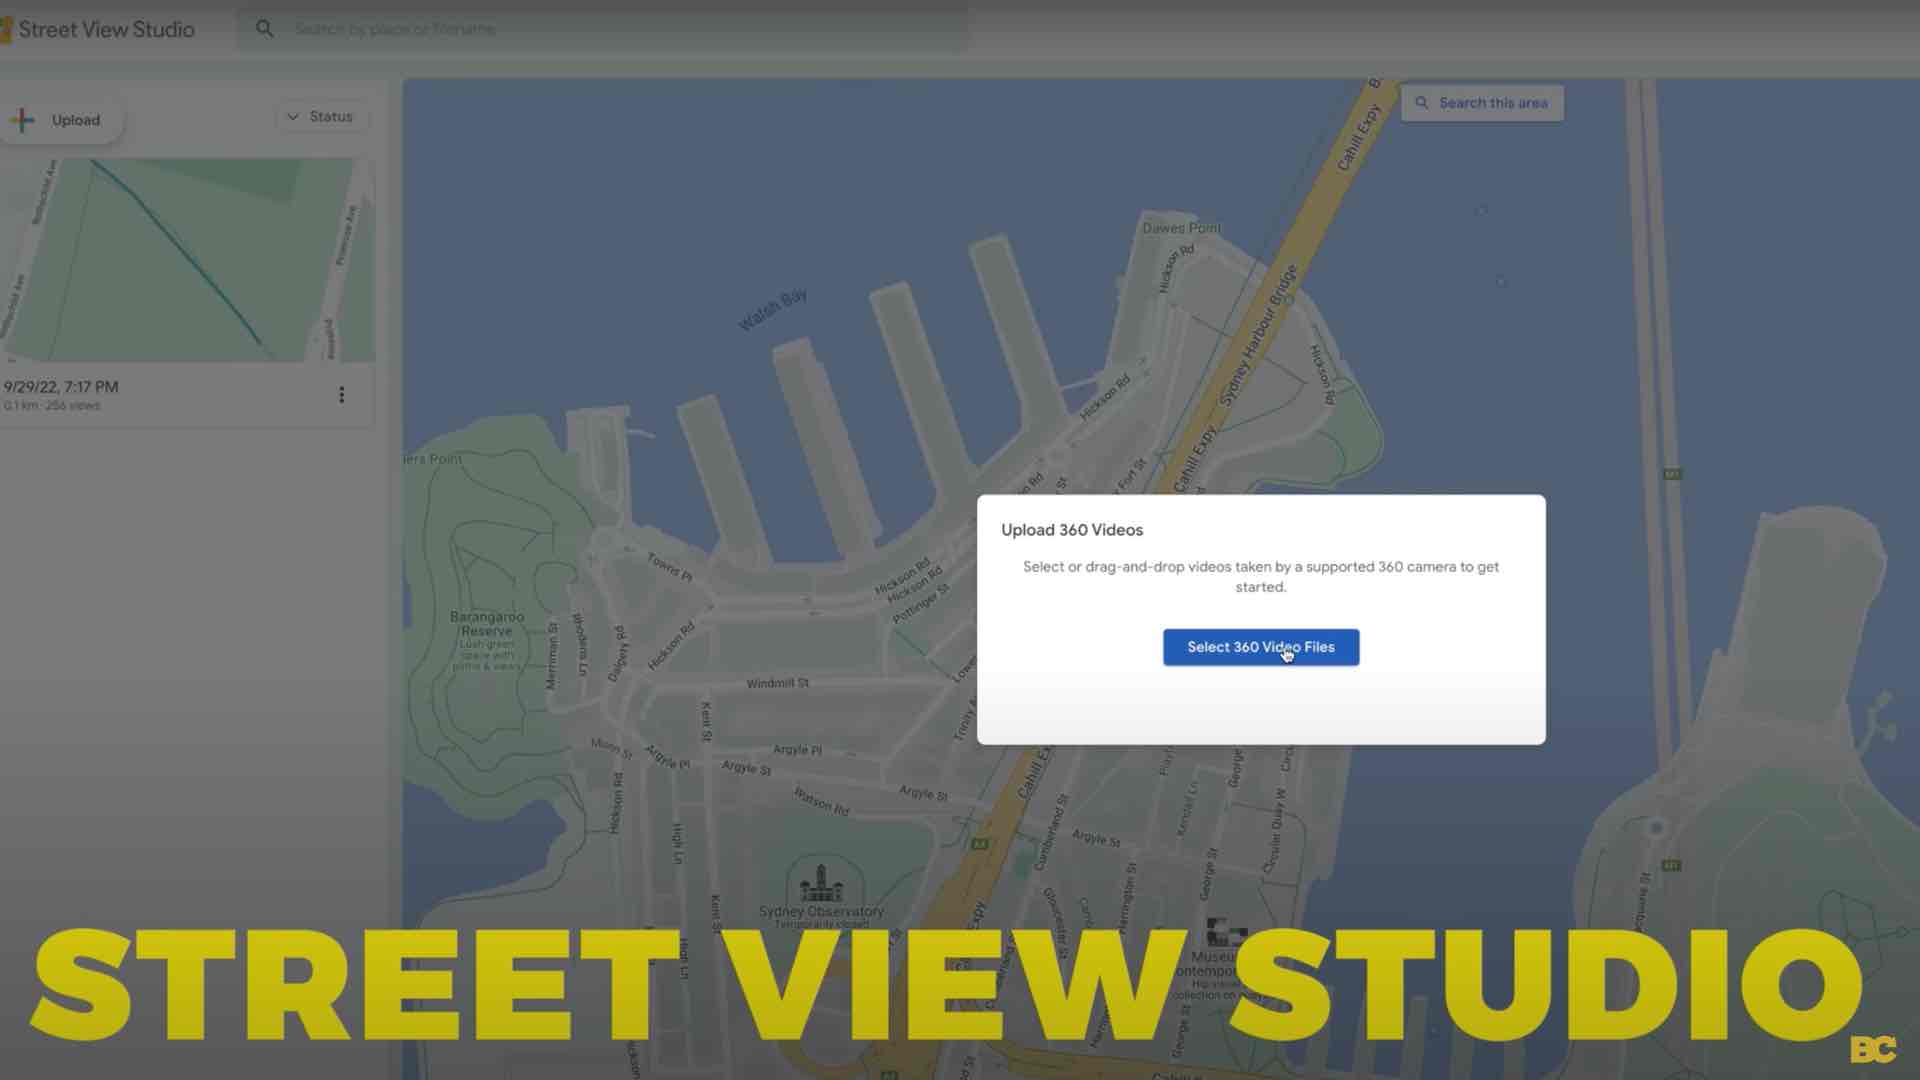
There are two methods: the first one is recording a 360 video with GPS data. Again, really, really important that you capture that, and not all cameras have GPS as a feature, so be sure to check if your camera does.
Then, it's as simple as uploading that file manually in Google Street View Studio. Google will then convert your video file to photos and put it on the map, including blurring all or most license plates and faces.
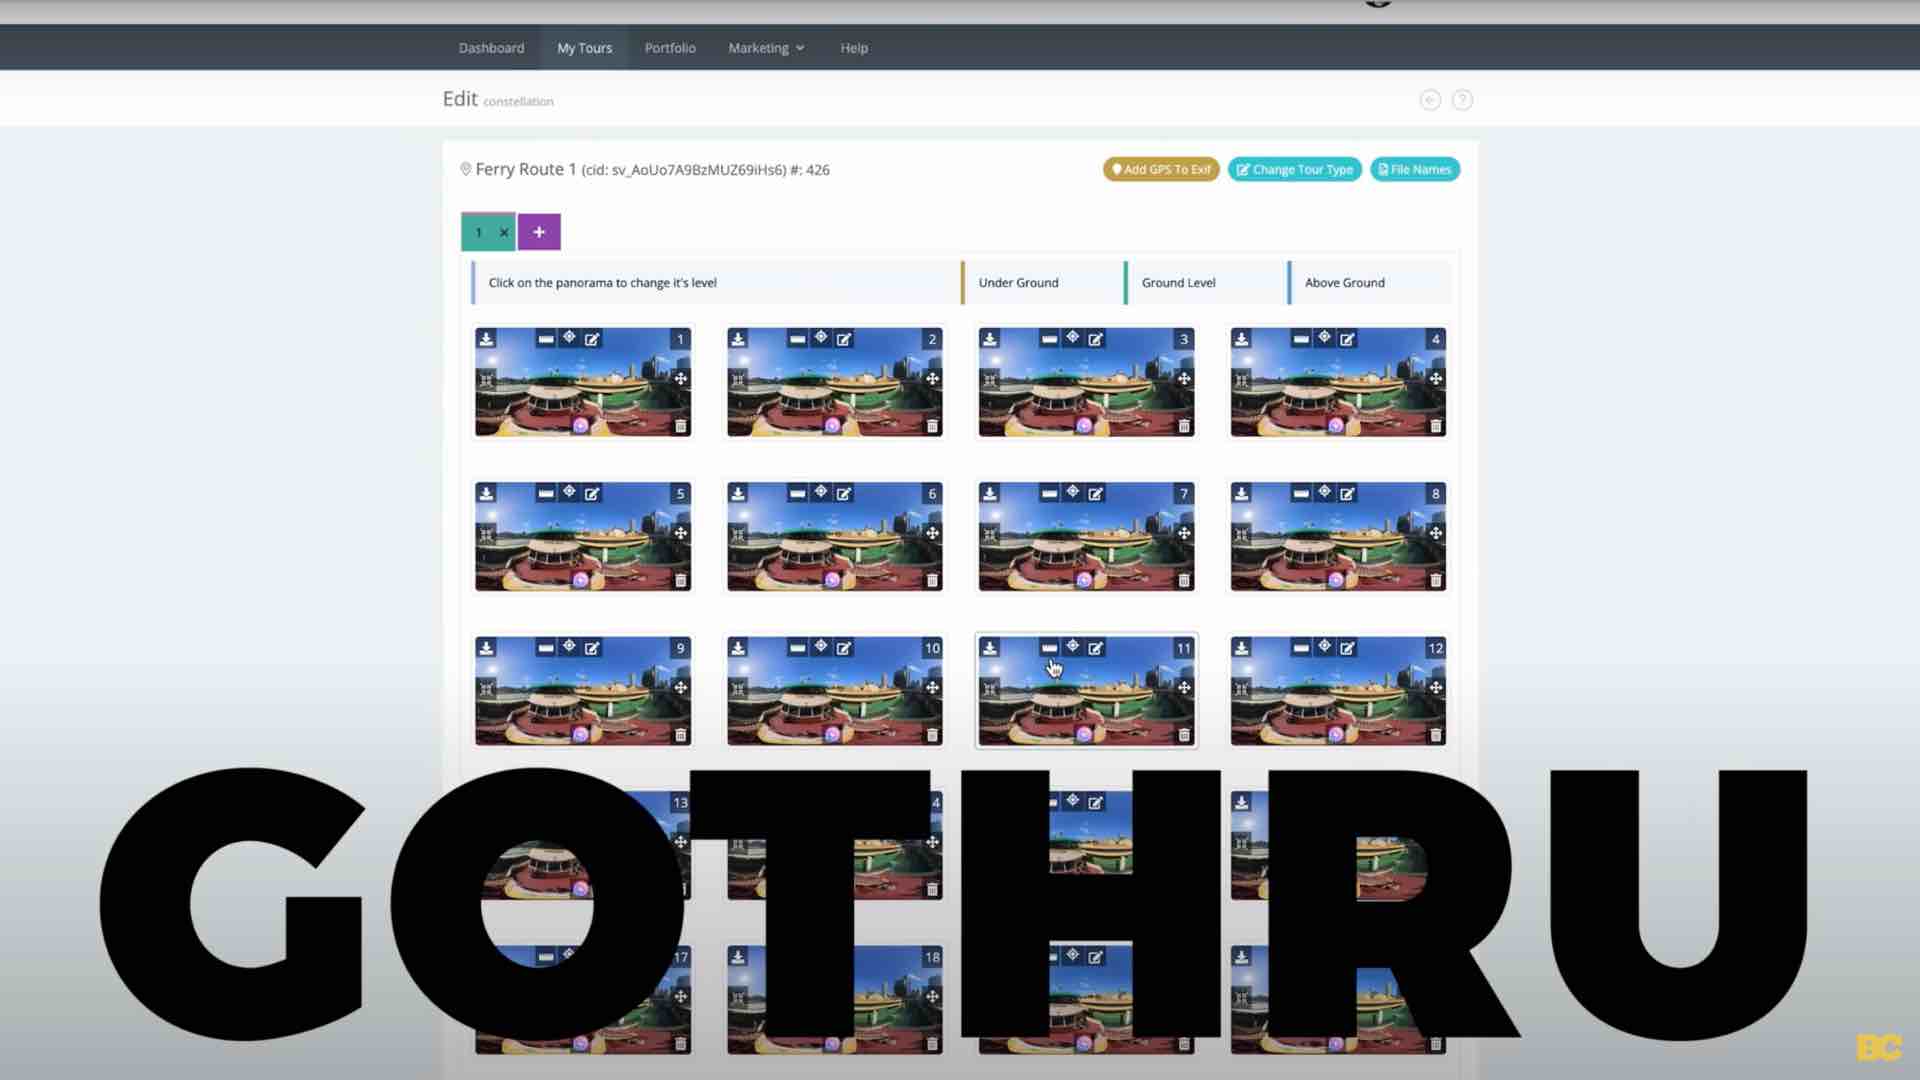
The second option is using a virtual tour platform that has a Street View upload feature. There are quite a few of them right now, but I found the best one to be GoThru, since it specializes in Google Street View upload and has the most amount of tools for optimizing your tours for the best presentation on Street View.
Once submitted, you can monitor the progress of your upload in Google Street View Studio. Uploads can take up to 48 hours to process. If it takes any longer, there may be an issue with your upload, like bad GPS coordinates or something else that didn't go right. So instead of waiting weeks and weeks, you may want to troubleshoot and try re-uploading.
If your Blue Line Tour won't upload and you can't figure out why, you may want to try the GoThru software in combination with Street Builder, which is built by GoThru.
What that does is it takes a video file, converts it to photos, and uploads it to GoThru. Then, in GoThru, you can make edits to your tour and submit it to Google for publishing.
If your GPS data is missing, you can manually add your GPS coordinates. Another method to create Blue Lines is to use the suite of tools by Street View Mentor, Dean Zwikel, which is a complete set of programs for uploading and publishing Blue Lines and fixing most problems you may encounter.
This includes reconnecting missing GPS data, converting photos with GPS info into a video file that Street View will accept, helping convert your time-lapses to a format Street View is more likely to accept, and many more.
I'll link these tools below, and I strongly encourage checking them out if you experience any issues with your uploads. You'll find Dean and thousands of other Google Street View Trusted Photographers inside the Facebook group of the same name.
I would strongly suggest joining this Facebook group because workflows are going to change in the future, and you're very likely going to encounter problems at some point. That's a great place to troubleshoot whatever issues you're having.
How Do You Get Paid With Google Street View? 🤔
Now, to wrap this article up, I want to talk about how to get paid with Google Street View. This is a really common question: how do you get paid? Does Google pay you?
No, Google won't pay you a cent, sorry. The way you make money with Street View is working as a virtual tour professional, offering Google Street View services to paid clients. Industries such as tourism, transport or any business that wants to get their business location onto Street View. Better visibility on Google and Google Street View means more website visits, more store visits, and is a serious value proposition that you can, in fact, charge for.
Prices for Street View shoots range from hundreds on the low end to thousands on the high end, like my shoot in this video. While it is really easy to shoot for Street View once you know what you're doing, the fact that you're doing it and you're saving your client from having to learn the workflow is definitely worth the money for them.
In fact, one of my Virtual Tour Pro students charged twenty thousand dollars for a Google Street View tour of an entire city, which shows that there really are no limits to the size of tour you can charge for.
And if you want to get started making serious income with virtual tours just like him, I have a free training that shares my top 10 tips for starting a virtual tour business, which will show you the exact steps you need to take to start monetizing Google Street View and virtual tours.
Happy 360ing!
Ben Claremont
Blog Author