Photoshop's Generative Fill Is Game-Changing For Virtual Tours
Jun 15, 2023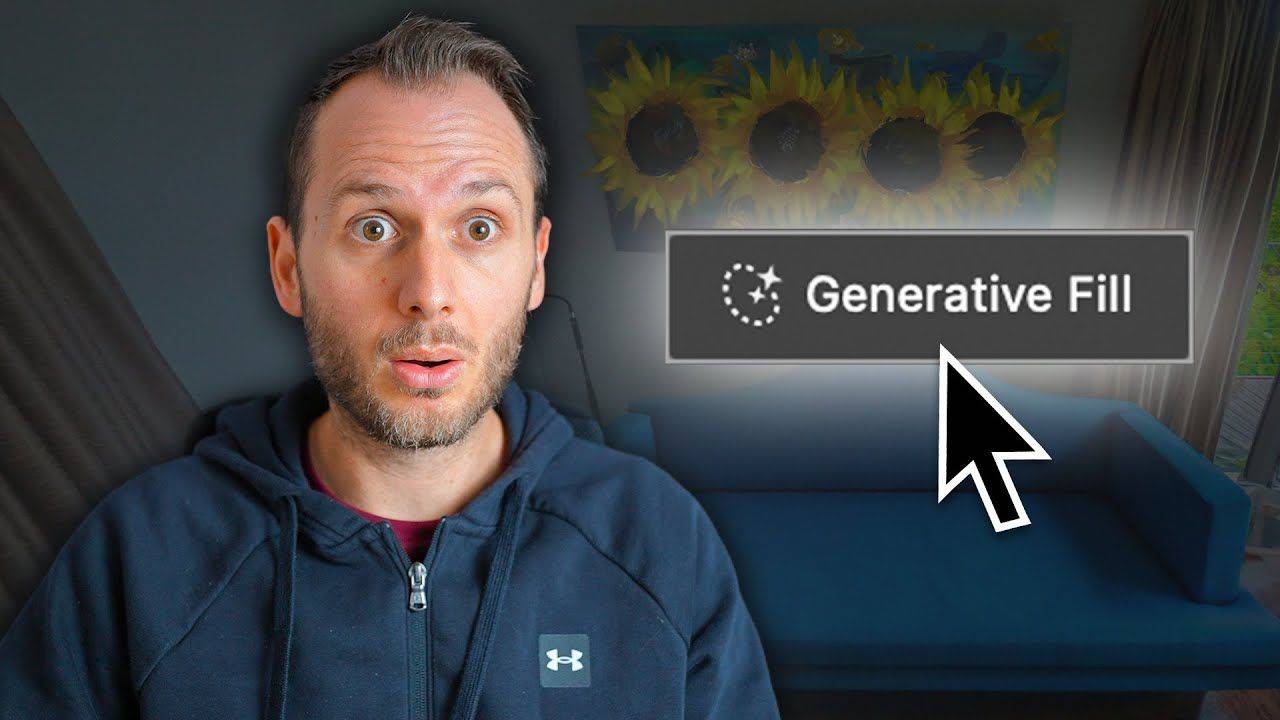
If you're into virtual tours and 360 photography, then today AI is about to make your life much easier! 🙌
I'm sure you've heard of the new Generative Fill feature that was released with the Photoshop beta version, where you can select an area, tell it what you want, and it digitally generates it from scratch.
Not only can you add things to photos, but you can also subtract, as you'll see in this article.
I think this workflow could be a total game changer. 🙌
It is in its very early stages, but I want to show you how this new Photoshop feature can apply to virtual tours or even just casual 360 photos if you want to go the extra mile to make them look really good.
Now, as you probably know, Photoshop discontinued its 360 features, and it's official with this new release. They're all gone. There's no way to get back into 360 mode. 😩
Therefore, in order to follow this workflow, you're going to need Photoshop still, but also Affinity Photo, which is the new best 360 Photo Editor.
Removing Objects ✂️
Step 1 👇
To get started, open up the Adobe Creative Cloud app and go to Beta apps, then find the Photoshop beta and download and install it. Then, obviously, you'll need Affinity Photo installed as well.
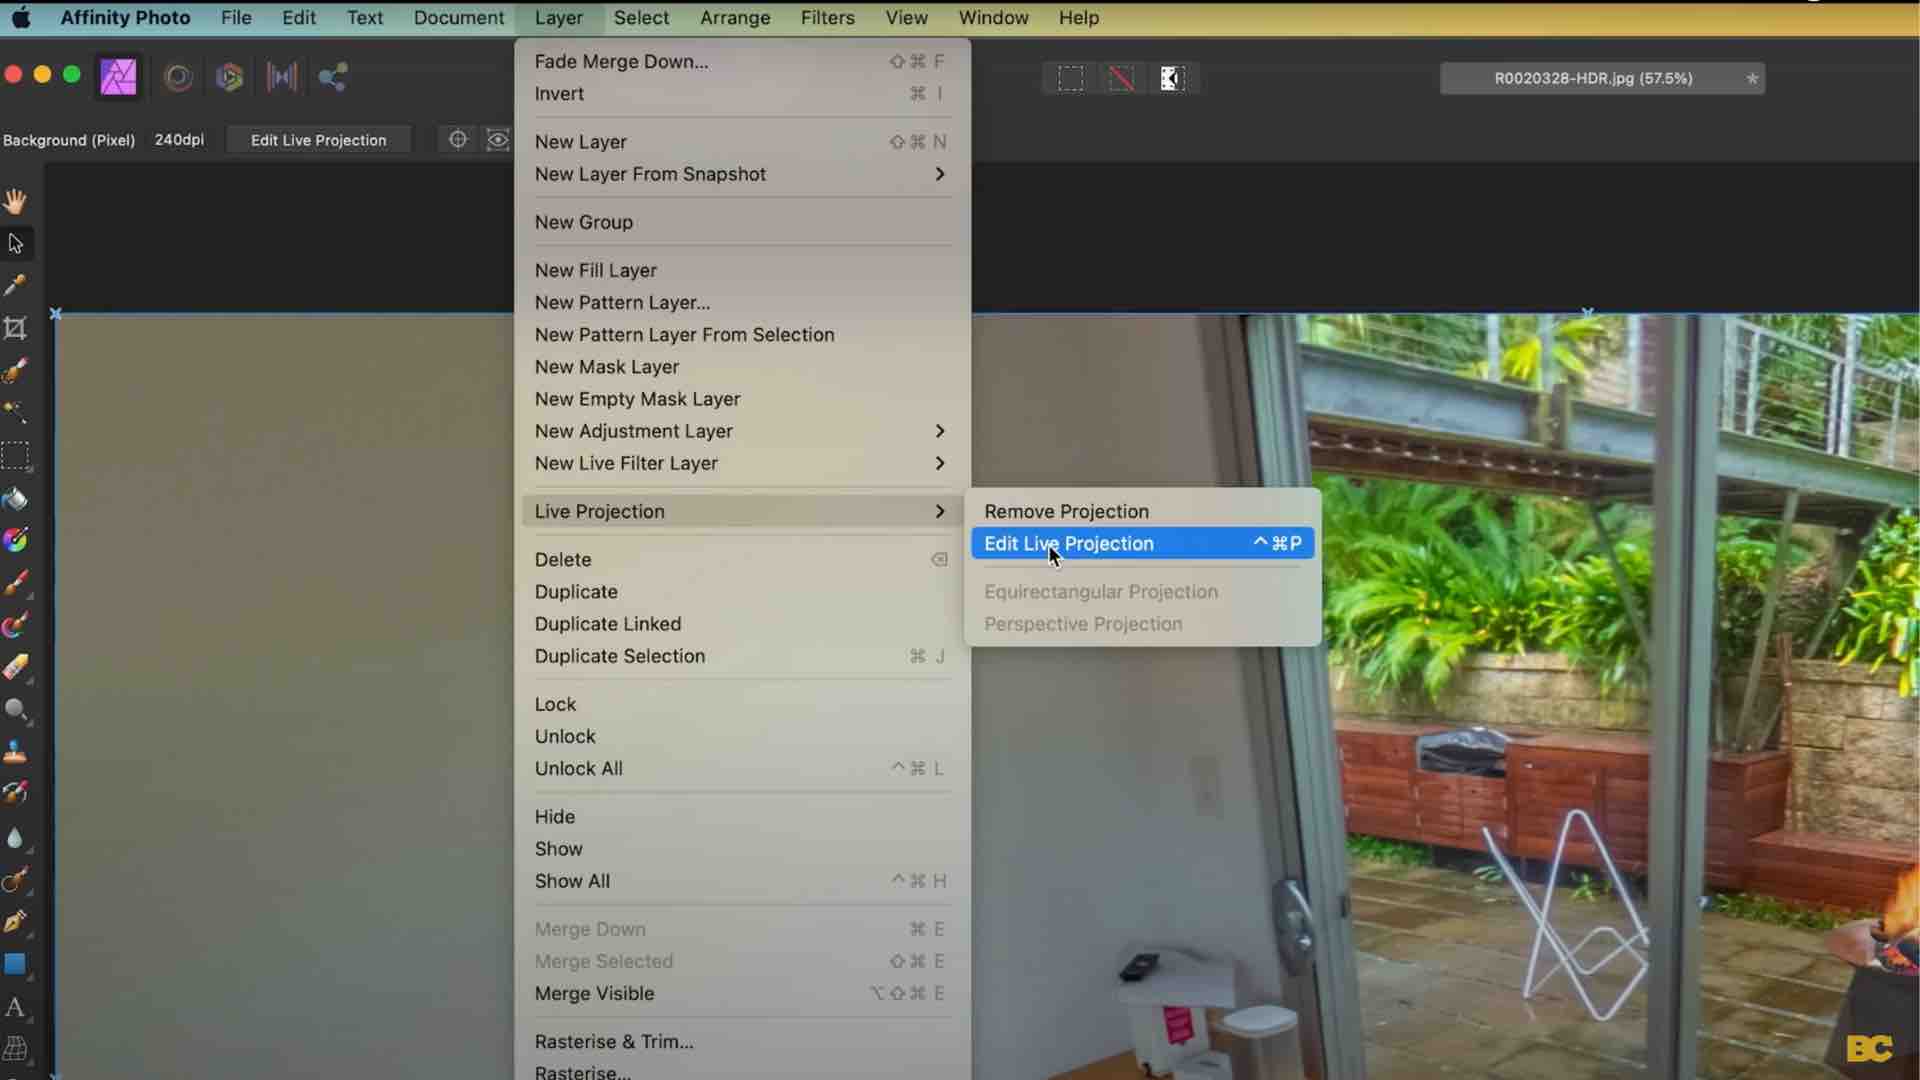
So here, I've got a 360 photo of an Airbnb that I took a few years ago. What I'm going to do is open that up with Affinity Photo. We're going to go Layer > Live Projection > Equirectangular Projection.
Now, here we are in 360 mode. This is where the fun begins. 🥳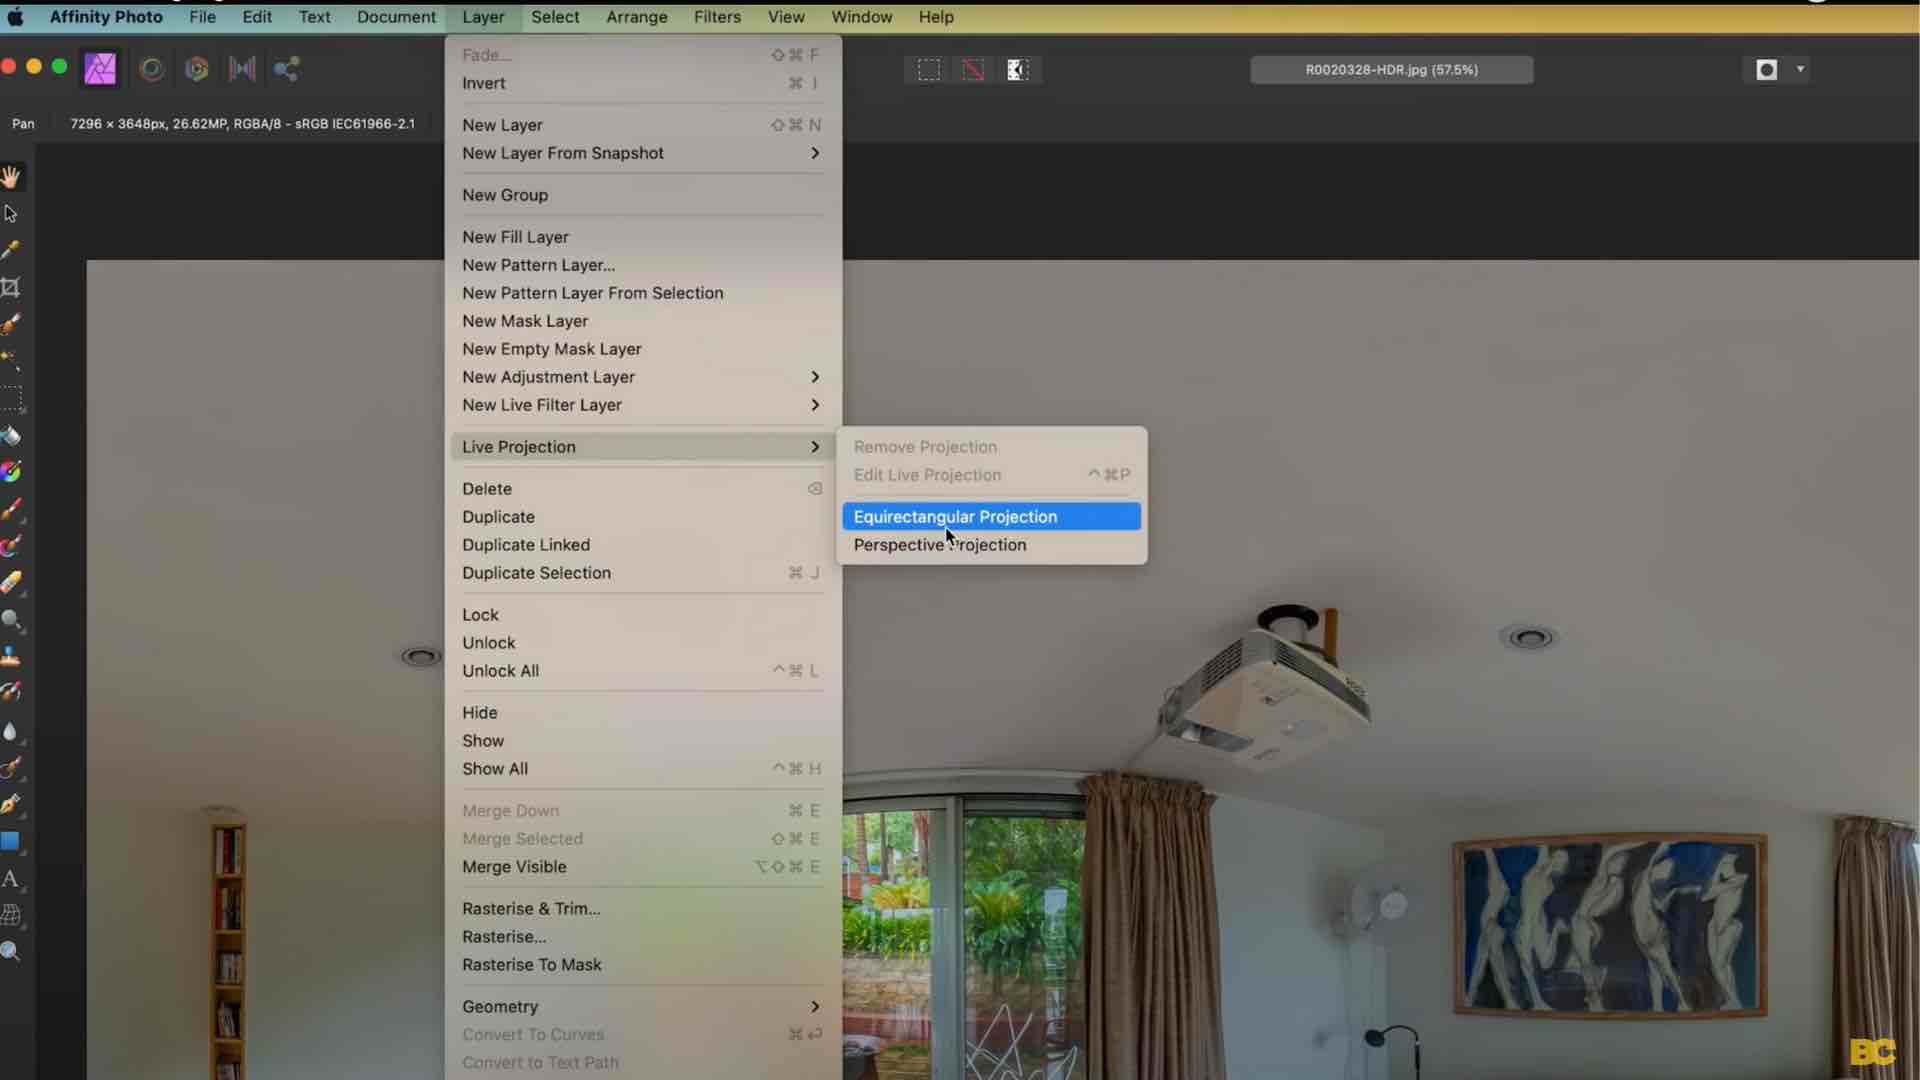
So my objective is to use AI to clean up this image as well as enhance it naturally in a way that doesn't add anything that wasn't really there to begin with.
So, choose the area of your 360 that you want to focus on. Here, I want to get rid of some ugly cables. Since painting them out manually will take extra time that I don't need to spend.
Step 2 👇
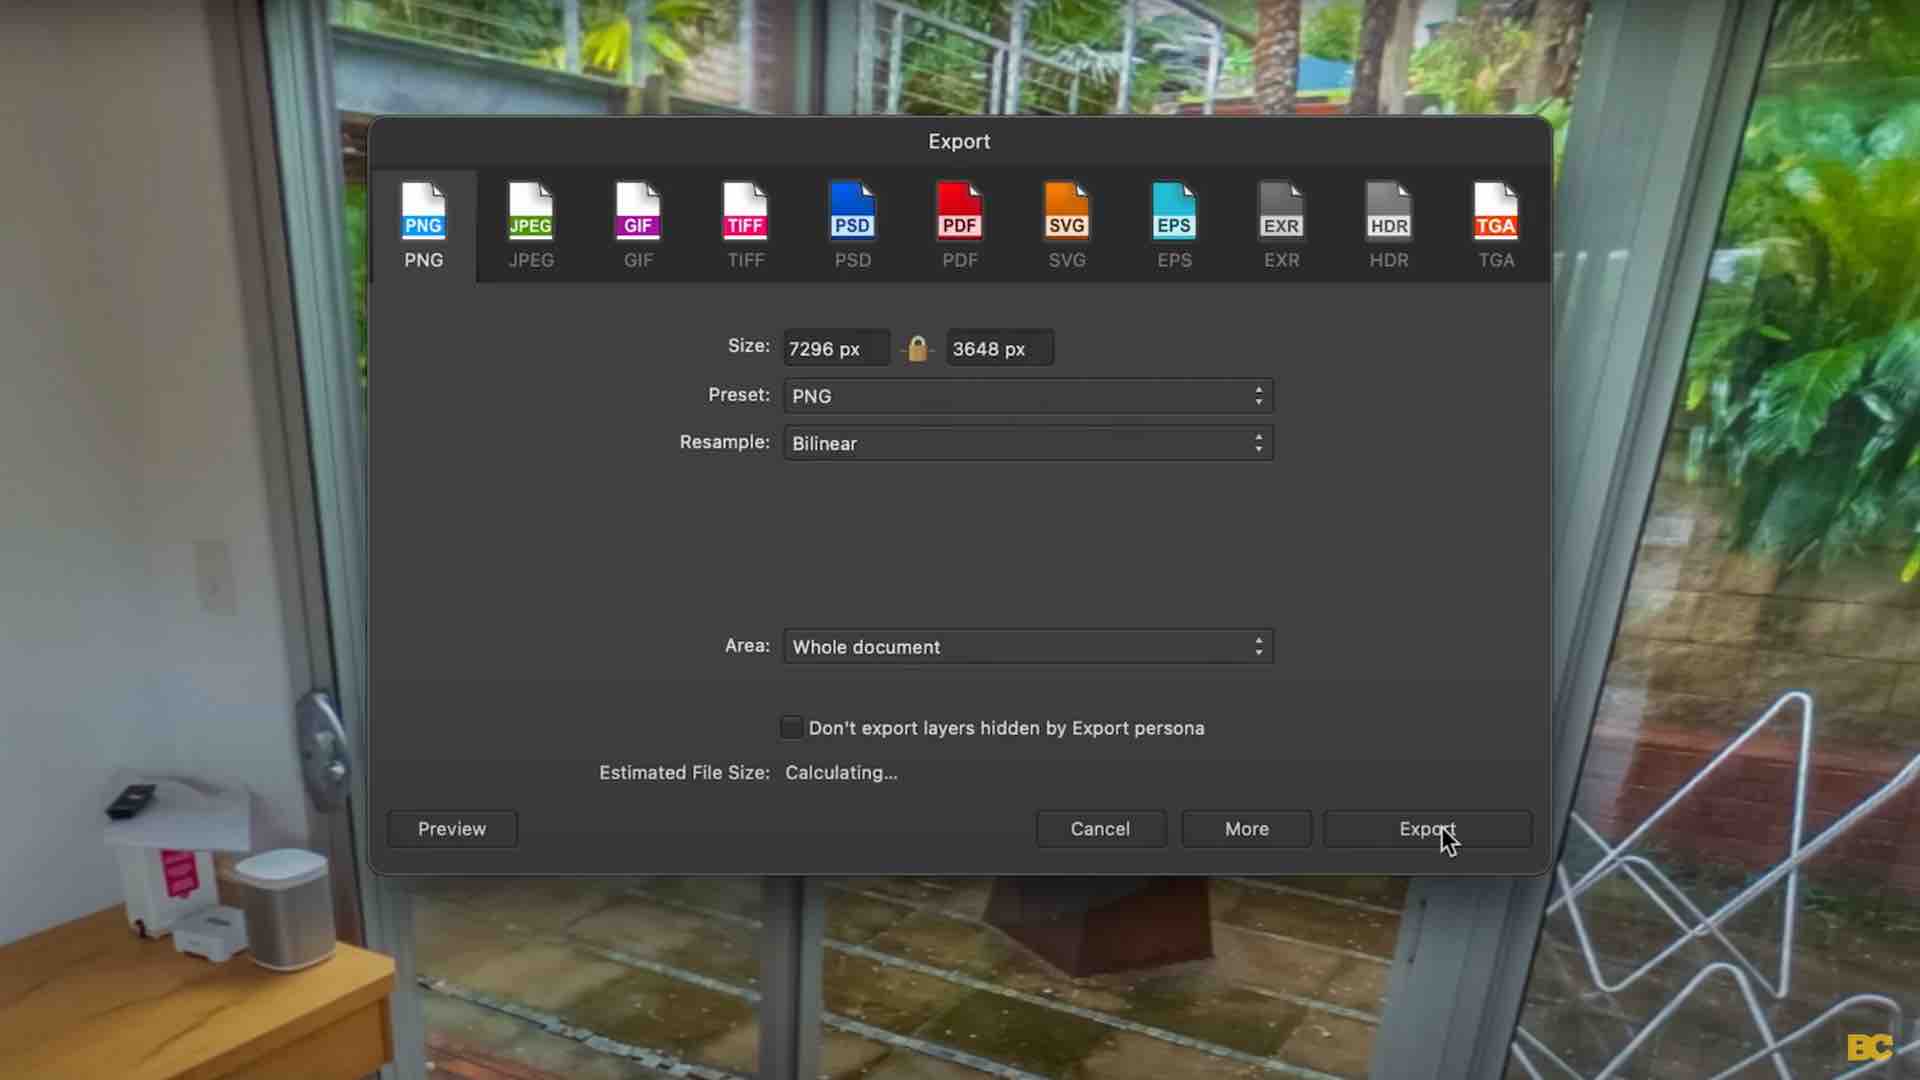
Now, what we're going to do is export just this section of the 360 photo to import into Photoshop. So, I'll go File > Export and then save that as a high-quality PNG.
Now, it's important at this step not to touch Affinity. 🙅♂️
Don't think about moving your photo around because this will make merging our updated photo back into the 360 photo more difficult.
Step 3 👇
Now, we're going to open that up in Photoshop beta, which may also be just a regular Photoshop once they add it to the full release.
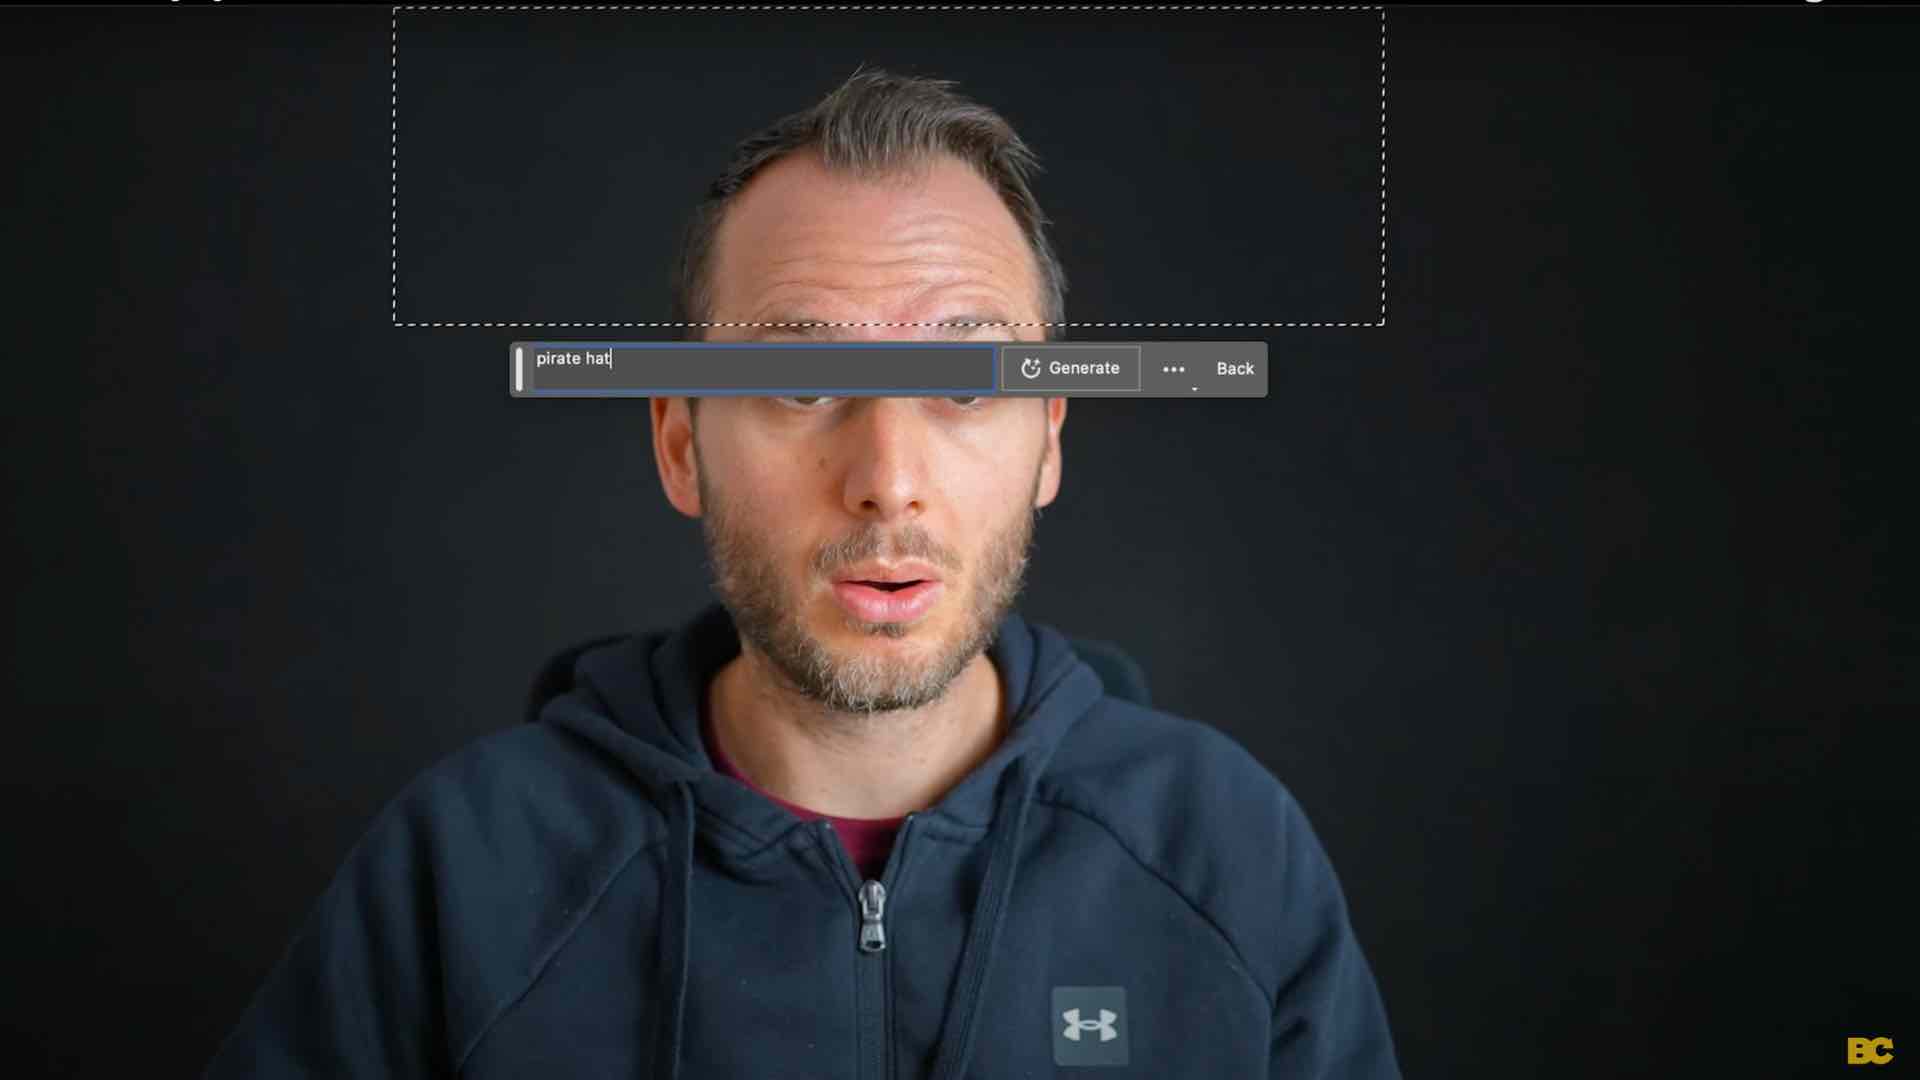
The way the generative fill works is you select an area, and it works just on that area to do anything you want.
So, the way you select that area is up to you. You can use the lasso, you can use the Marquee. I'm going to start by using the lasso around these cables.
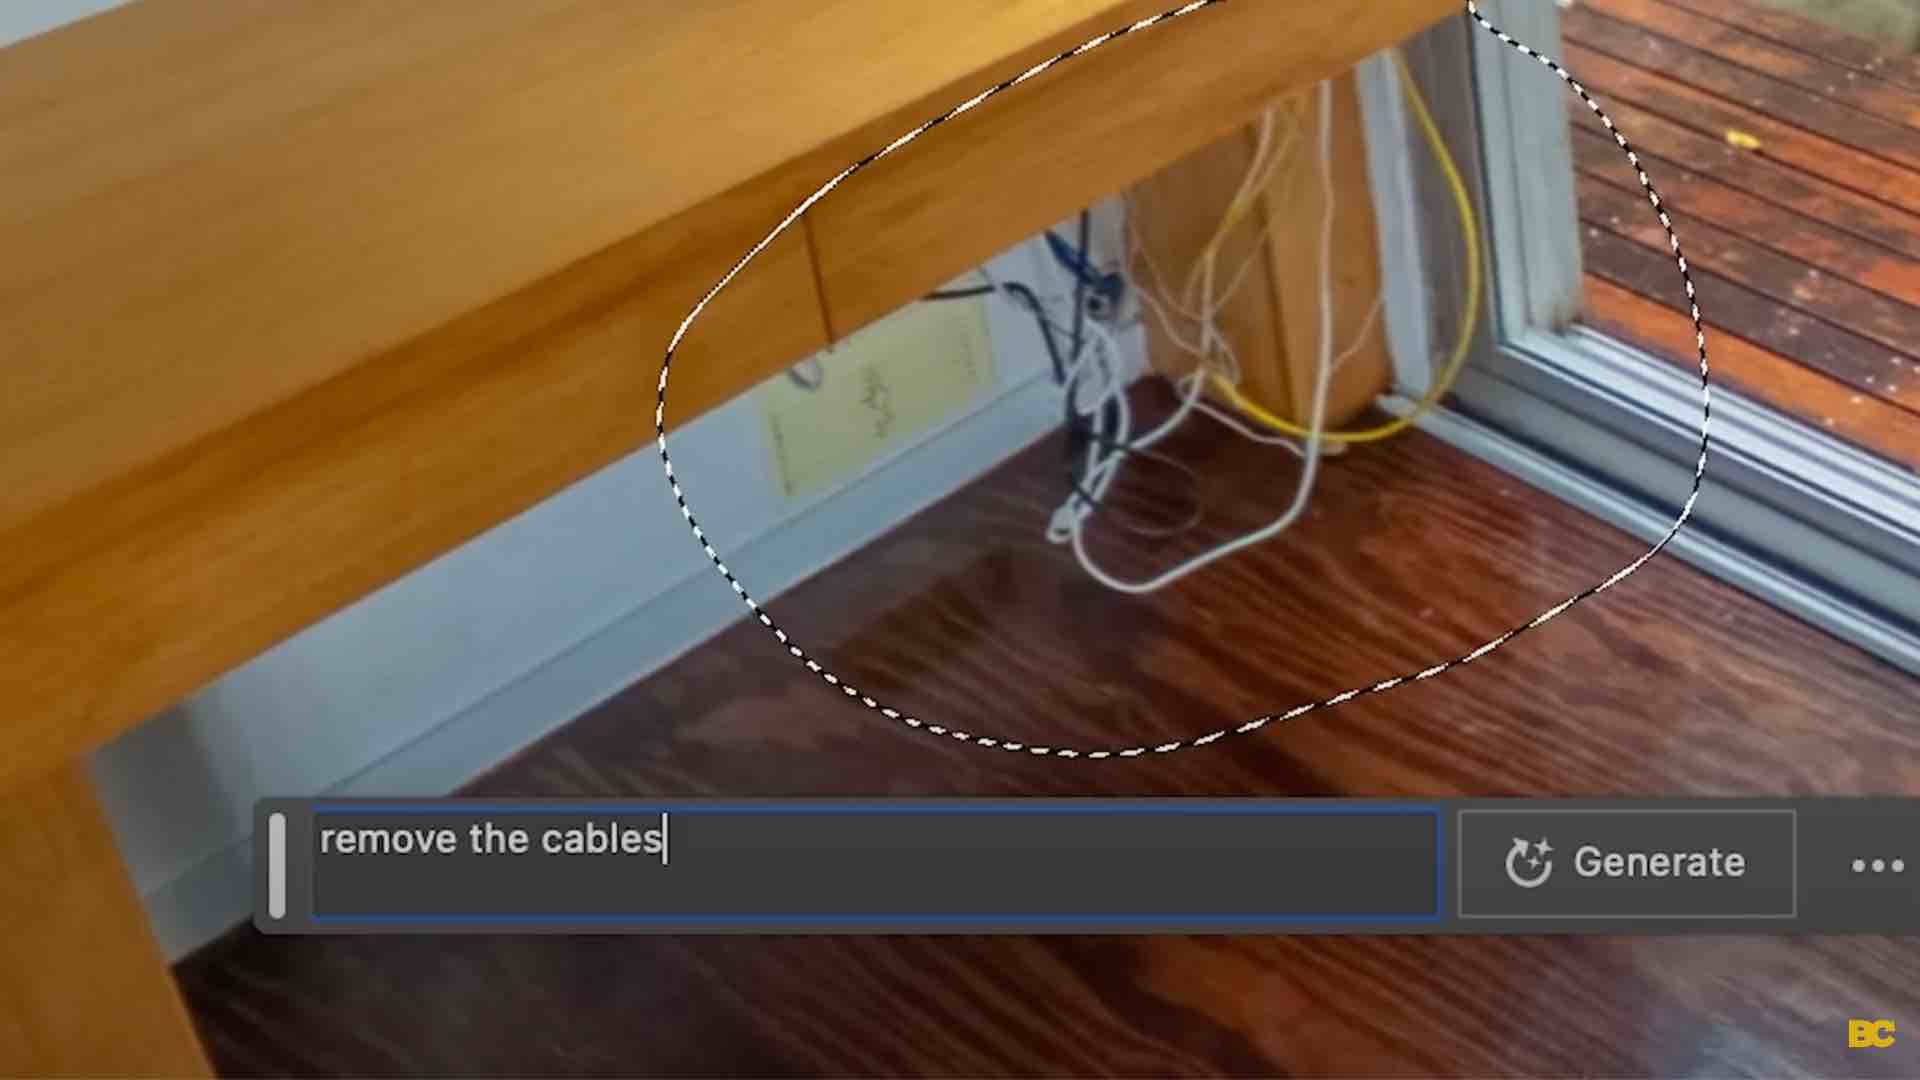
Step 4 👇
Now, click generative fill, and we need to give it instructions about what to do. I'm going to say remove the cables, and now it works its magic, and voila, it's gone. 🙌
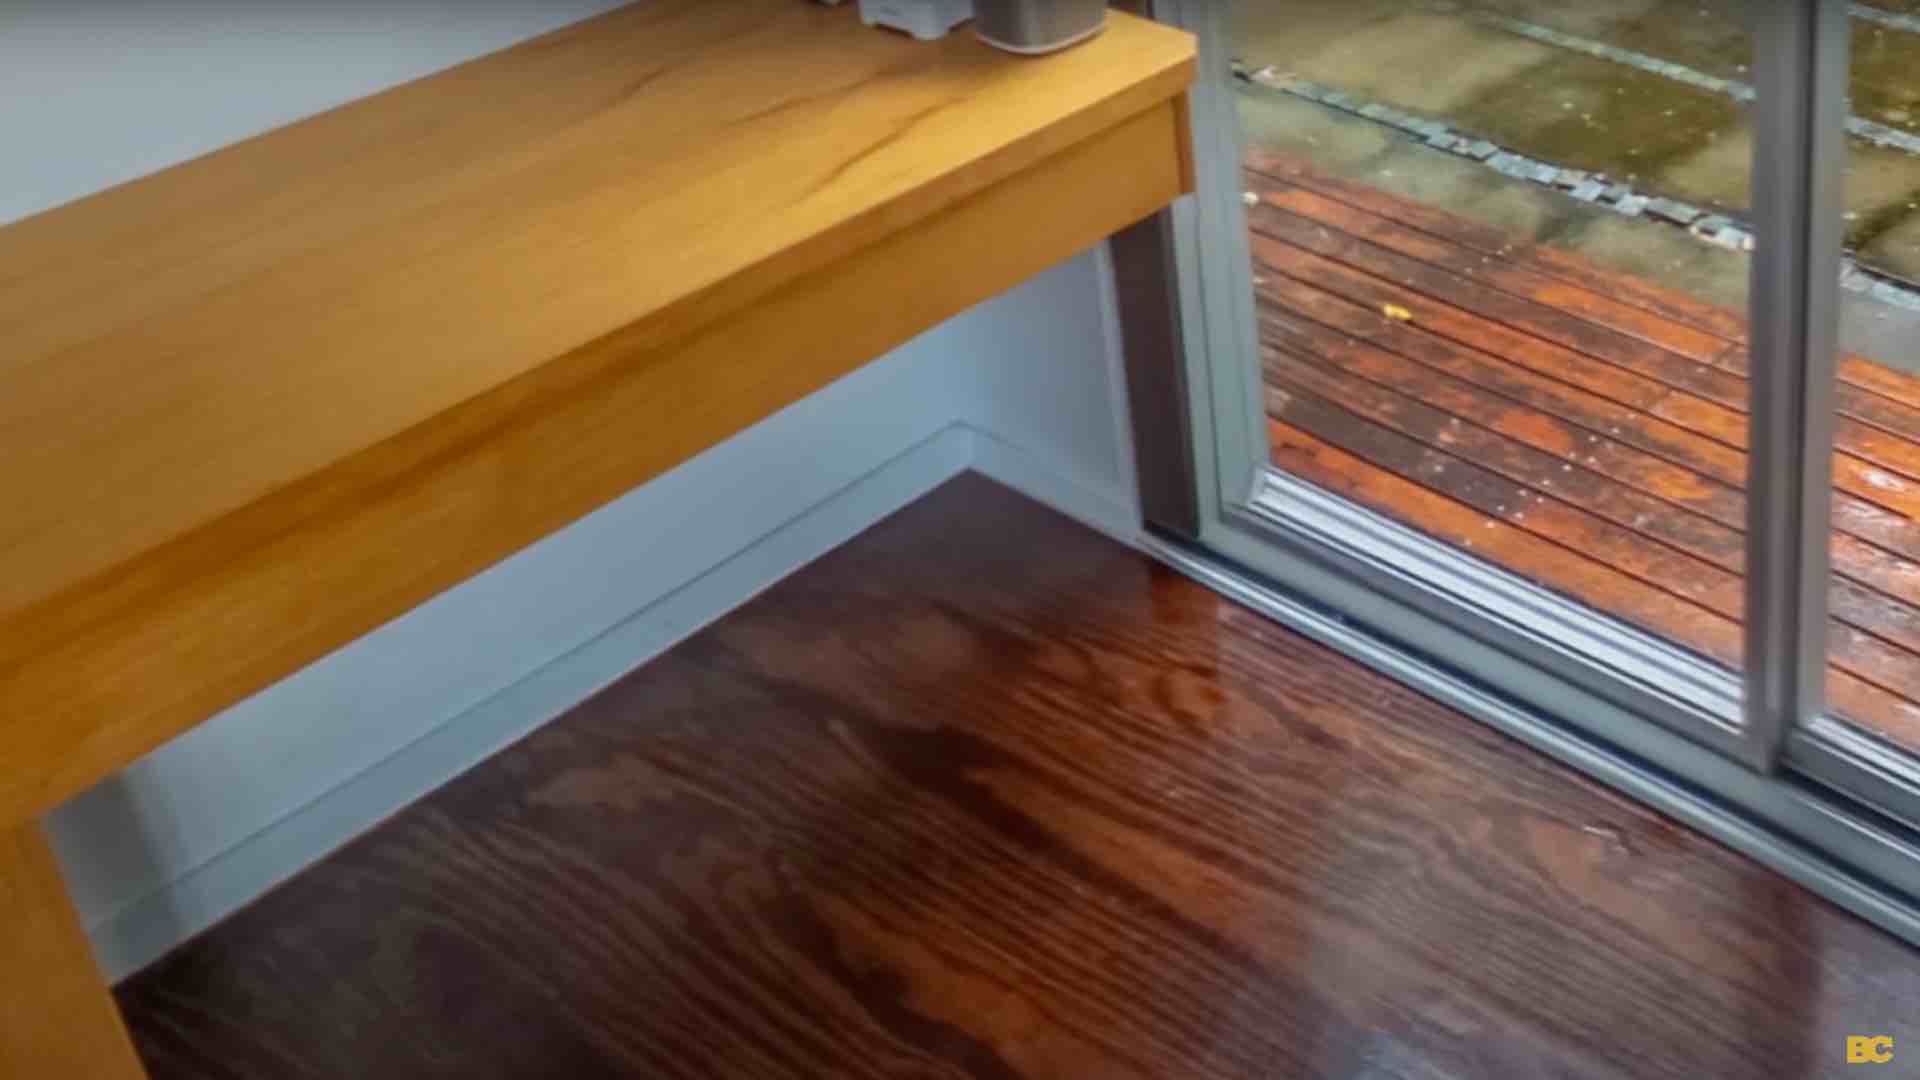
That's a fantastic job it's done. I did notice that it also removed the leg of that bench. That isn't ideal, but it's not a deal breaker. Also, my fault for not being a bit finer with my selection.
Adding Objects 🛠️
Step 1 👇
Let's add some fire to this fire pit, and a mistake you'll want to avoid is selecting too big of an area for it to work on.
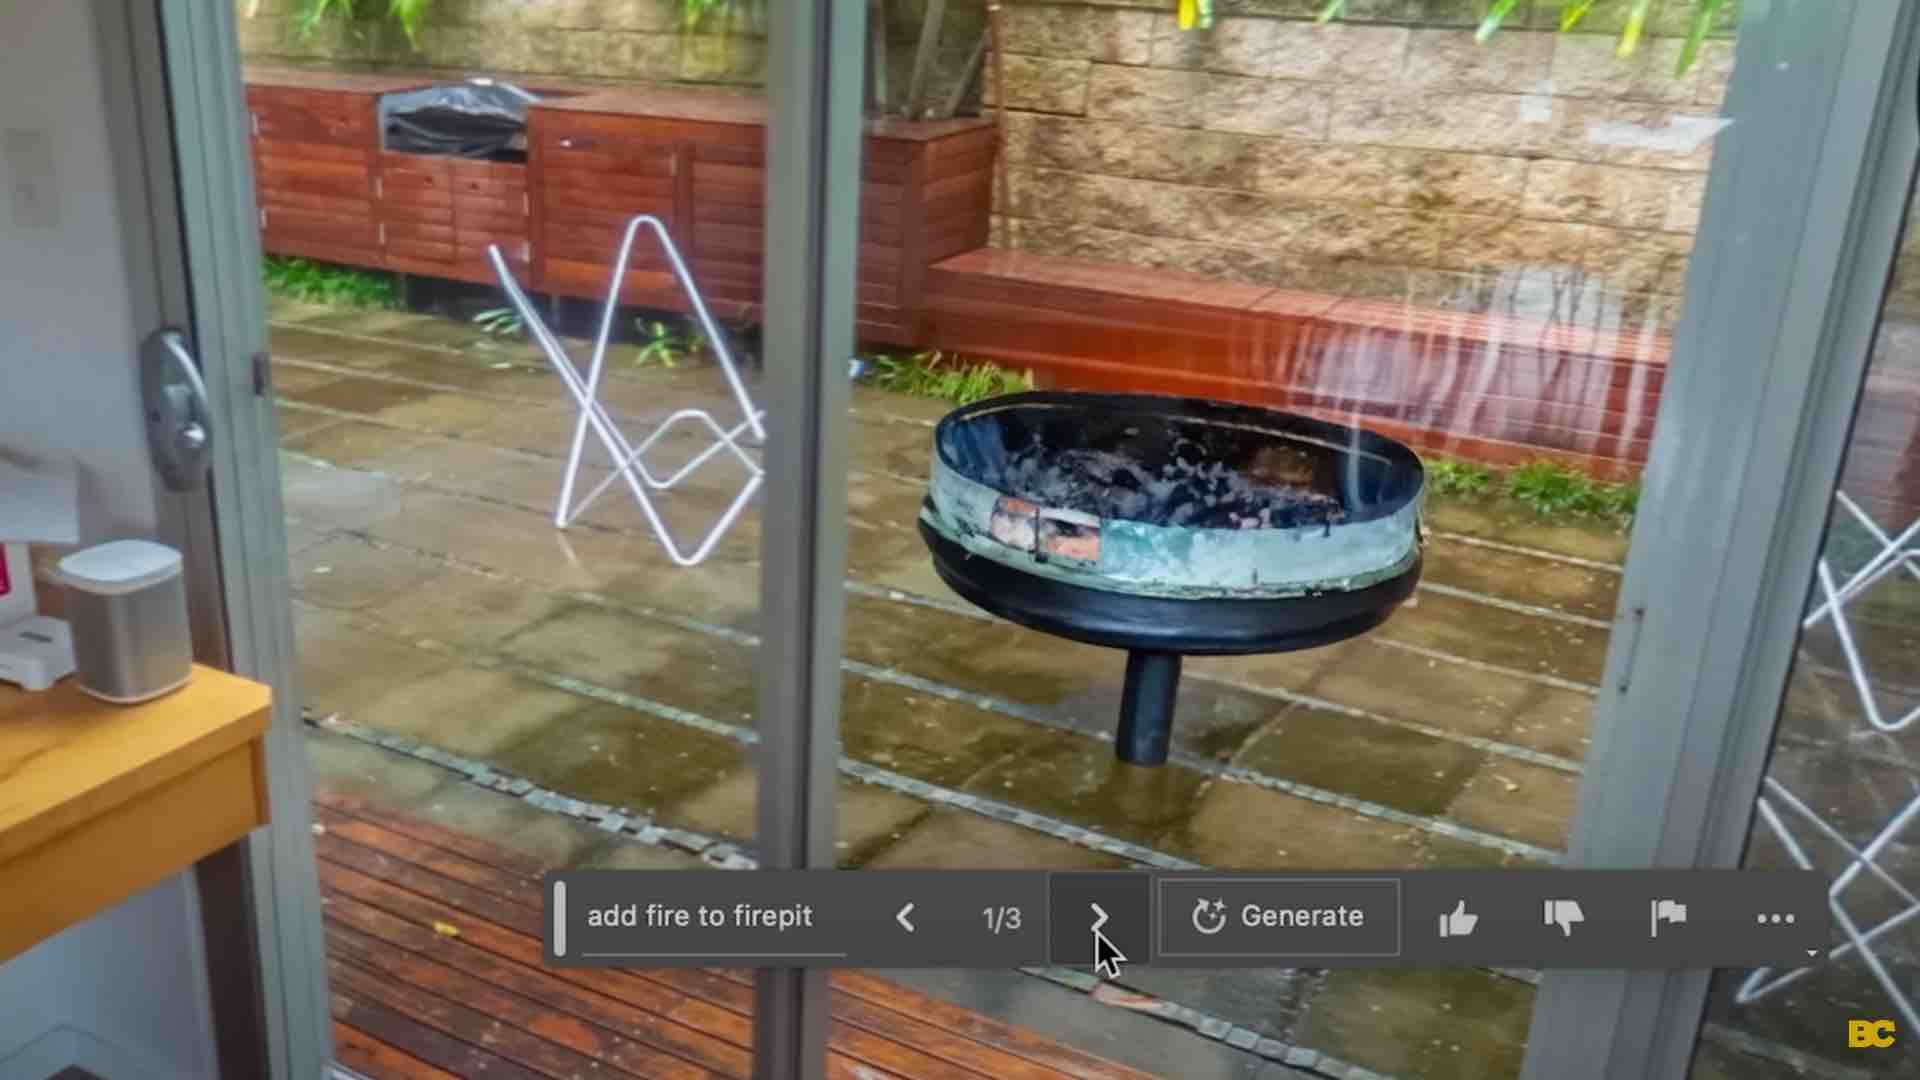
For example, if I circle the entire fire pit and type in "add fire to fire pit," it completely replaces the fire pit with a different kind of fire pit.
But again, with virtual tours and real estate, you've got to be accurate to what's actually there. So, I don't want it to completely replace the fire pit.
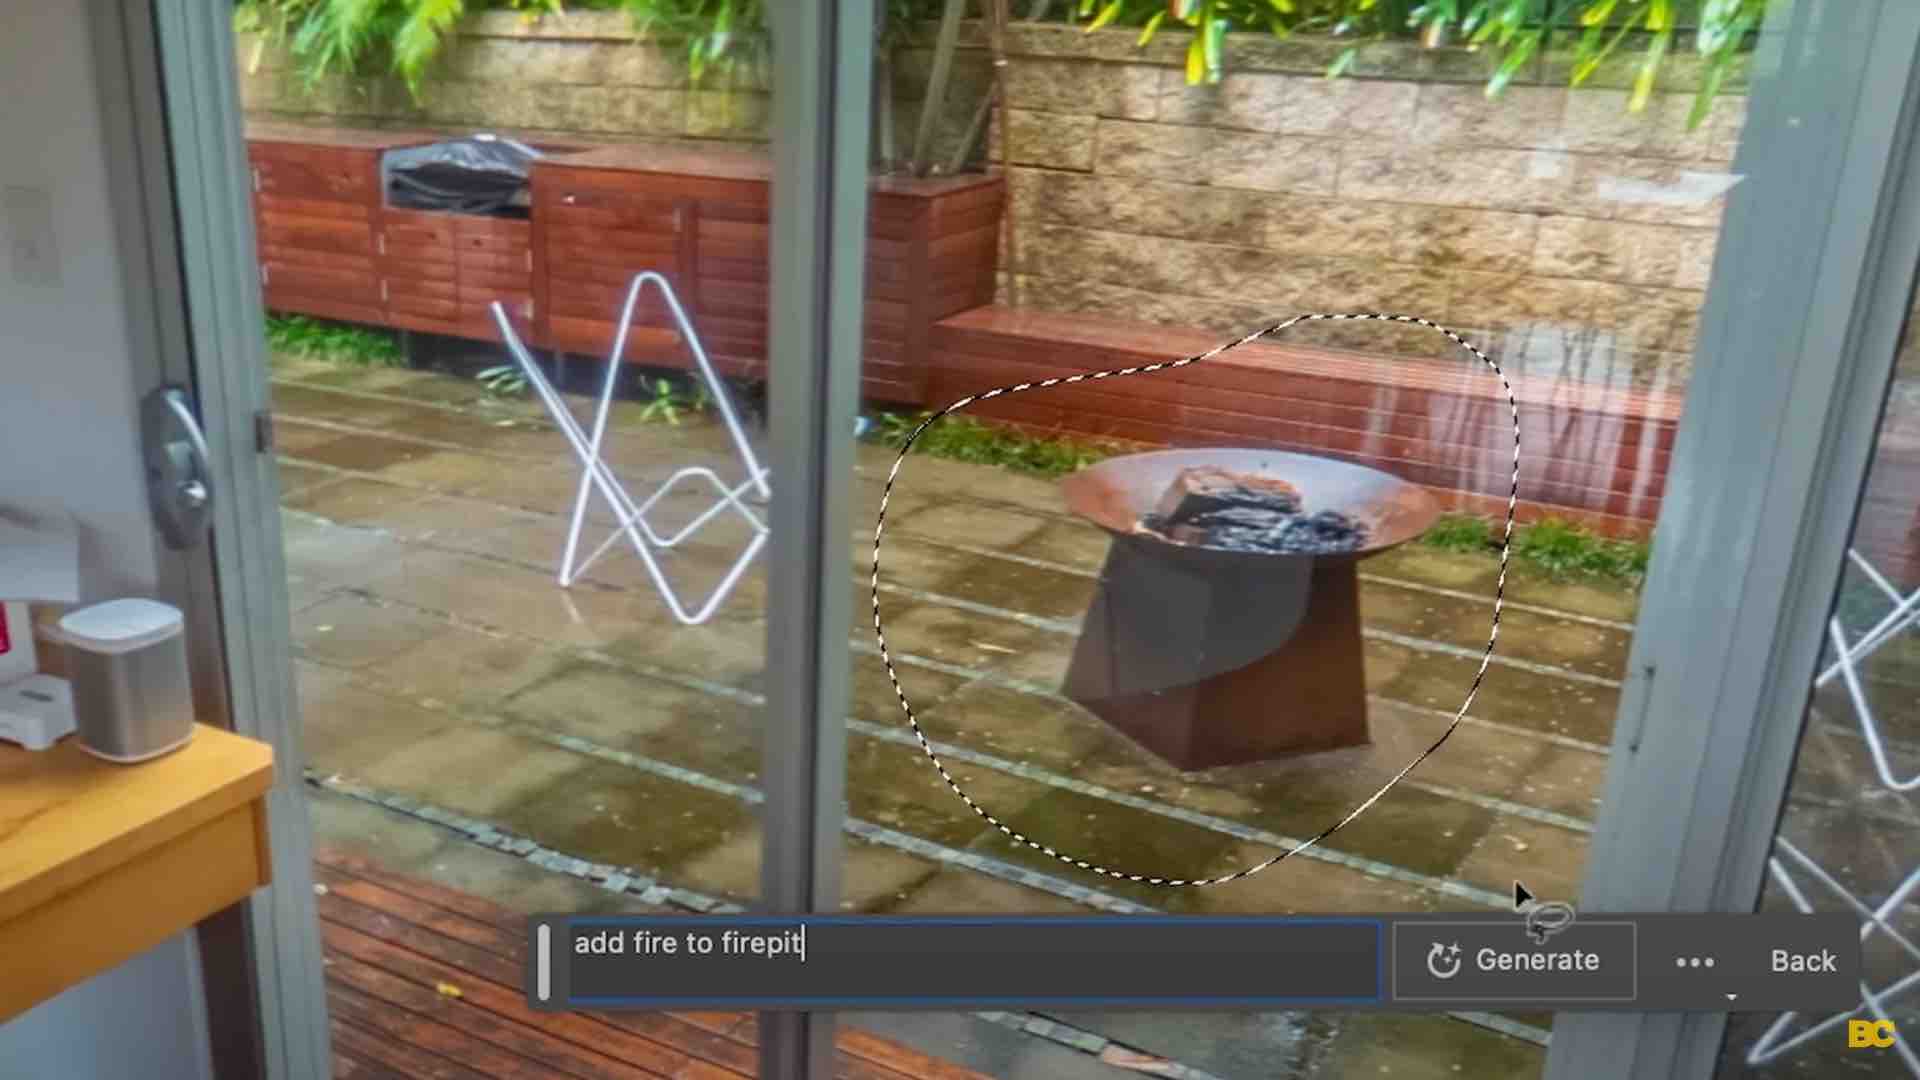
Step 2 👇
I'm going to focus solely on the pit and the area above it. This way, it will know to exclude everything outside of that, and it will only alter what's inside the selection. I'm also going to try to be more descriptive about the type of fire: a calm, warm, and inviting fire.


That looks pretty realistic. However, the good thing about this generative fill feature is it gives you options. If you don't like the first one, just click the right arrow, and there's another file, and there's another.
Step 3 👇
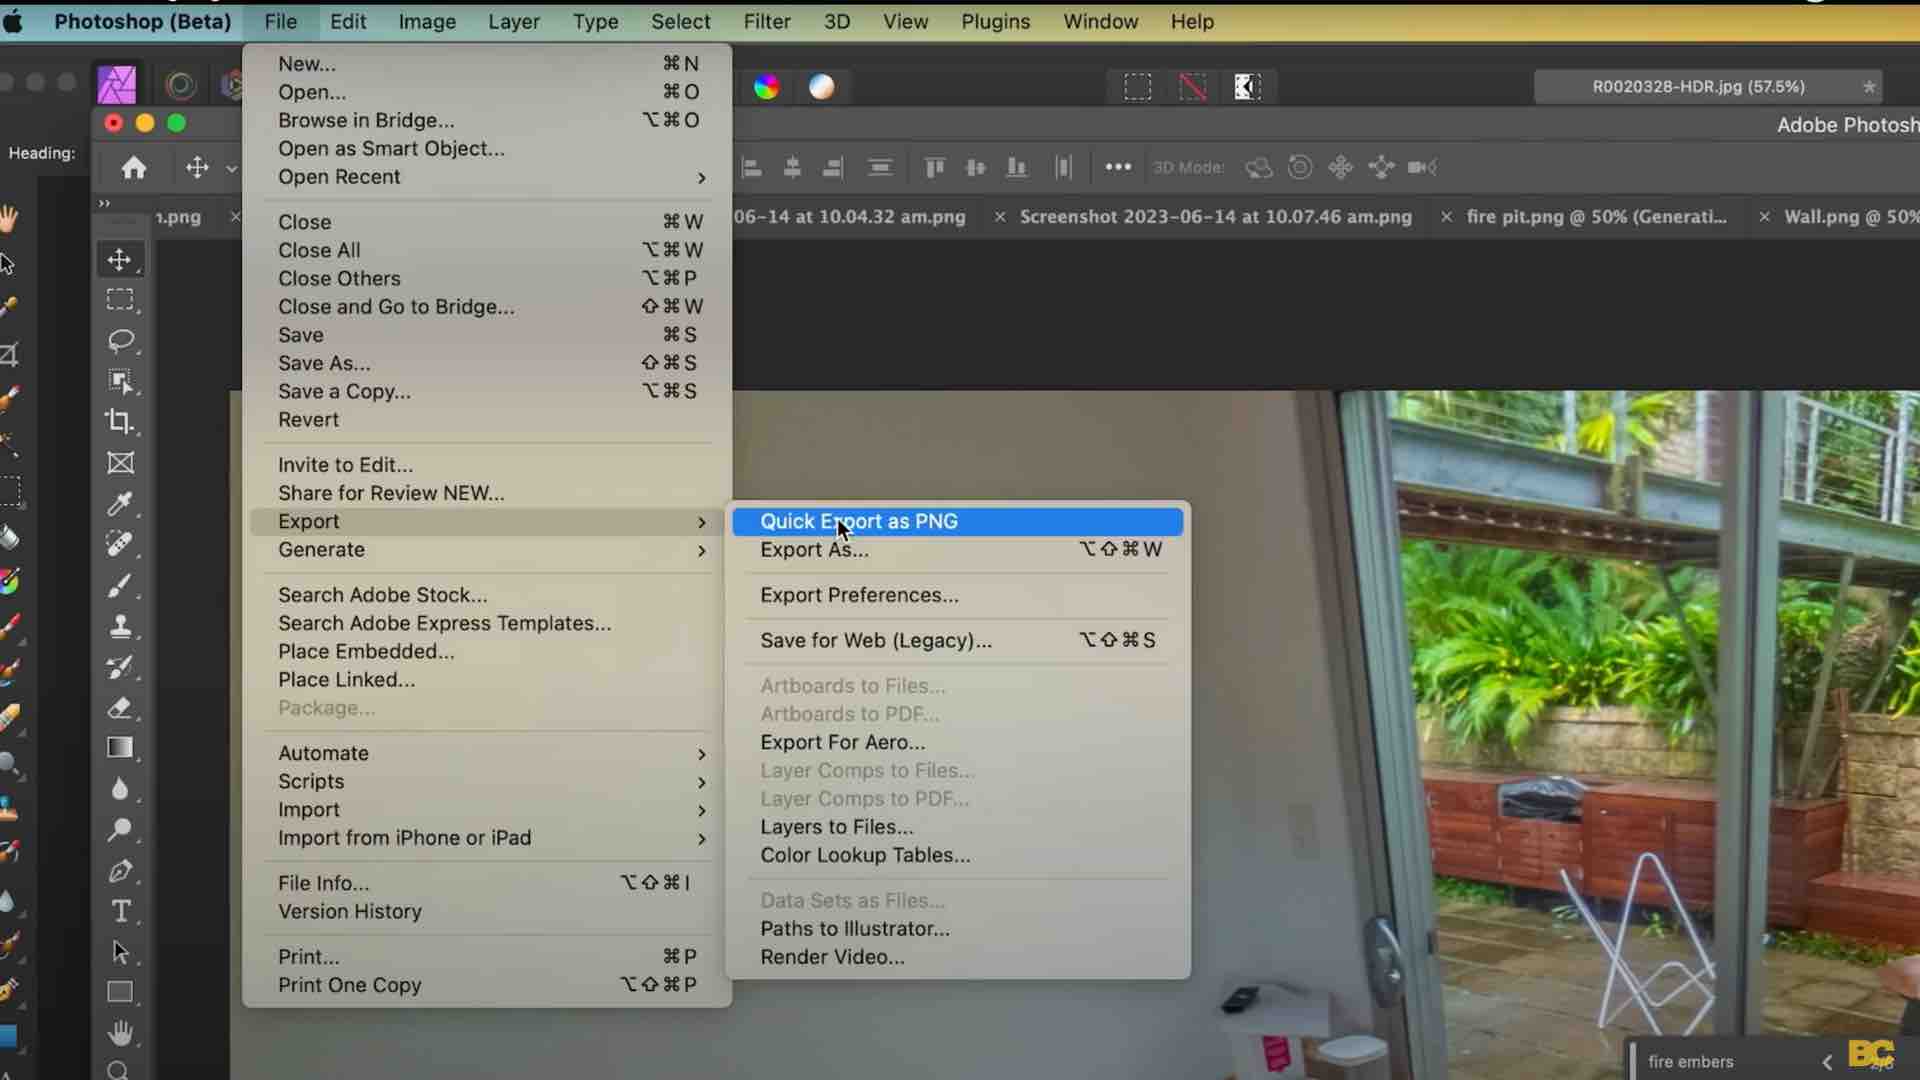
Now, to get this edited version back into Affinity Photo, I'm going to go to File > Export > Quick Export as PNG, going to save that.
Step 4 👇
Now, heading back into Affinity, I'm going to drag this image back into Affinity on top of the previous photo, and I'm going to use the arrow tool to move it into place.
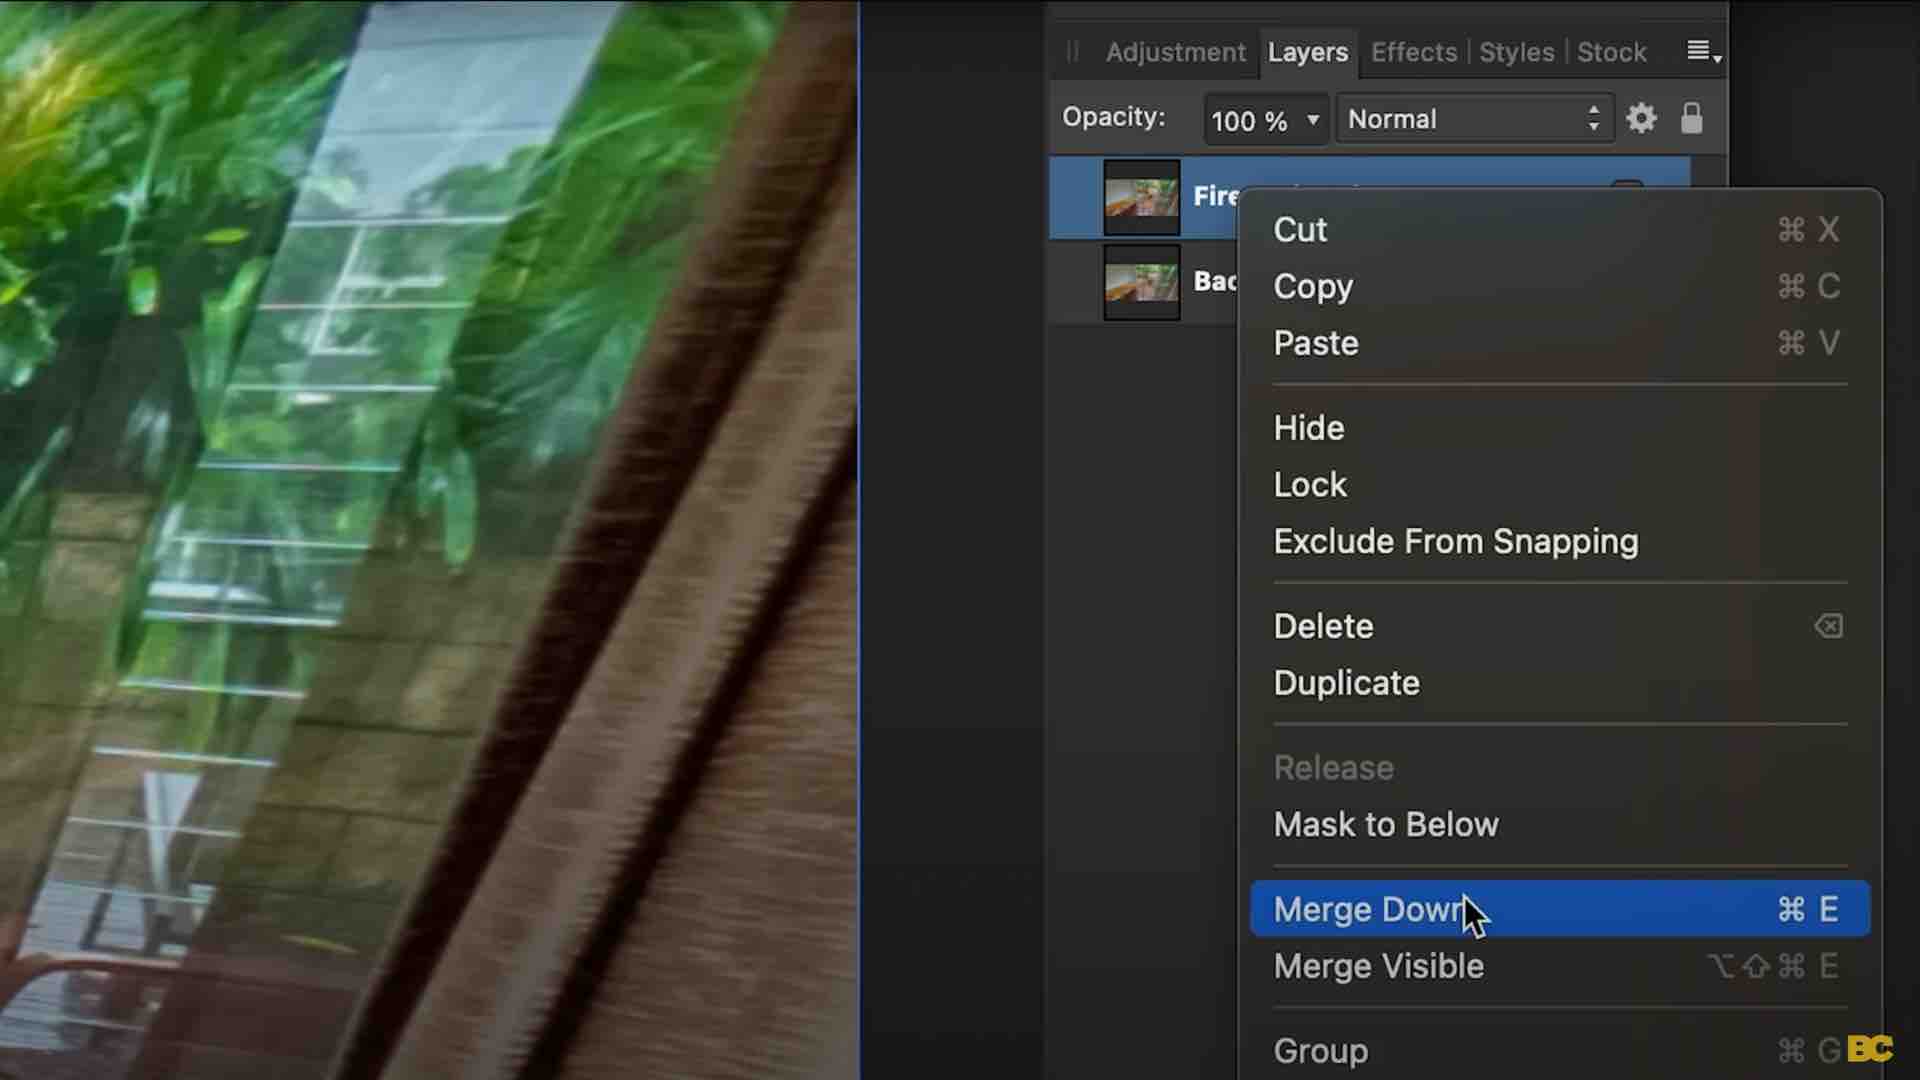
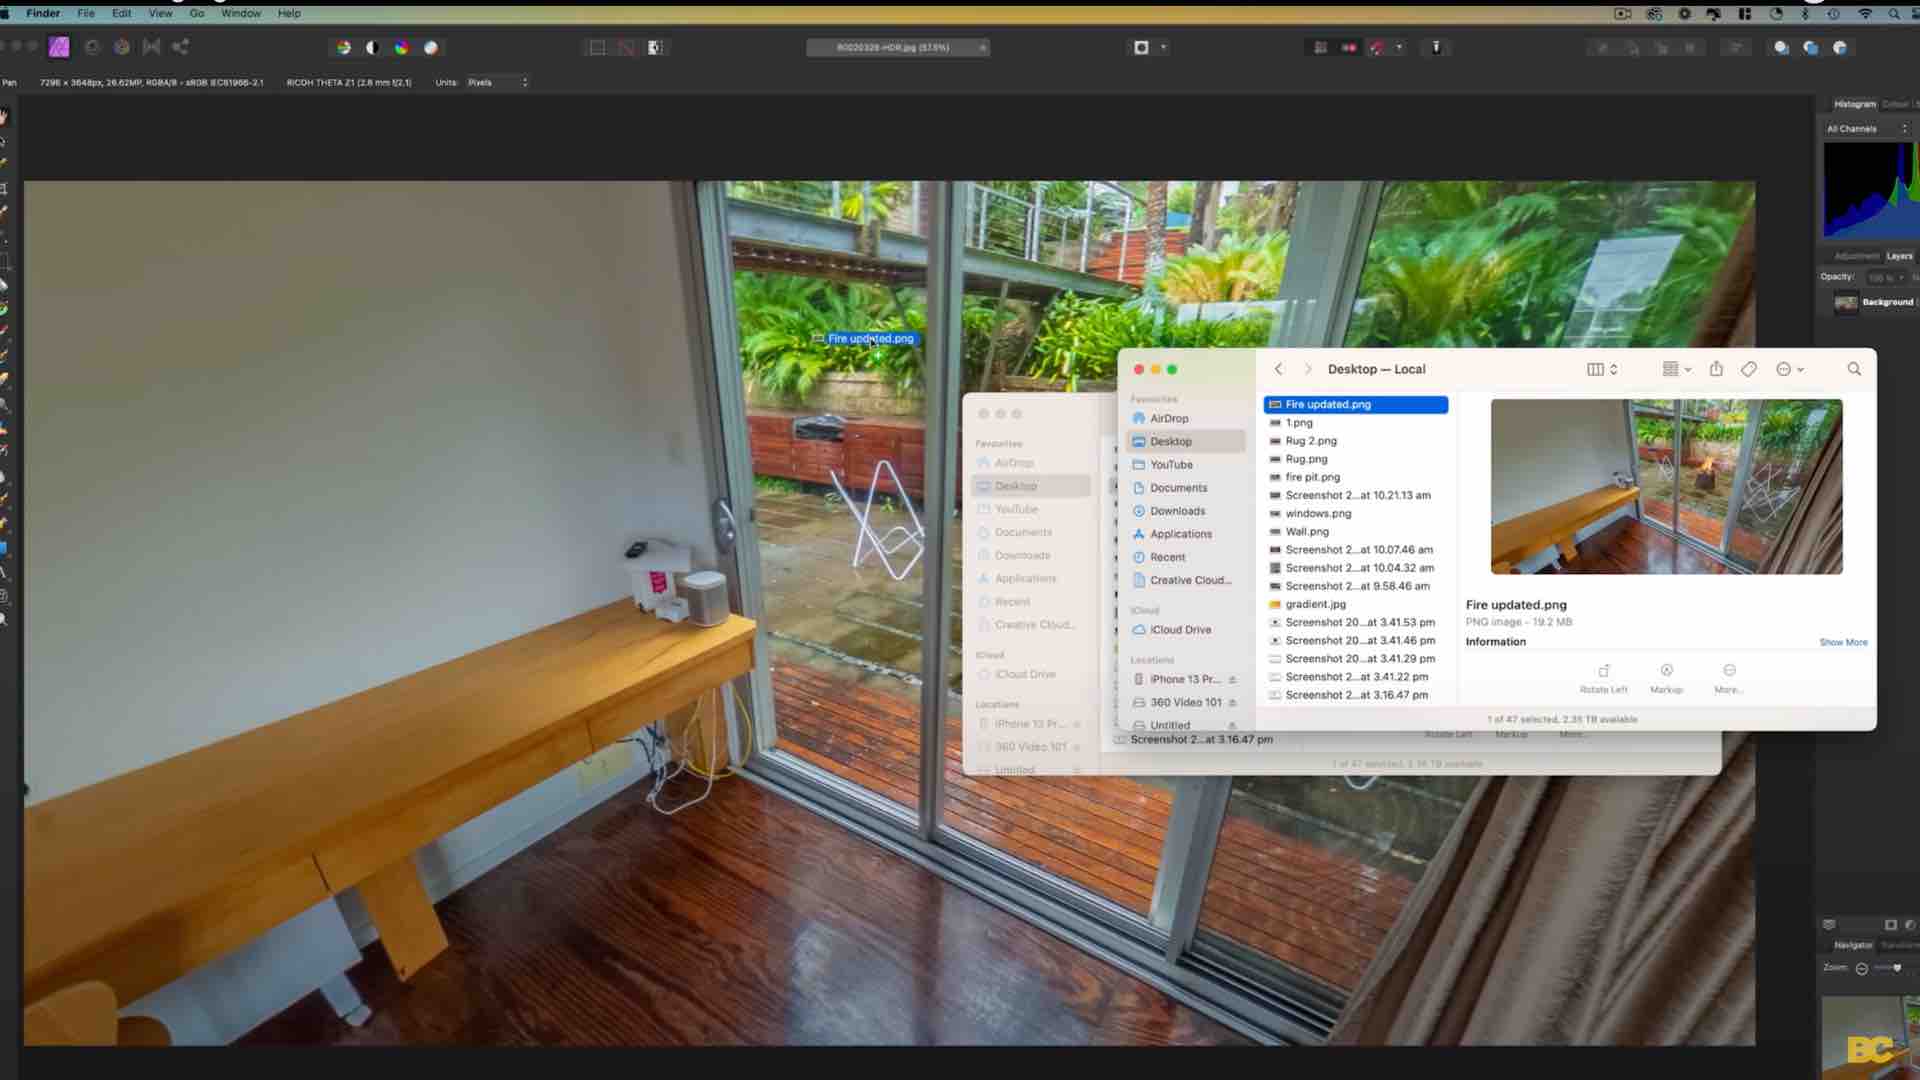 Remember, we're still in 360 modes in Affinity, so now what we need to do is merge the layers down so they become one. And to do that, I'm going to right-click the layer I just imported and choose Merge Down.
Now, when I go to Layer > Live Projection > Edit Live Projection it's fully integrated itself into this photo.
Removing The Tripod 📹
What's something that is always a problem with virtual tours?
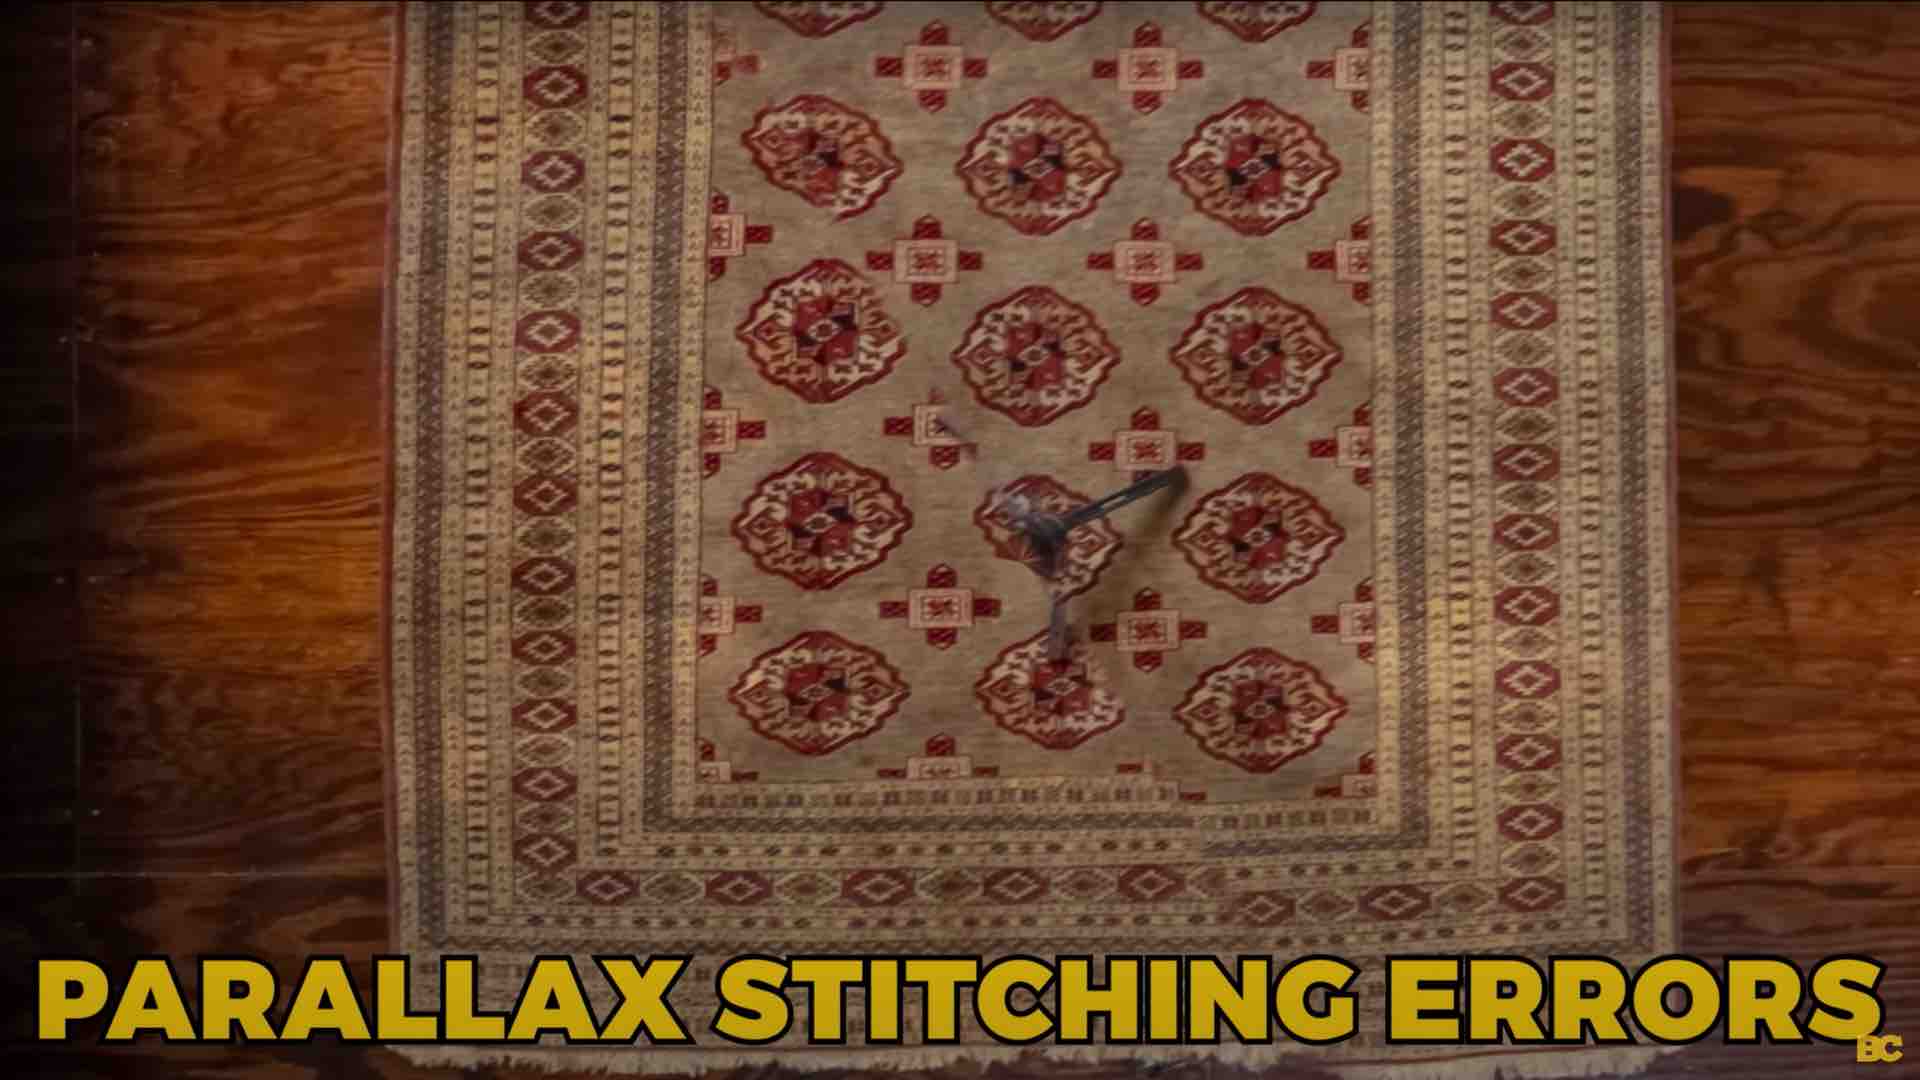
The Tripod. Often, the tripod comes with stitching issues around the base of the 360 camera if you're using 360 cameras. And this can work its way into patterned surfaces below, like tiles or carpets.
As you can see, this has a pretty significant stitch line that is really noticeable. 👇
So let's repeat the process.
I've chosen my shot, file, export, and imported it into Photoshop. I'll use the Marquee tool to select the carpet. But this time, what I'm going to tell it to do is remove the tripod and fix the pattern.
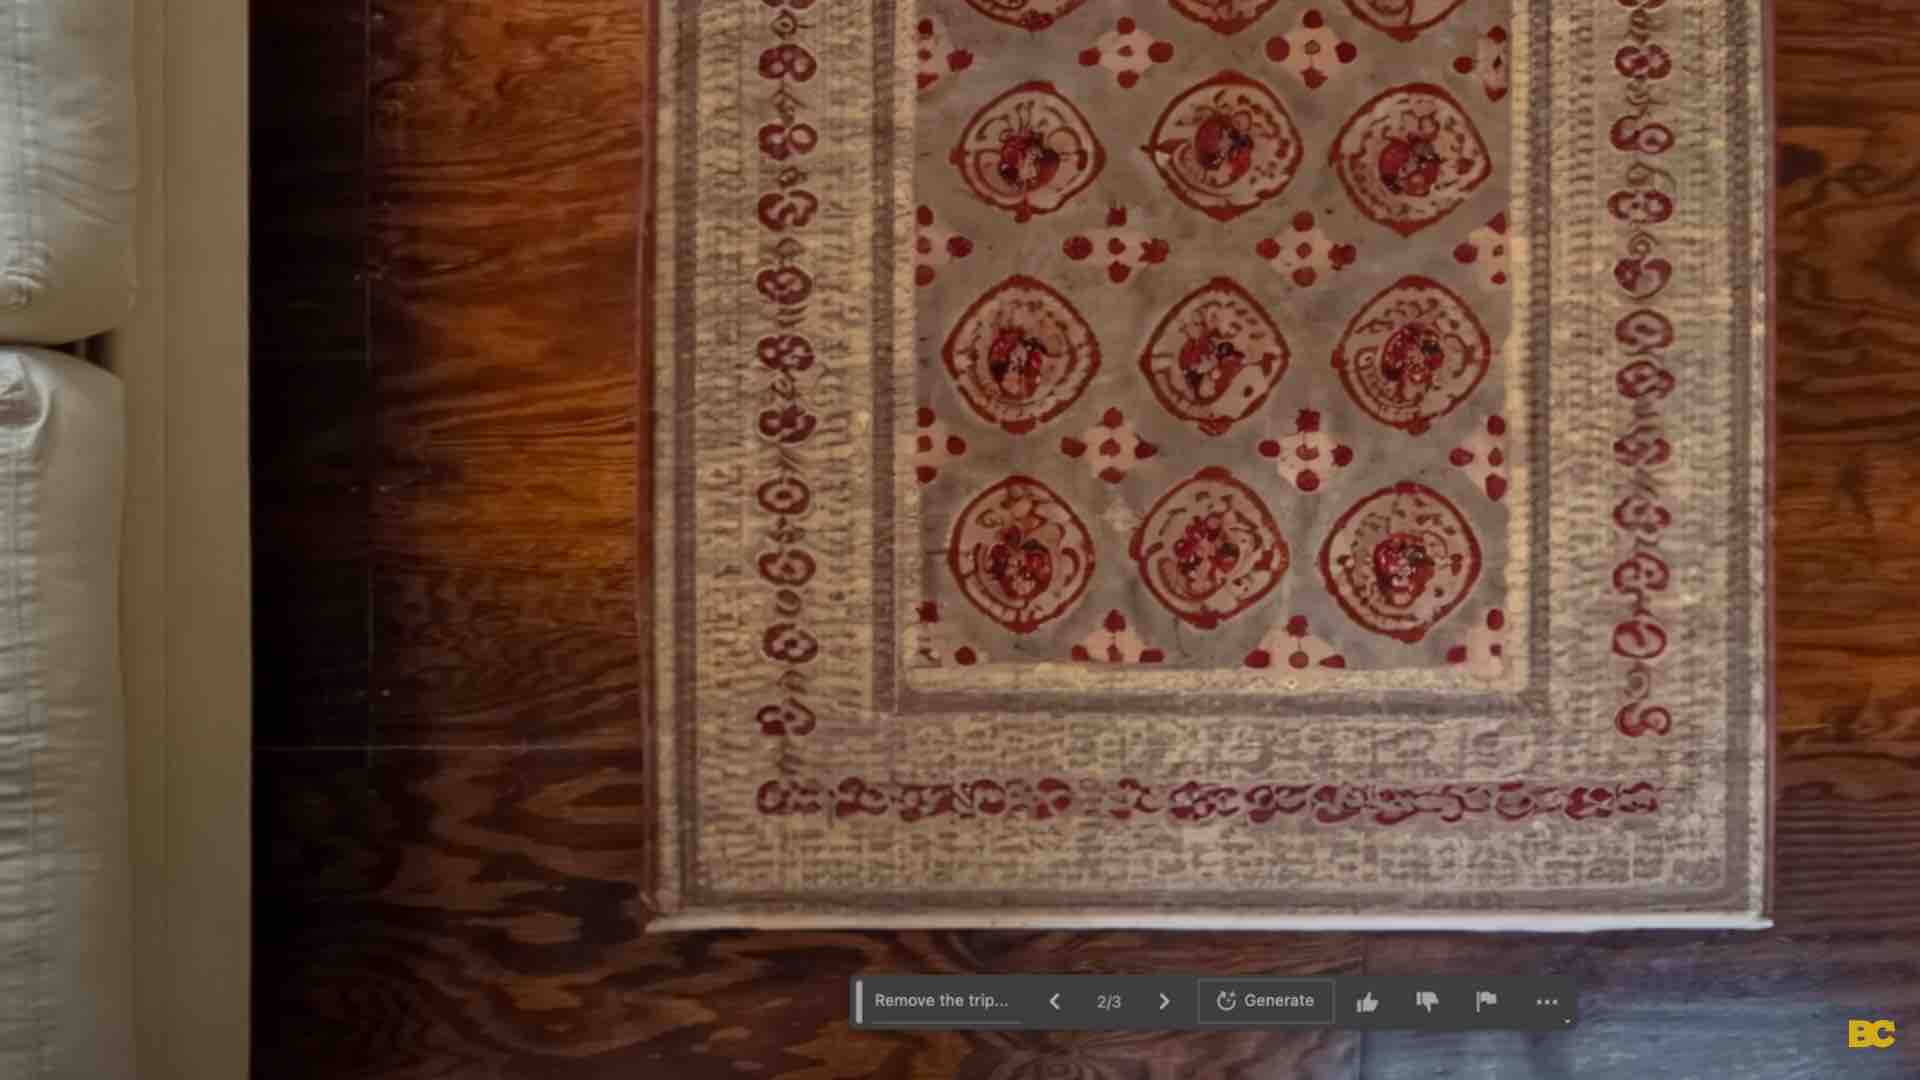
And as you can see, there's no parallax stitching error like there was before.
I know from experience there are some situations where you place a monopod down in a virtual tour, and it's impossible to remove because of tiles, because of natural patterns and lines within the environment that just make stitching impossible
And sometimes, you can spend a full hour and not even get a perfect result. But here, I've done it with one simple command.
Virtual Staging 🛋️
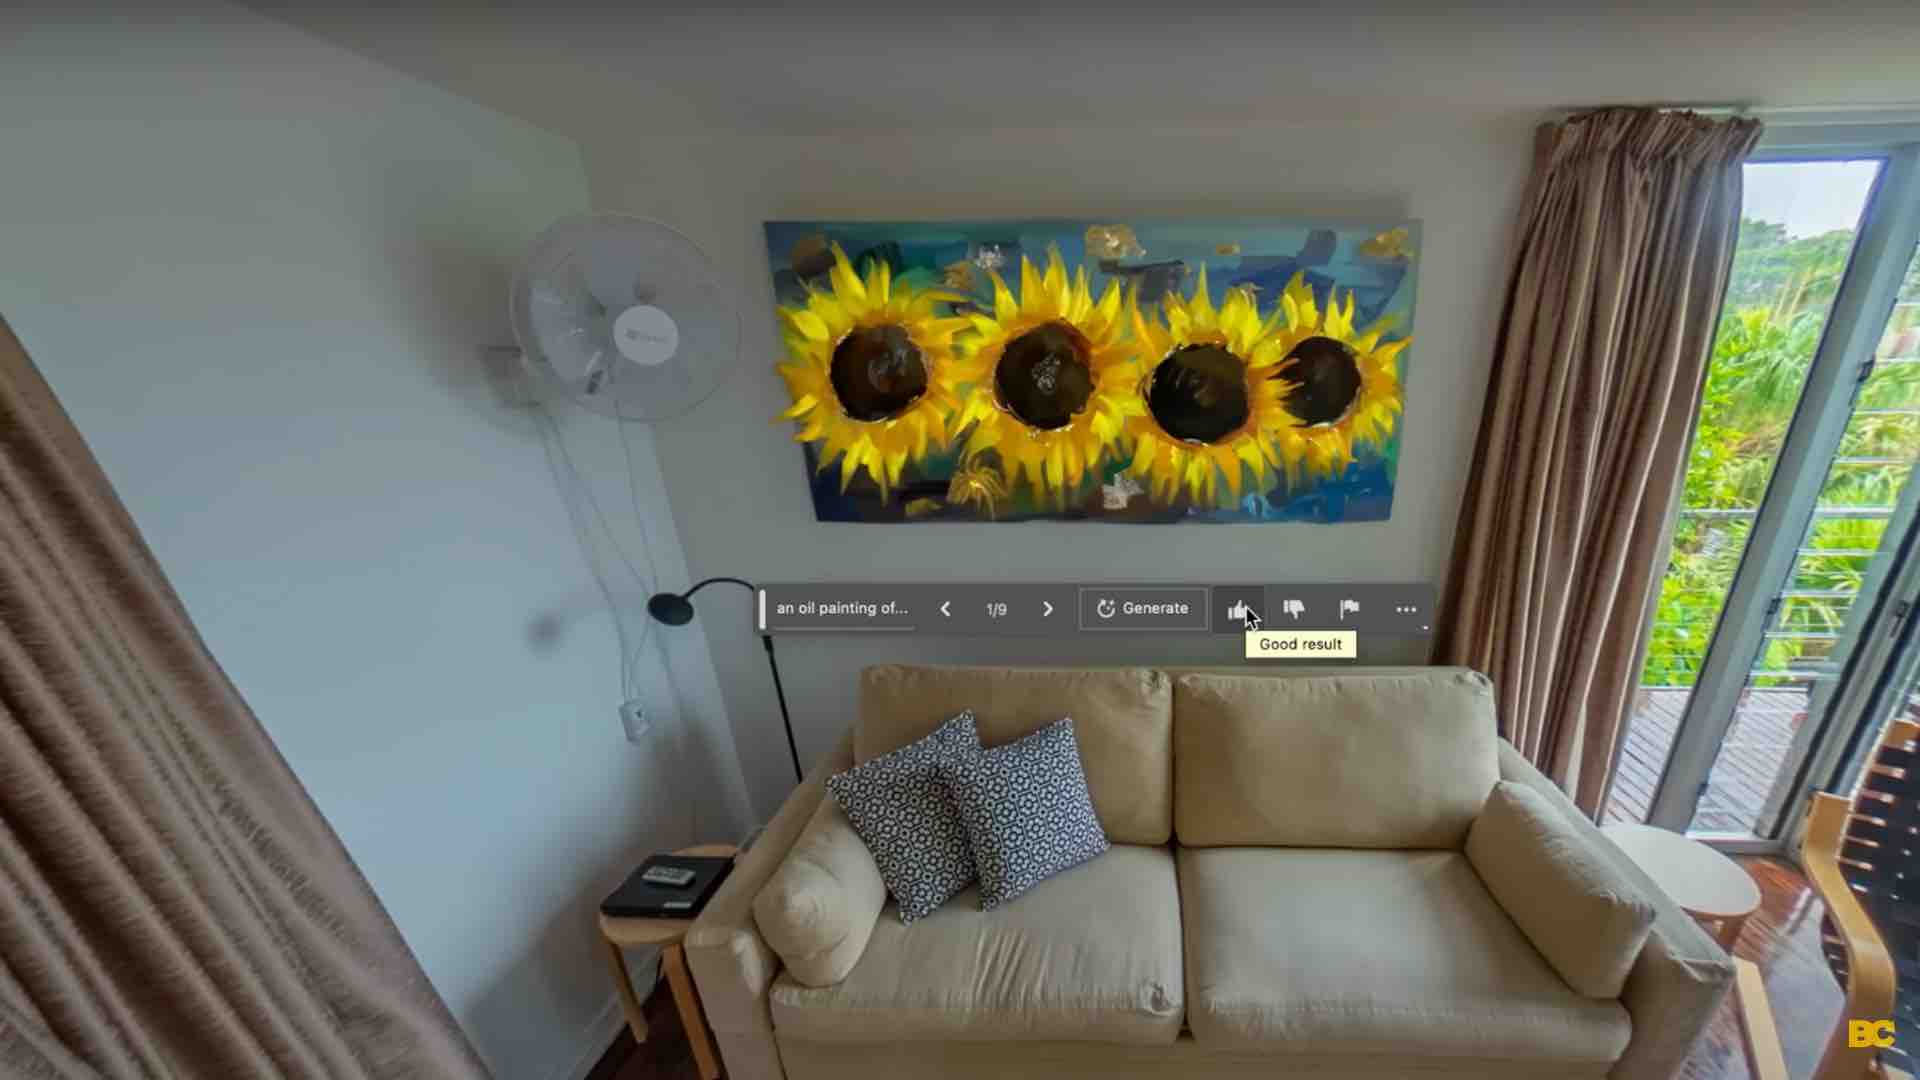
Another way I think this generative fill tool could be fantastic for virtual tour photographers is with virtual staging.
Let's say you have a room that is completely empty because the house is for sale. You can add items one by one.
For example, an oil painting of sunflowers. 👇
And, let's pretend this couch isn't here, and add a modern blue couch.
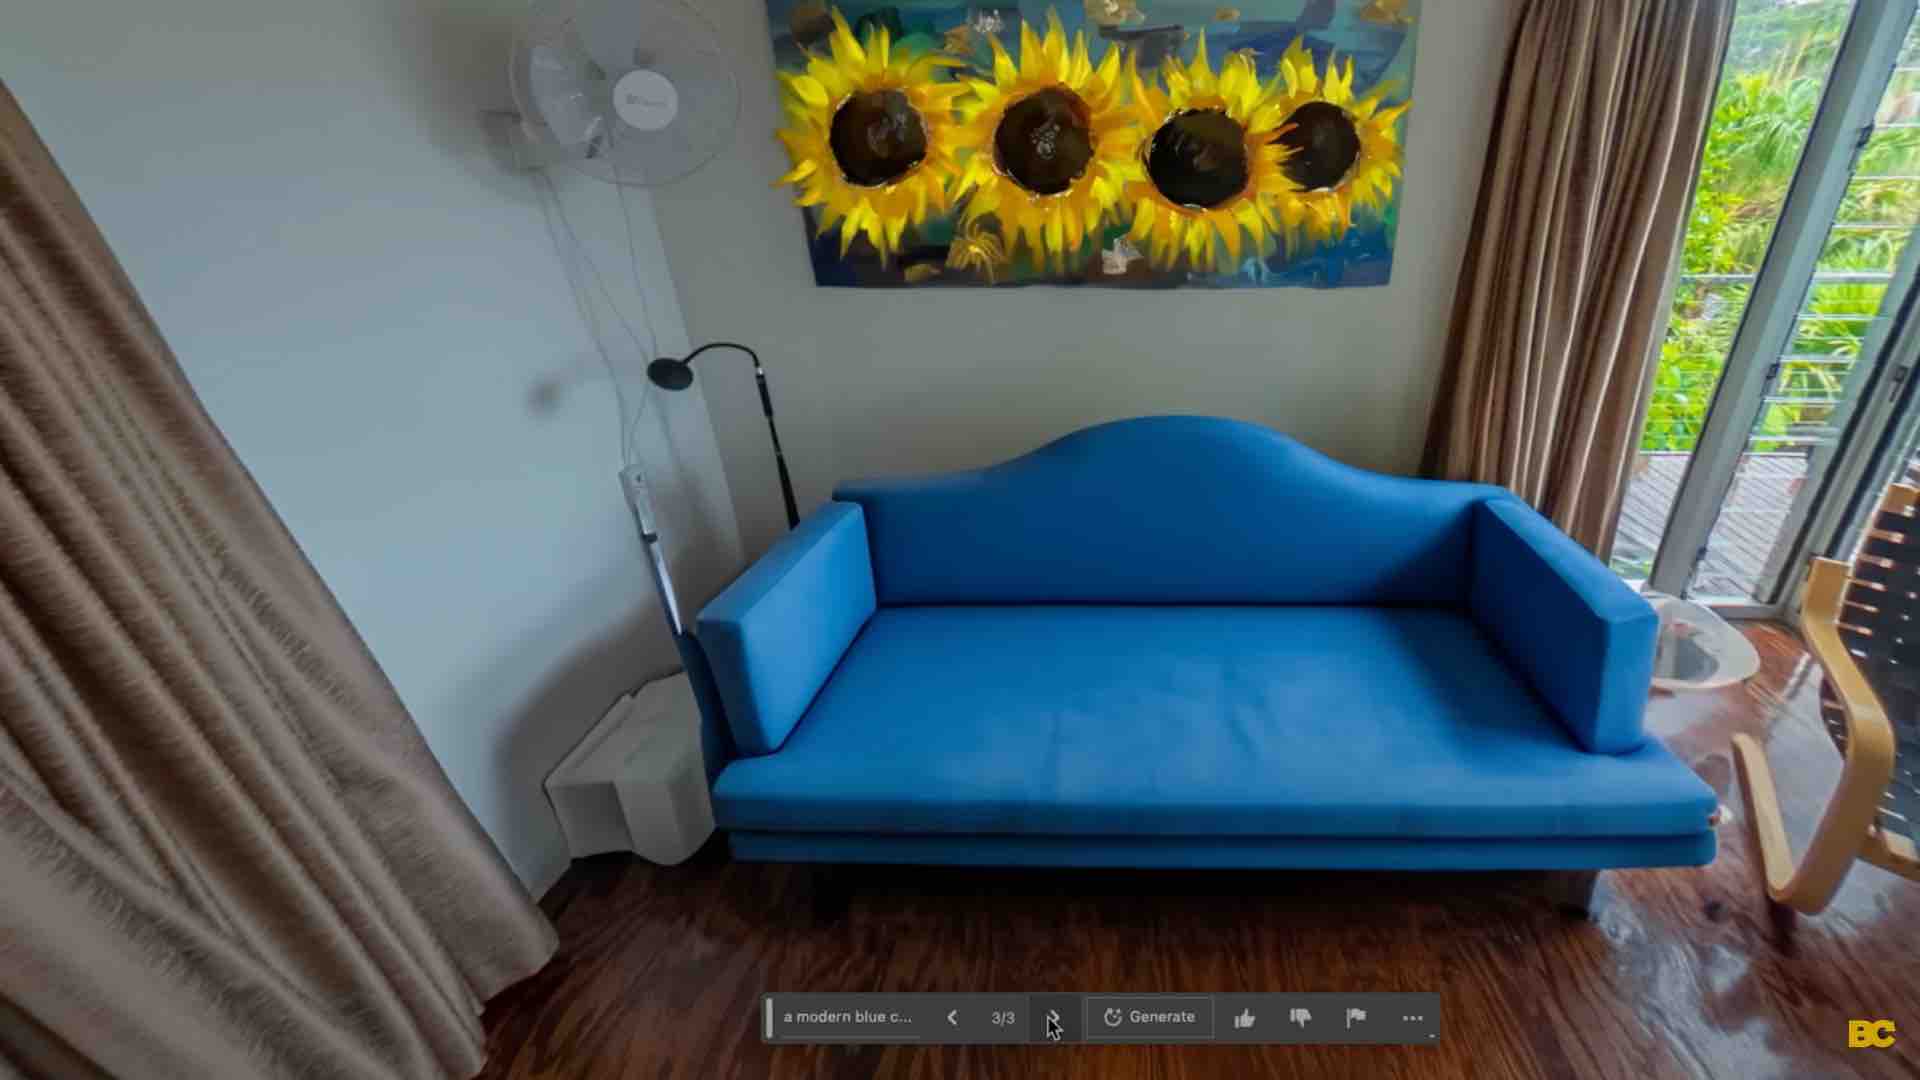
This could be a fantastic tool for staging properties that are completely empty with any kind of furniture you like.
I can admit that this current workflow I'm using is a little bit cumbersome because it's a bit of back and forth, especially when you've got a full 360. You need to move around to every part of it that you want to change and repeat the process.
However, I think this is 100% something you could add to your virtual tour services as a fantastic upsell that would add more value to your clients through offering these advanced AI editing techniques like staging, like simulating fires and lights, and things that weren't possible during the shoot because of bad weather, bad lighting, or maybe the person was too lazy to properly clean their place or remove the cables.
You absolutely can add this service as an upsell and charge for it. And photo editing is only a small piece of the puzzle in the overall plan of starting a successful virtual tour business because you're going to need to learn the best shooting techniques and, more importantly, the best business plan for starting and scaling a profitable virtual tour business.
If you'd like to get instant access to my entire 10-plus-year photography workflow, as well as the entire business plan you need to start charging for your virtual tours, then feel free to enroll in my Virtual Tour Pro course.
Happy 360ing!
Ben Claremont
Blog Author