Affinity Photo Is Now Free—and Easily the Best Tool for Editing 360 Photos
Nov 14, 2025
Until now, you had to pay to edit your 360 photos, whether you were doing it professionally or just as a hobby. But that’s all changed — thanks to Affinity Photo recently being acquired by Canva, and Canva deciding to offer Affinity Photo completely free forever, with absolutely no strings attached.
This isn’t the exact same software as before with the pink and purple logo — it’s a brand-new, reimagined version of Affinity Photo. And in this guide, I’ll show you exactly how to use it to edit your 360 photos in professional-grade software that’s now 100% free.
Step 1: Download Affinity Photo by Canva
Head to the Affinity Photo website and you’ll notice it now says Affinity by Canva.
Click “Get Affinity” at the top right. You’ll be taken to the download page, where you’ll need to enter the email address linked to your Canva account.
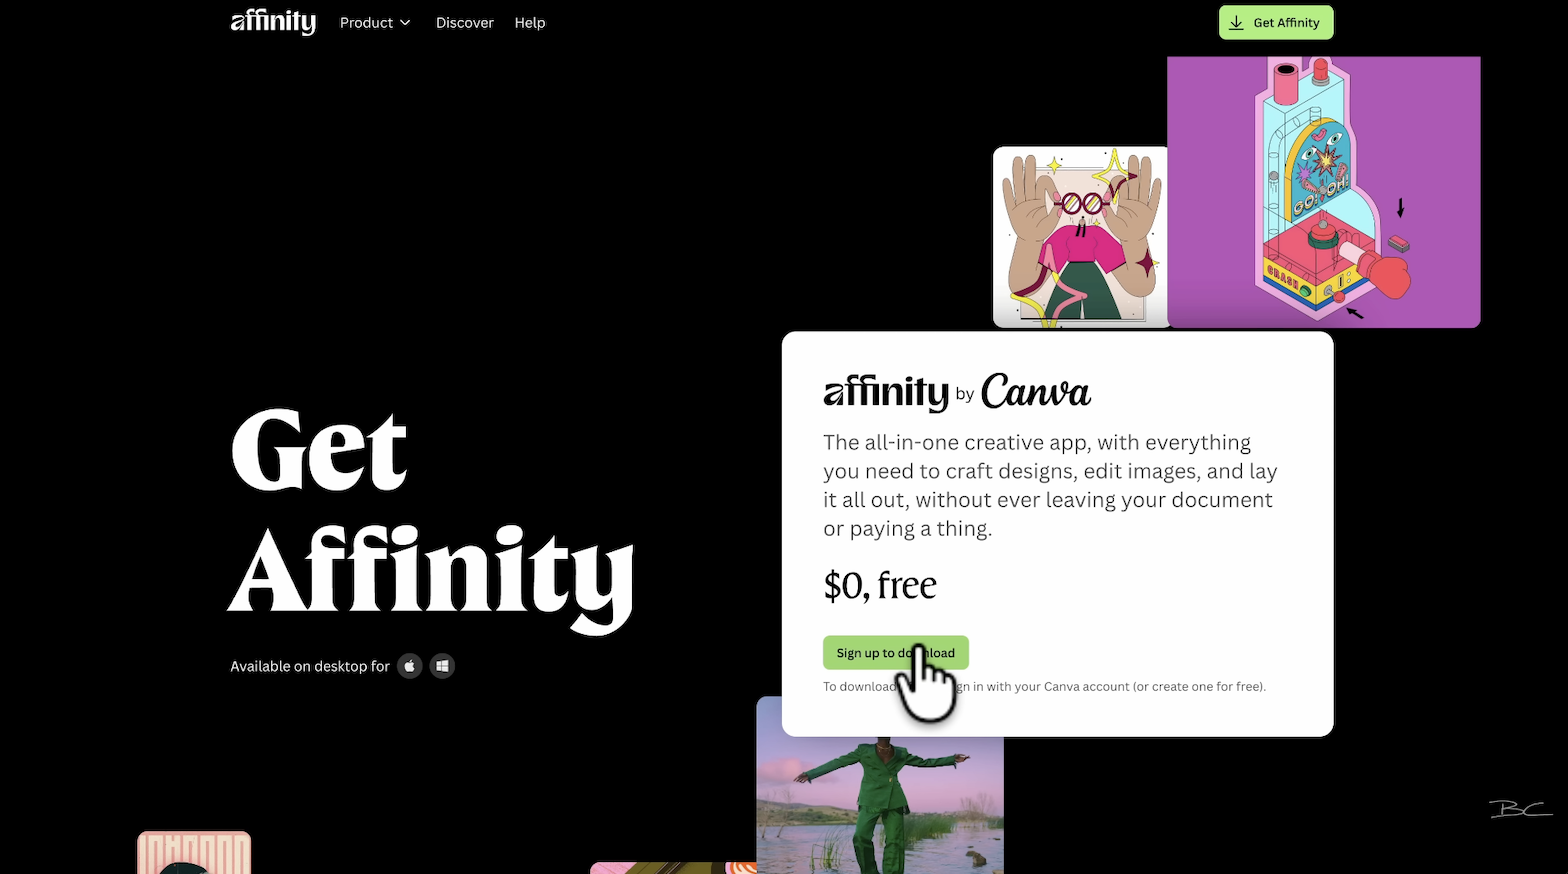
If you don’t already have a Canva account, signing up is free — and Canva won’t harvest your data or collect any unnecessary information. Once you’ve logged in, follow the prompts and download either the Mac or Windows version of Affinity Photo.
Step 2: Open Affinity and Import Your 360 Photo
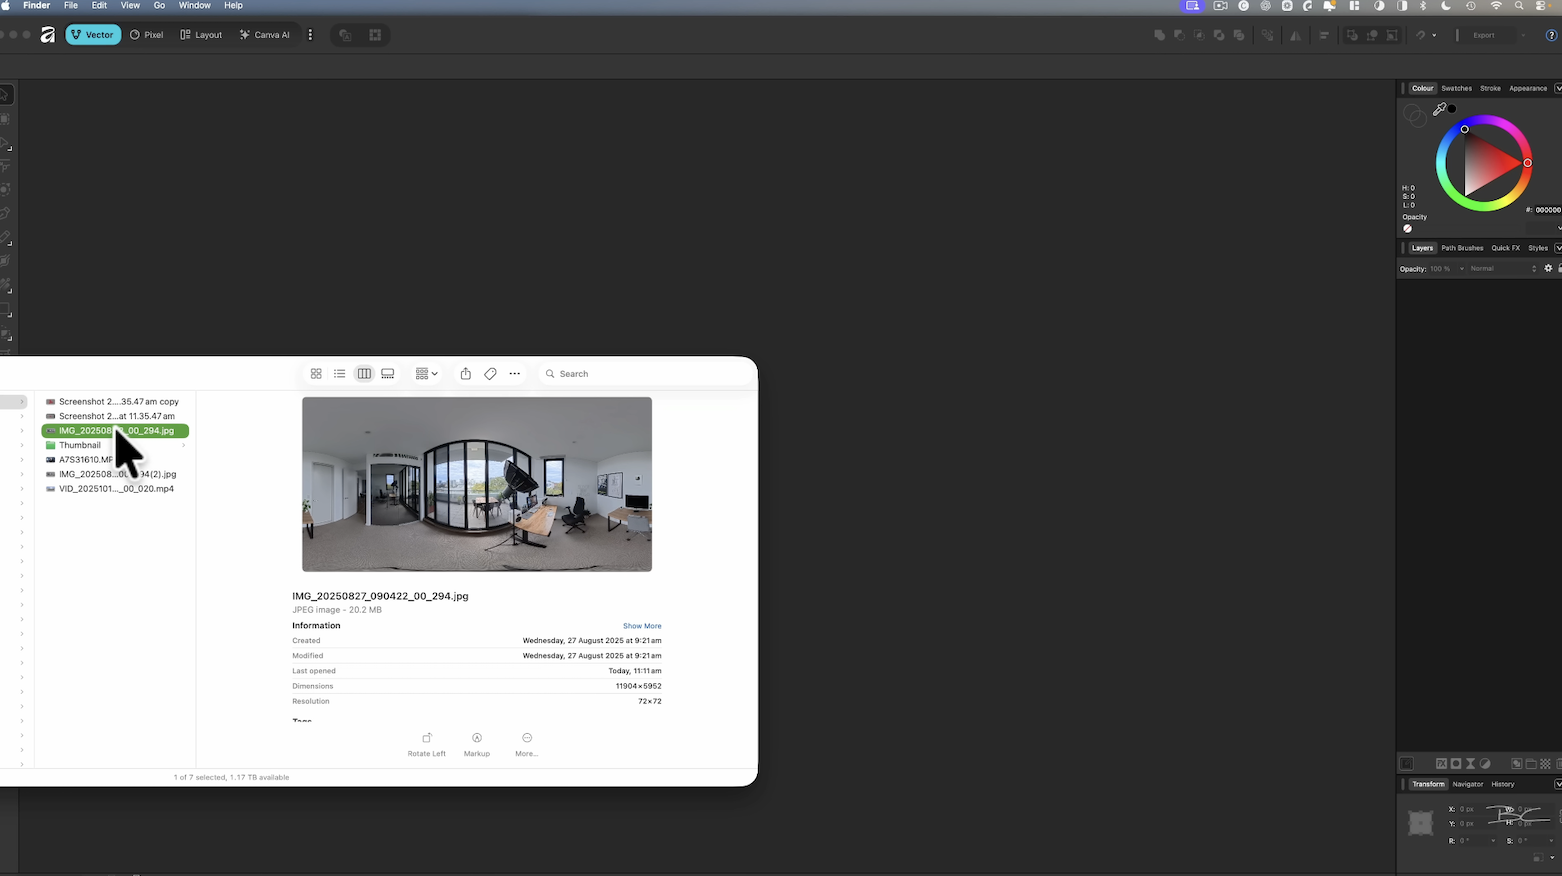
After installation, open Affinity Photo. You can close the welcome window that appears.
Now, drag your stitched equirectangular 360 photo from your Finder (or file browser) into the workspace.
If you’re familiar with older versions of Affinity, you’ll recognise the layout, but it’s now been redesigned to be cleaner and more beginner-friendly. Feel free to explore before you start editing.
Step 3: Convert Your Image to 360 View
To start editing your photo in 360 mode, we’ll need to convert the equirectangular image into an interactive viewer.
- Make sure your photo is selected — it should say “Background” on the right-hand side
- Go to Pixel → Live Projection → Equirectangular.
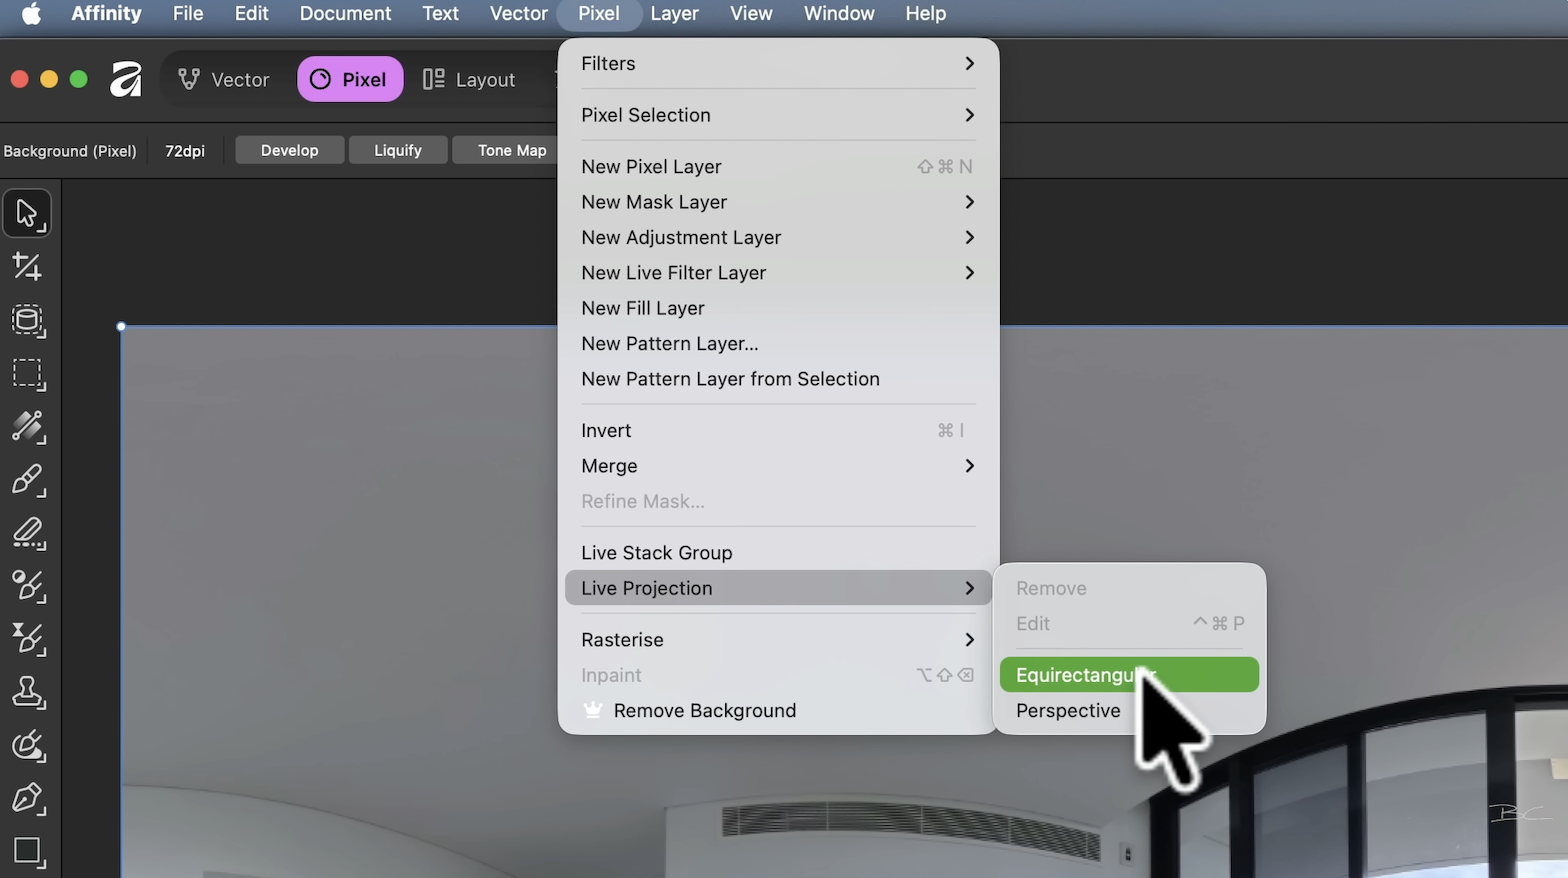
And voilà — your flat photo has now been converted into a 360-degree interactive image that you can move and view from any angle.
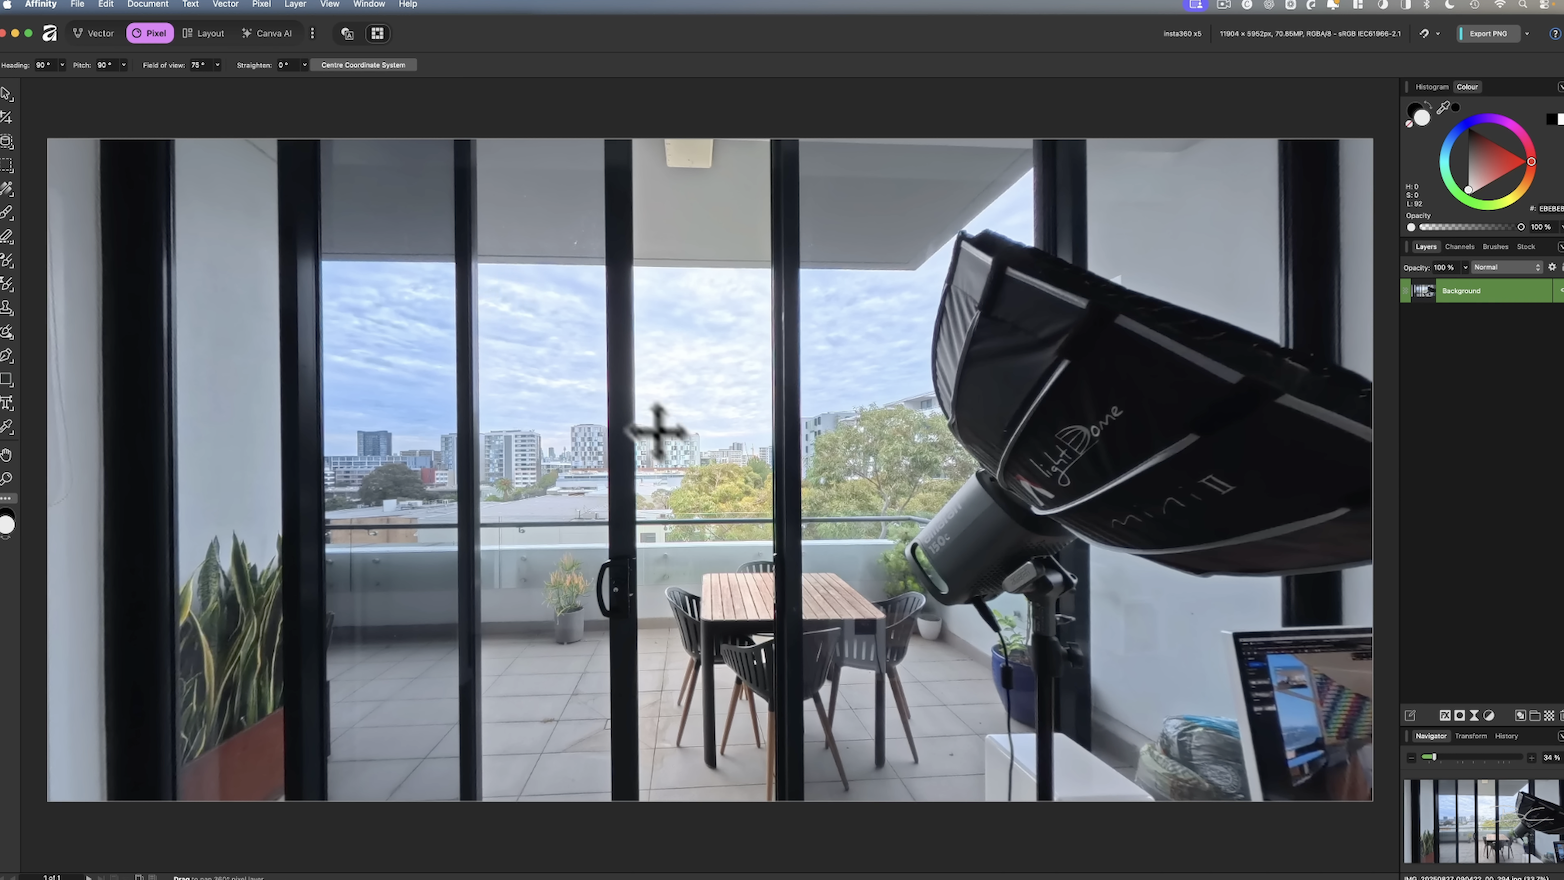
Step 4: Remove the Tripod
The first edit we’ll make is to remove the tripod from the image.
Zoom in by adjusting the Field of View at the top until you’re nice and close. Then, select the Inpainting Brush Tool from the toolbar on the left.

You can make the brush larger or smaller using the left and right bracket keys on your keyboard. Carefully paint over the tripod area, and once you release, Affinity will automatically remove it using AI-powered content fill.
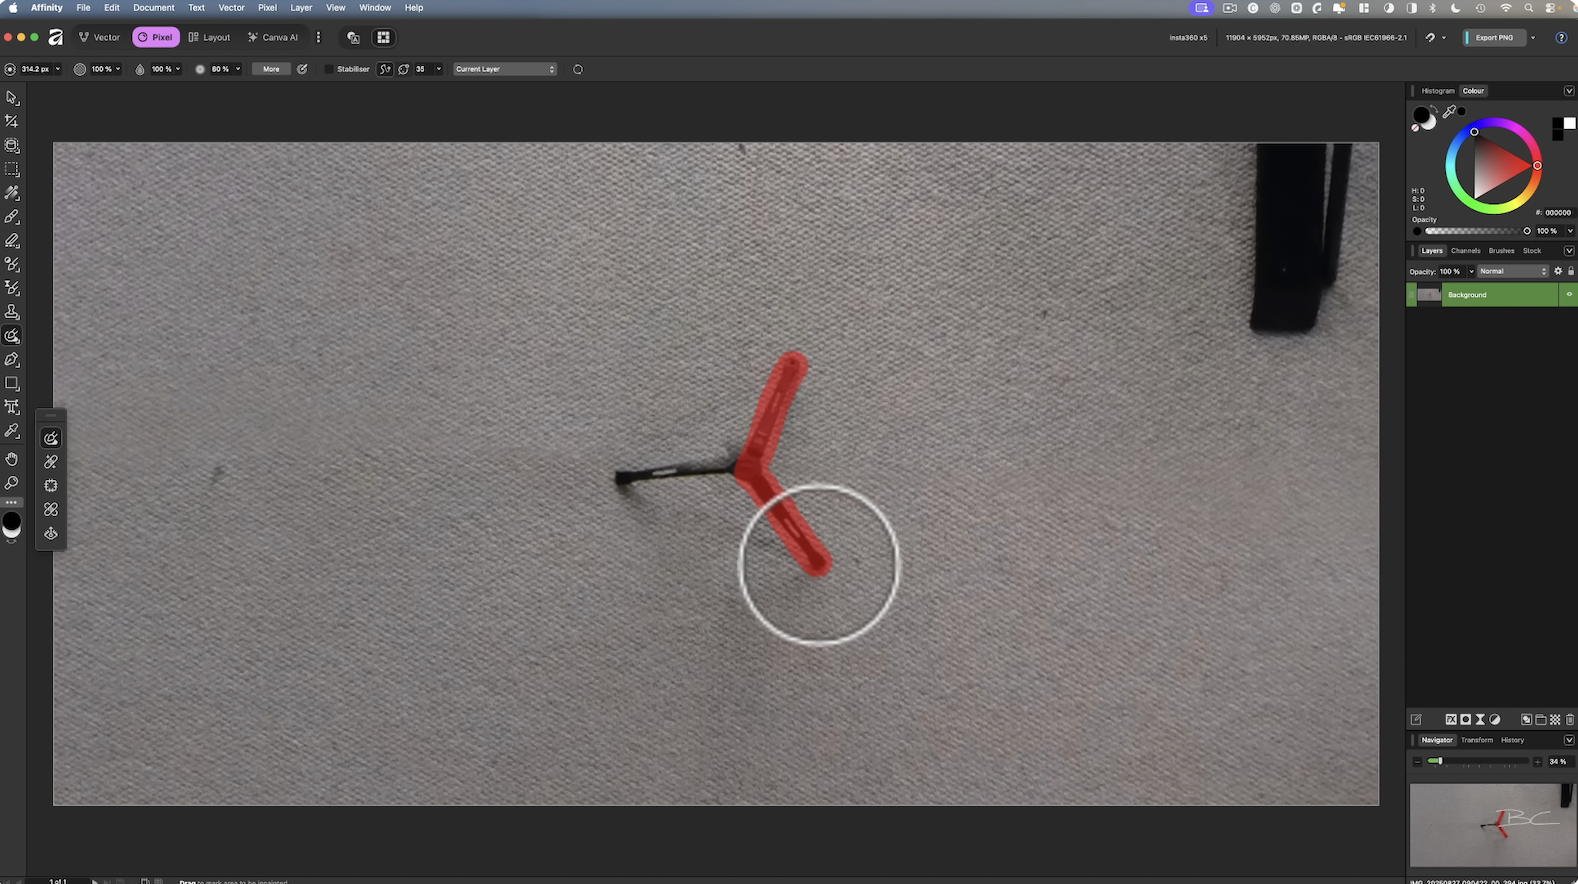
If it doesn’t look perfect, don’t worry — you can go over any small imperfections or rough patches again using the same tool until the surface looks clean.
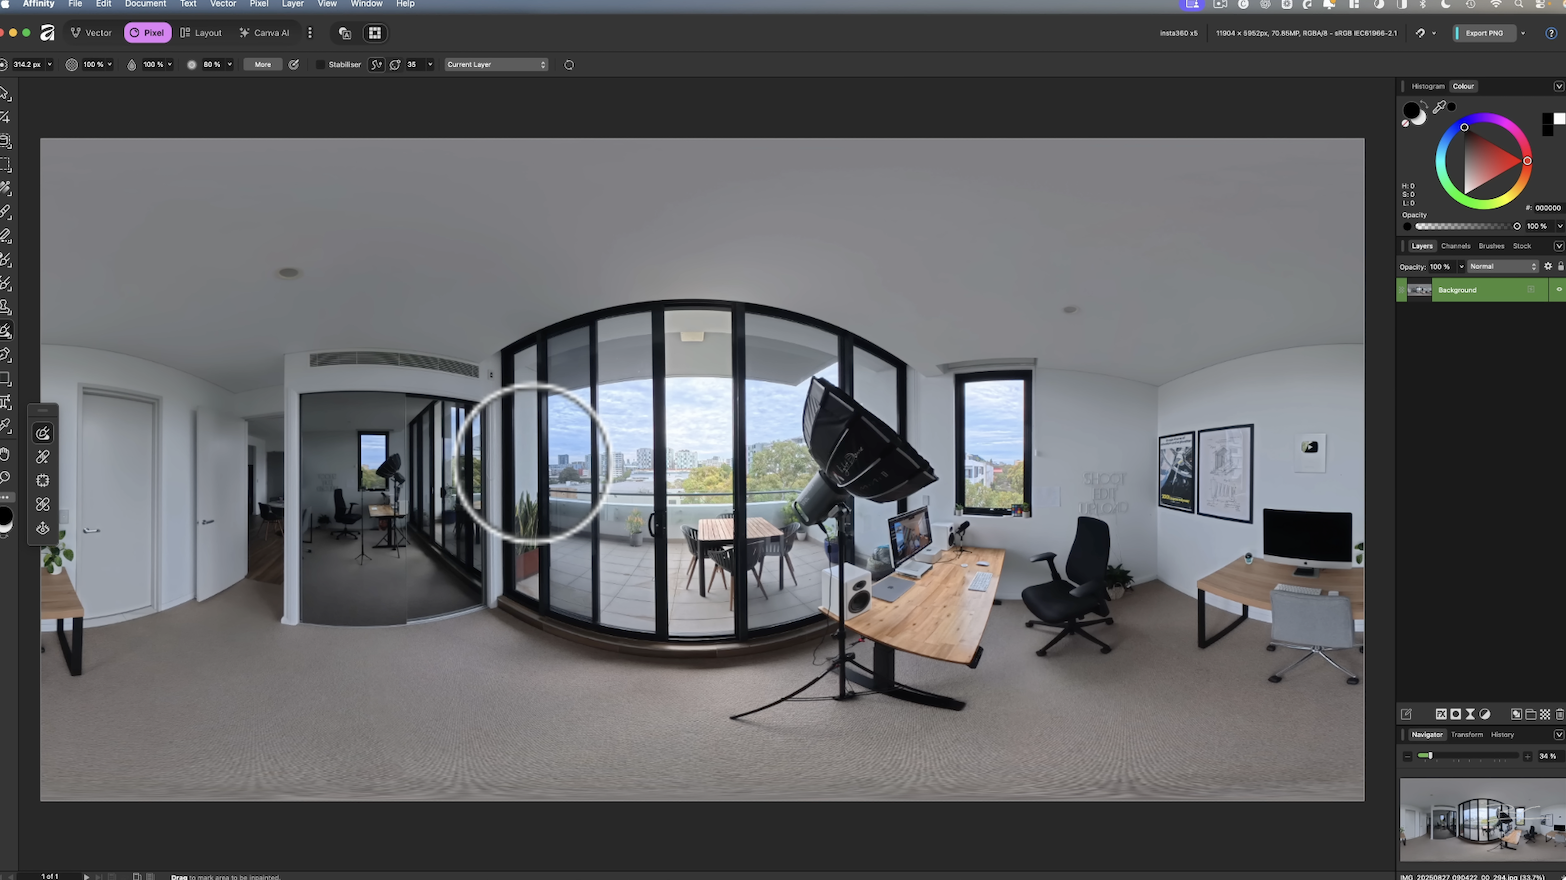
Step 5: Return to Normal View
When you’re done, switch back to your regular equirectangular view:
-
Go to Pixel → Live Projection → Remove.
Now you’ll see the flat image again — and the tripod is completely gone. You can repeat this process for any other spots or imperfections you’d like to clean up.
Step 6: Colour Correction and Finishing Touches
Next, let’s do some basic colour correction to make your 360 photo pop.
- Select the arrow tool and make sure your background layer is highlighted.
- Click “Develop” at the top left to open the colour correction panel.
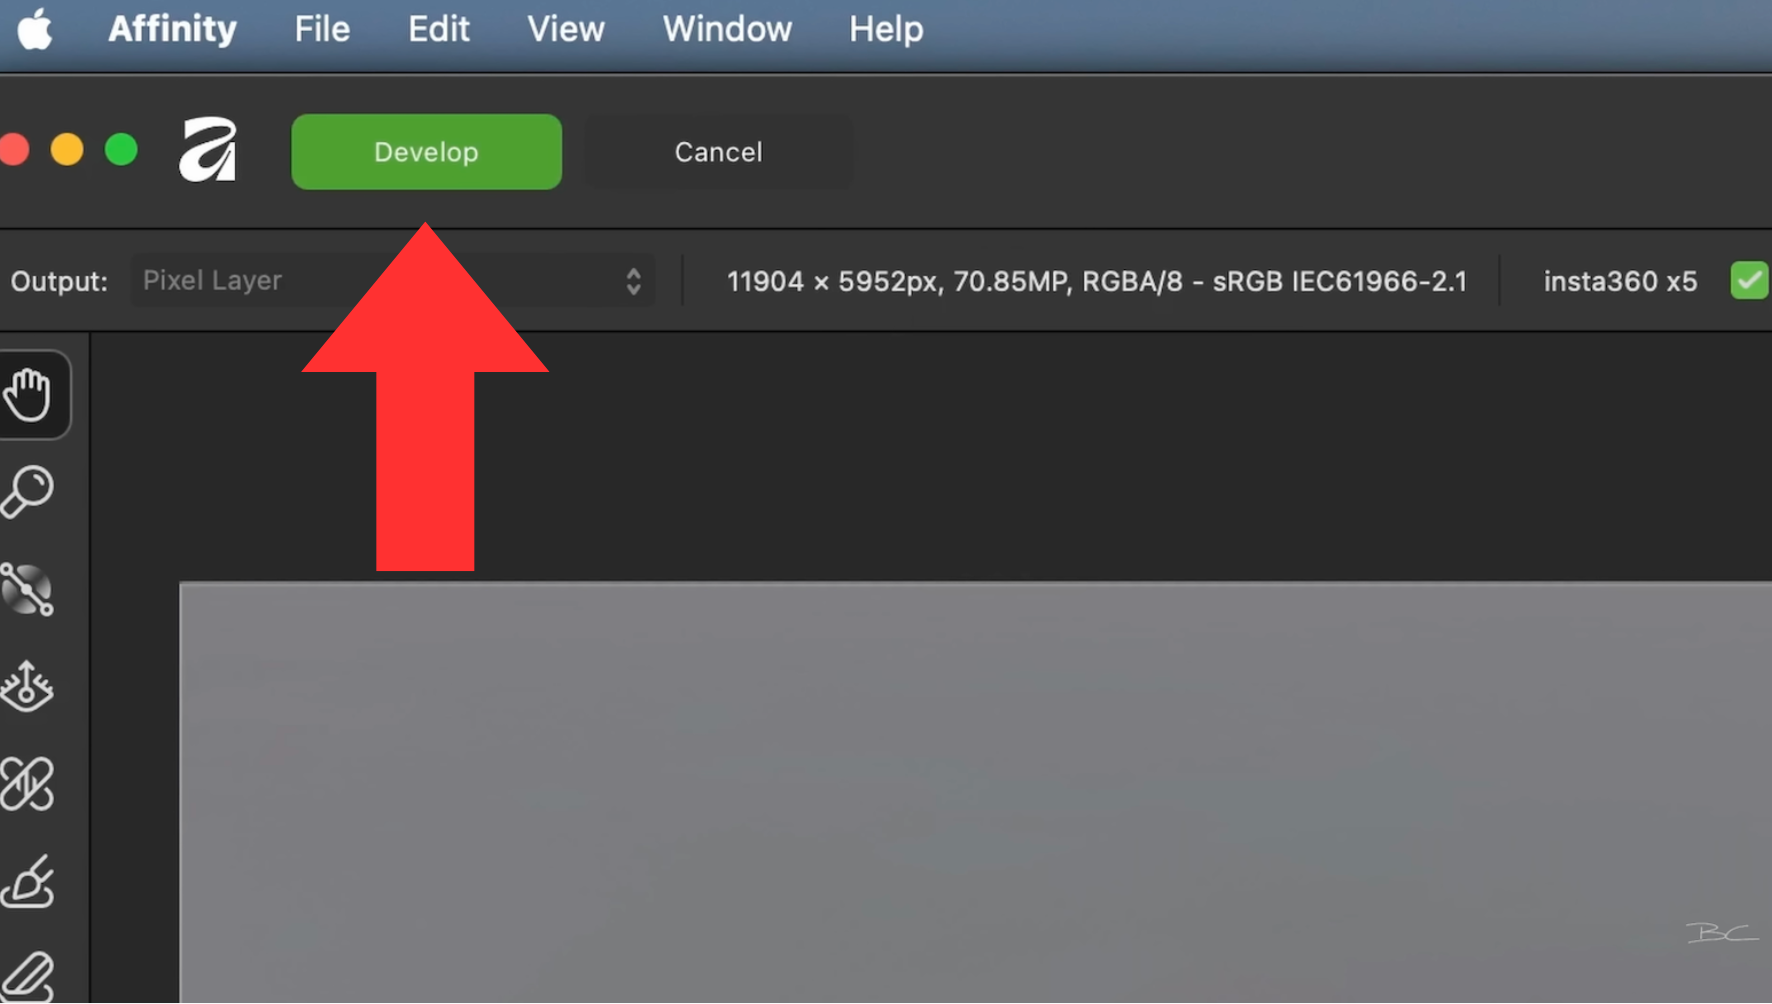
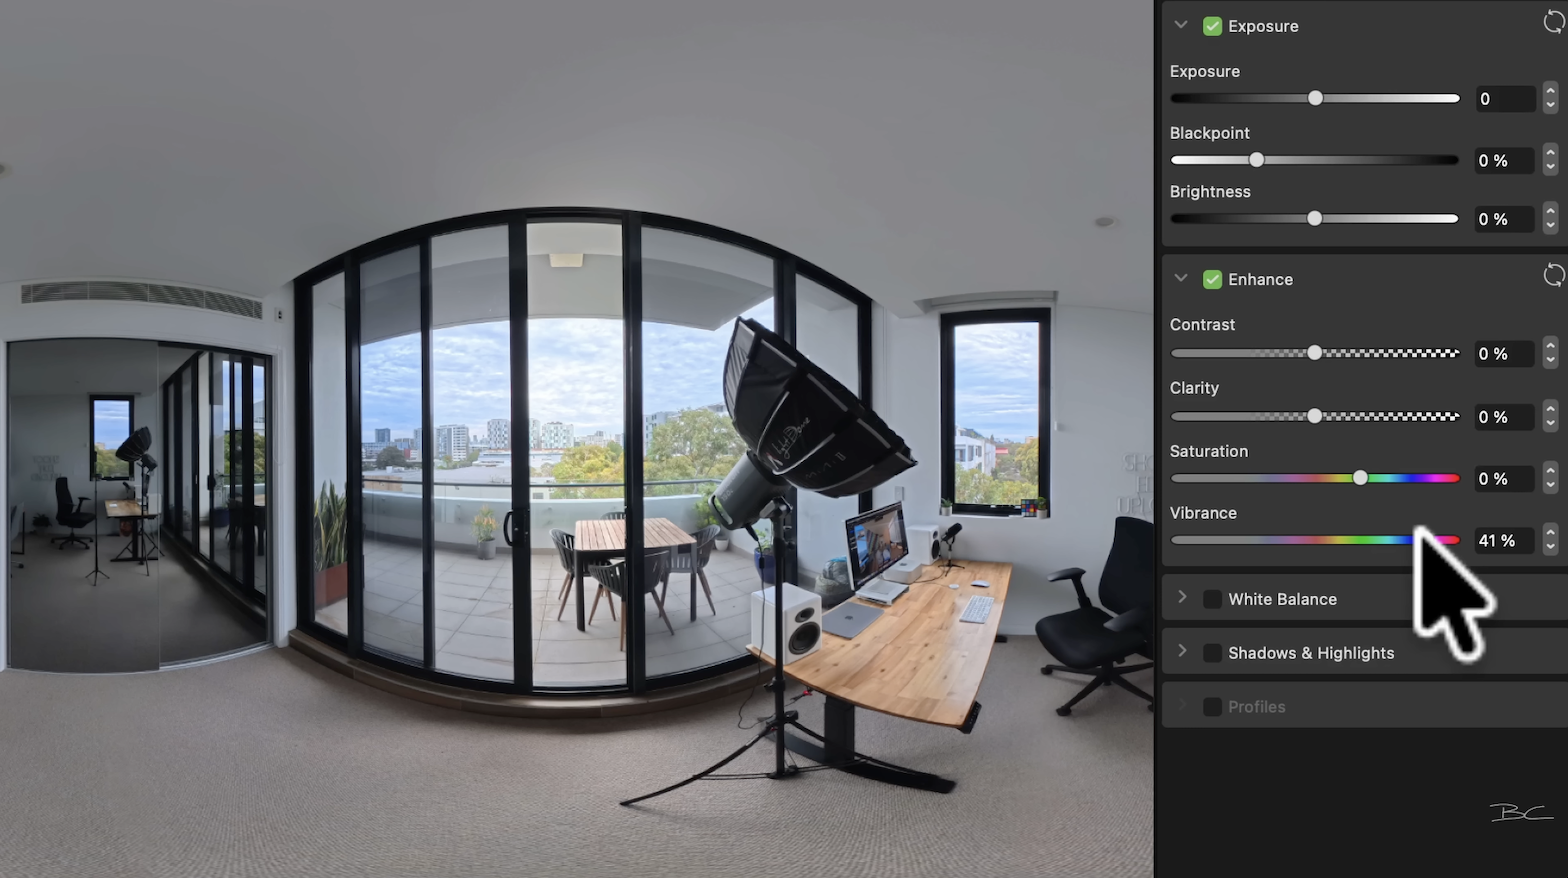
Here, you can adjust sliders for Exposure, Contrast, Shadows, Highlights, and White Balance. A few subtle tweaks can make a big difference, especially if your lighting or colour tone looks off.
Once you’re happy with the adjustments, click Develop again to lock in your changes.
Step 7: Export Your 360 Photo
Now it’s time to export your edited photo.
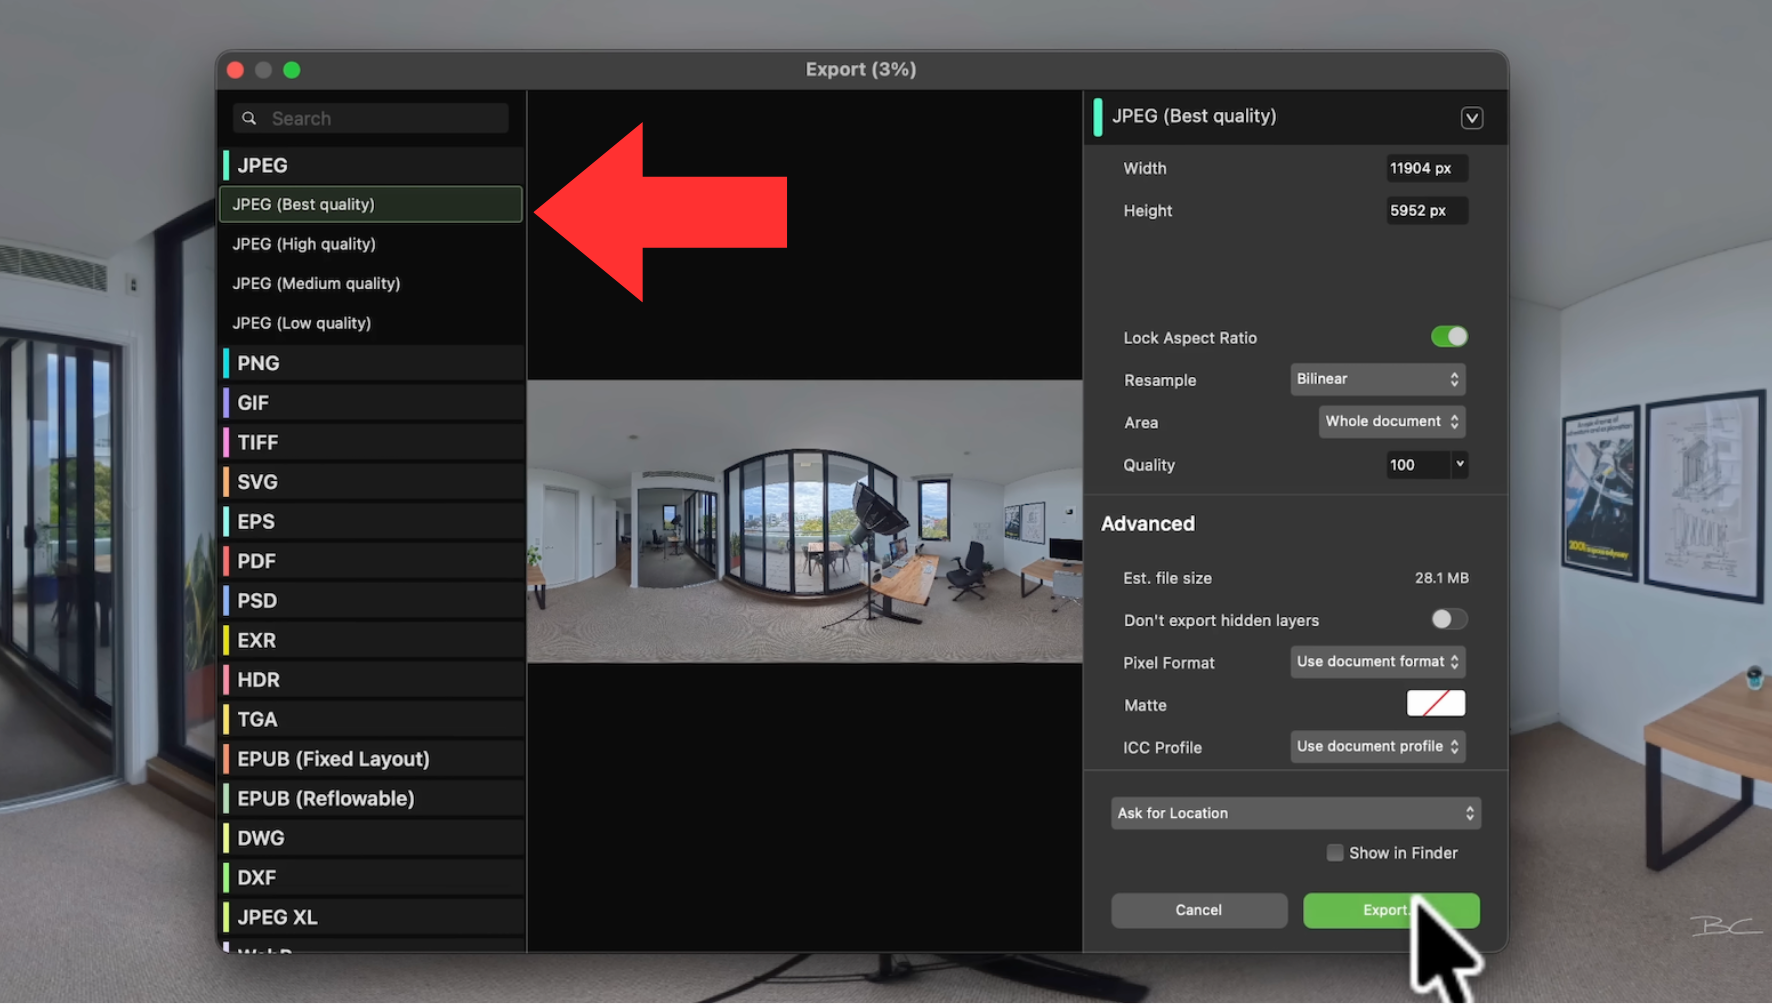
While you can export as a PNG, most virtual tour platforms prefer JPEG format. To export:
- Go to File → Export.
- Select JPEG (Best Quality).
- Click Export and save your file.
When you open this image in Insta360 Studio, it will appear back in 360 format — with your tripod and imperfections removed, and your colours beautifully enhanced.
Final Thoughts
Affinity Photo is an incredibly powerful tool that rivals Adobe Photoshop, offering professional-grade features without the subscription cost.
Now that it’s completely free under Canva, it’s the perfect time to switch if you’ve been looking for a reliable, one-time-download photo editor. It handles all the standard photo editing tasks, plus specialised 360 photo editing like we’ve just covered.
If you found this helpful and want to take your skills further, check out my Virtual Tour Pro course. You’ll learn how to shoot and edit professional 360 photos, build and polish immersive virtual tours, and offer paid virtual tour services to local clients. It has everything you need to start earning money with your Insta360 camera.
Blog Author